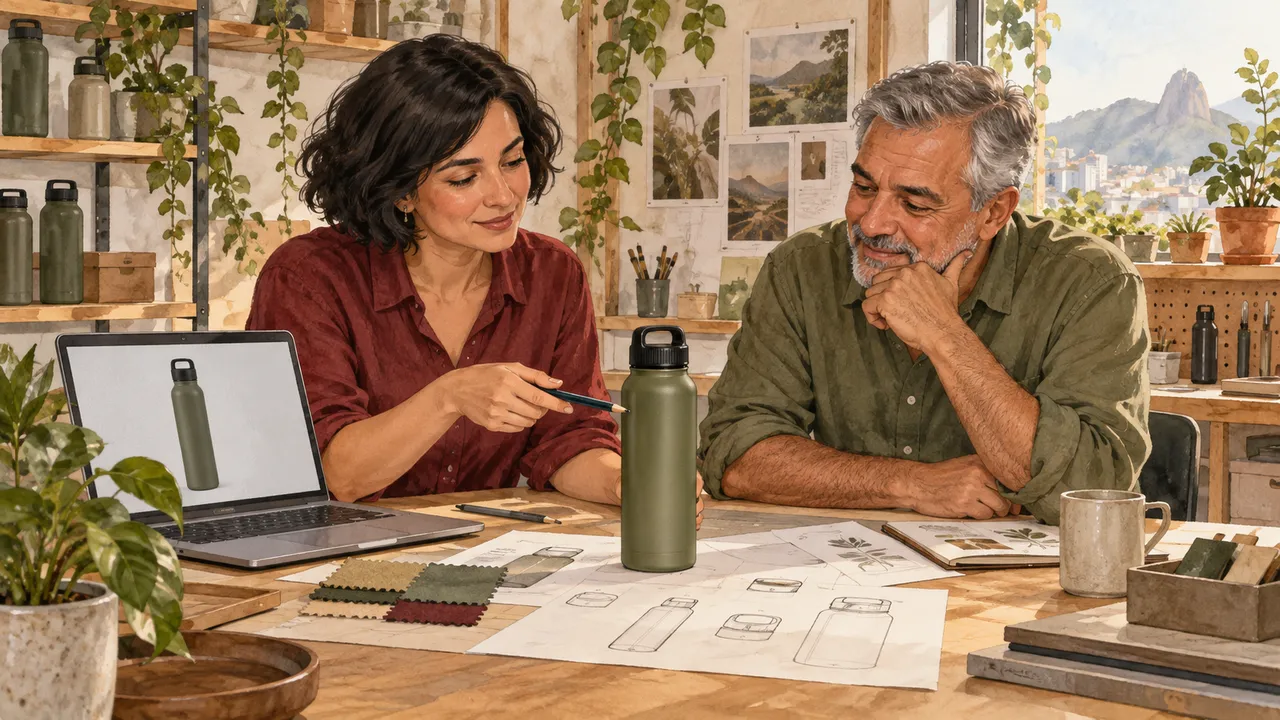
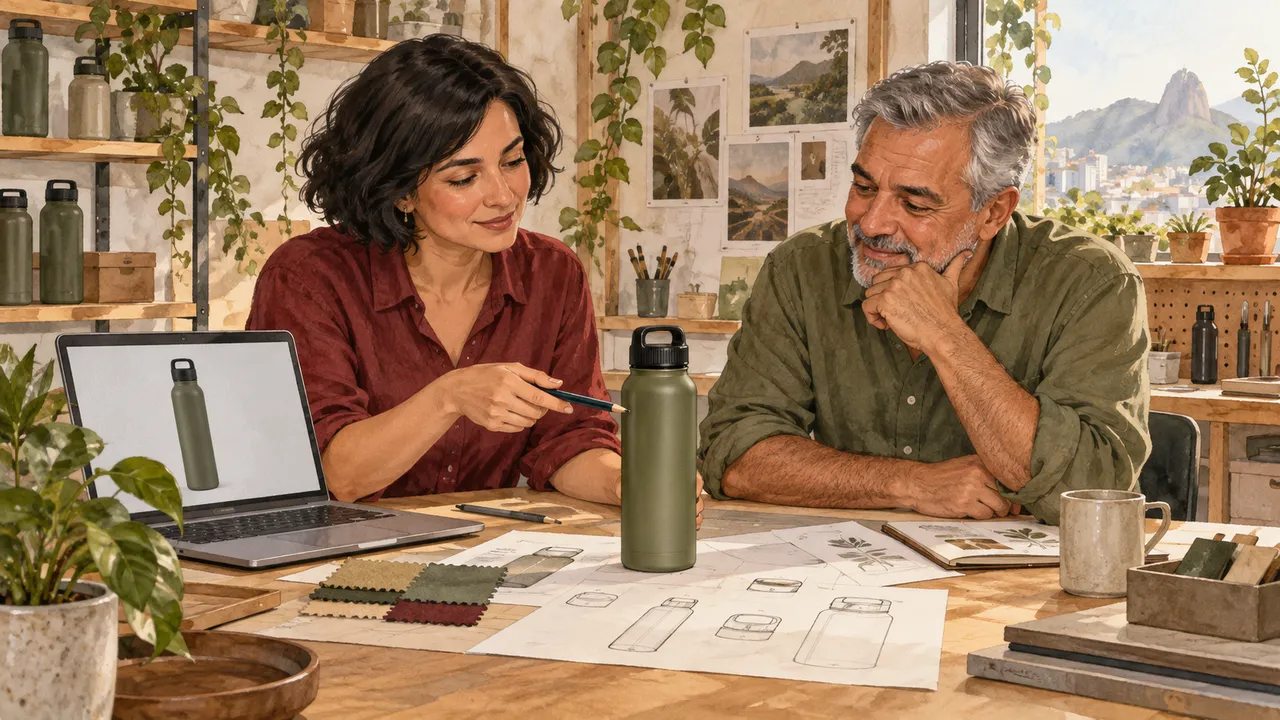
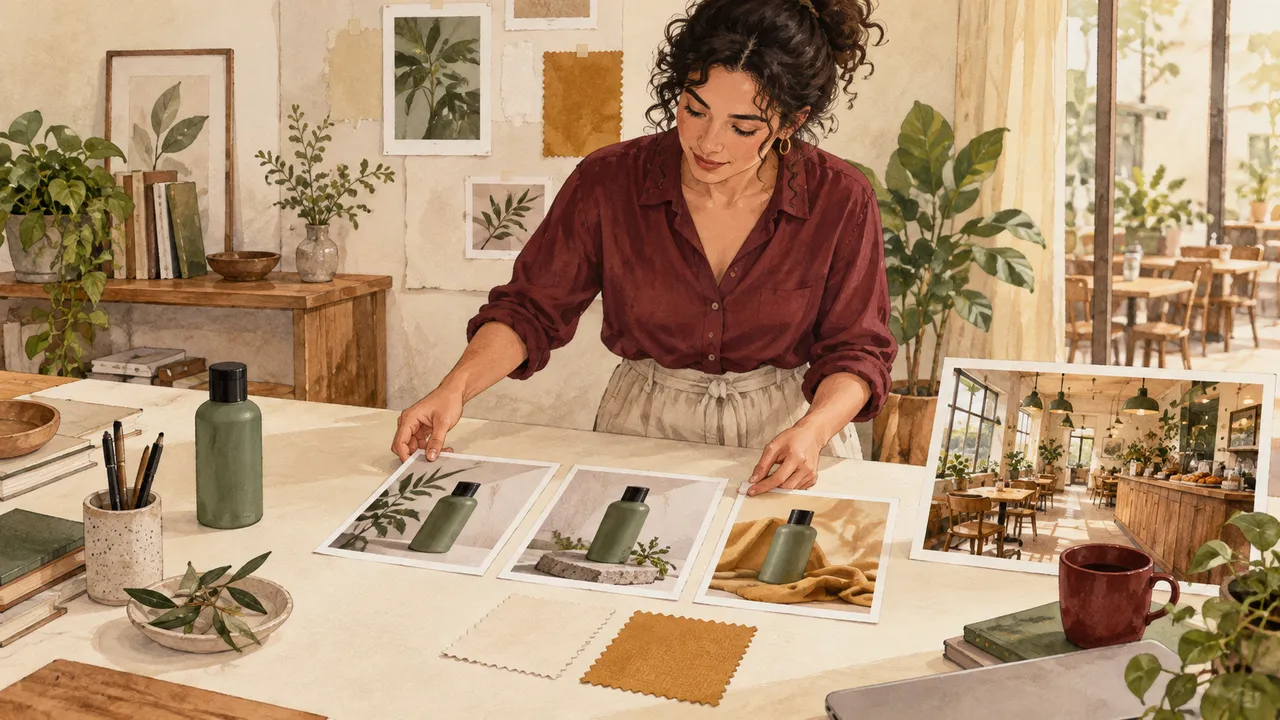
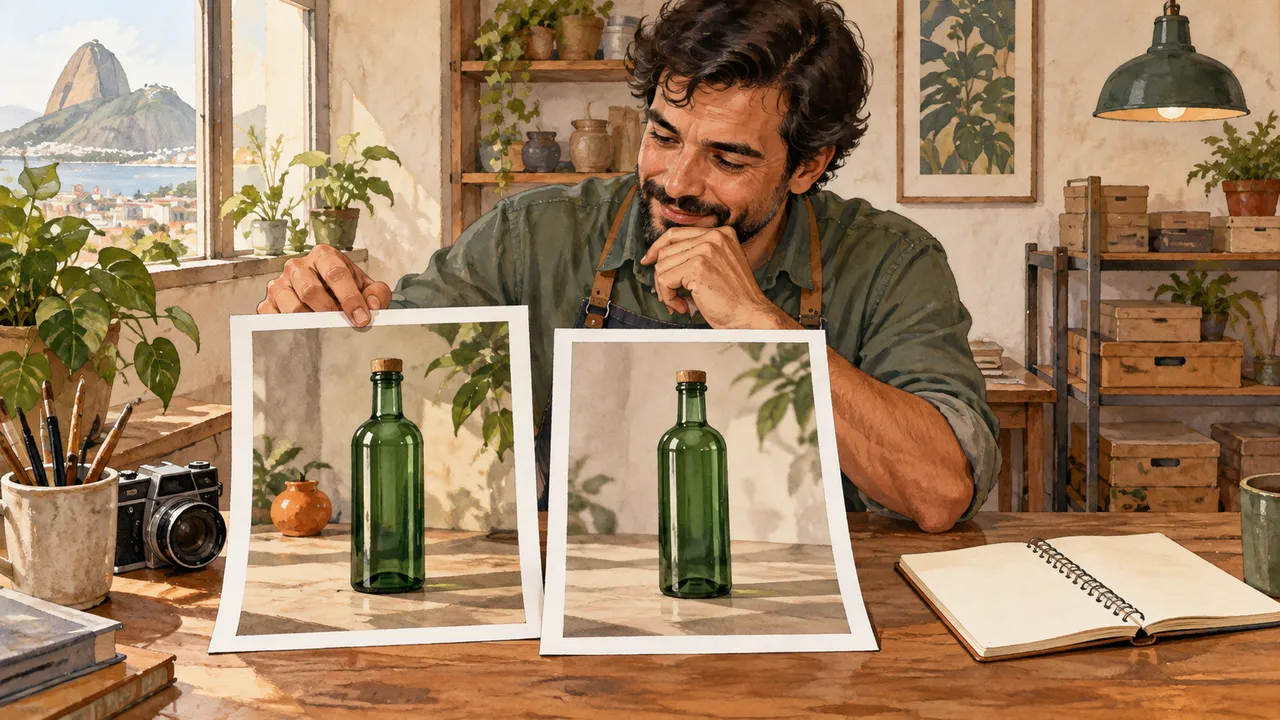
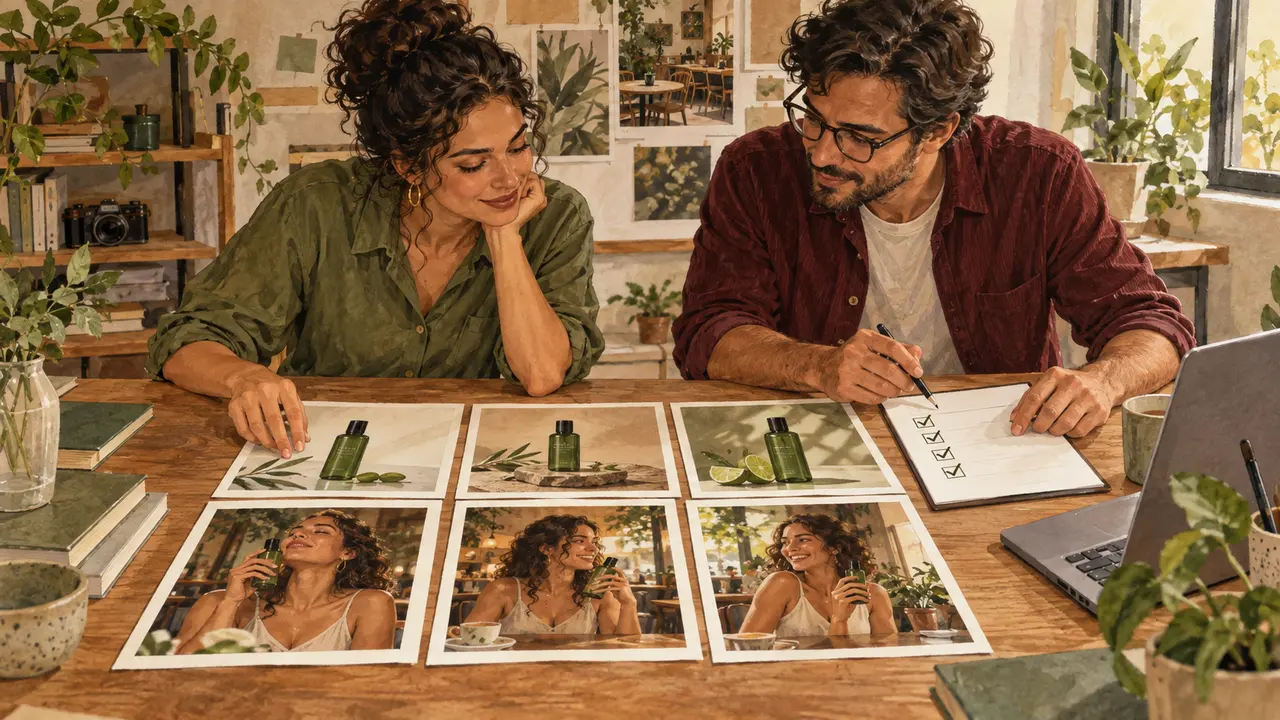
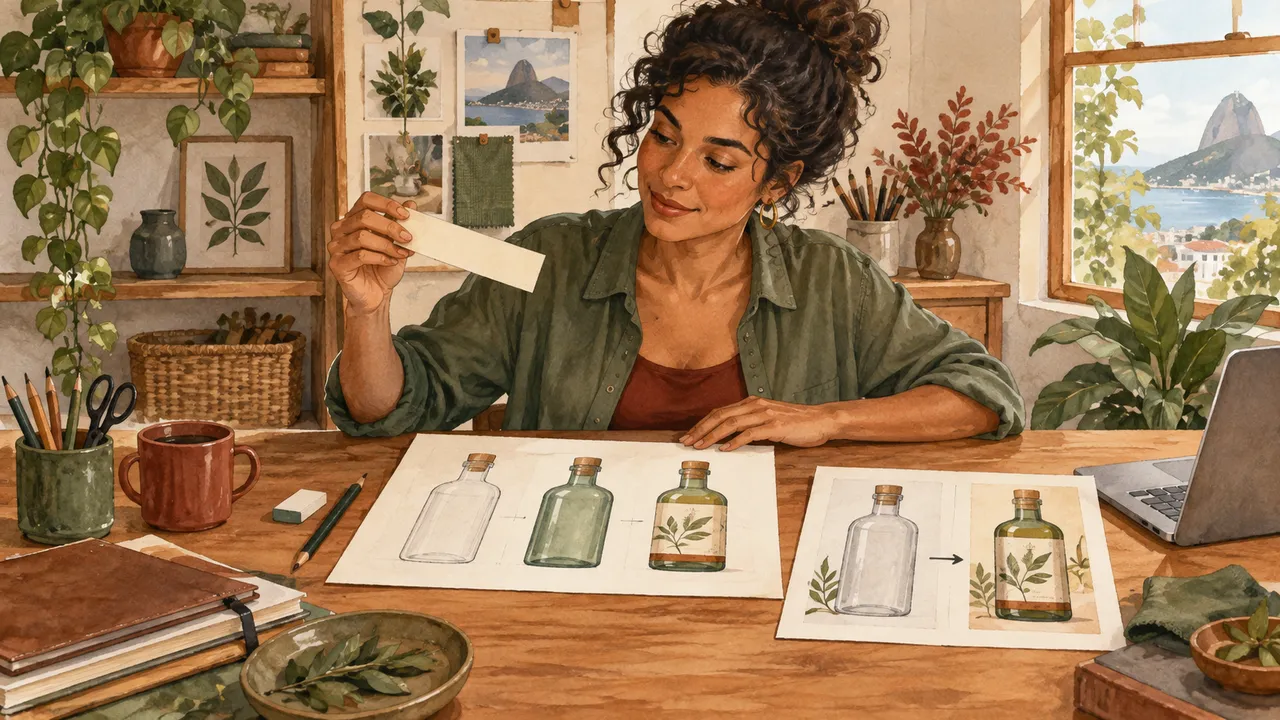
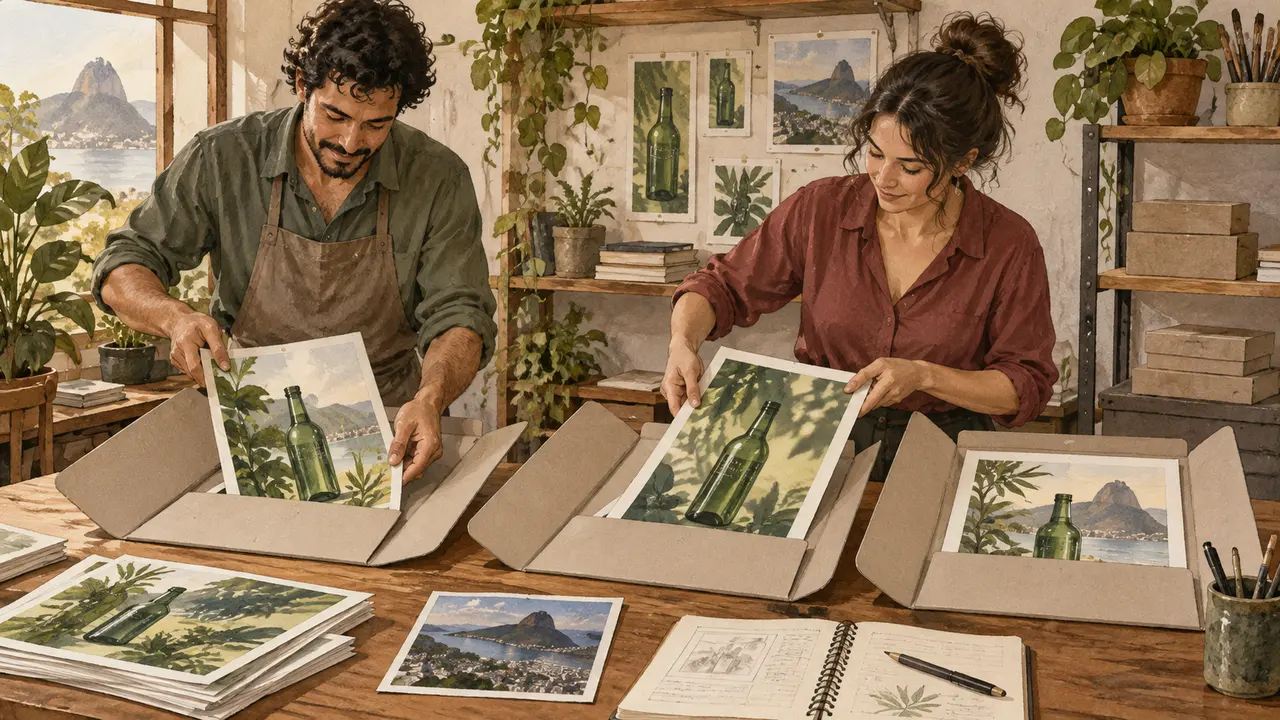
Organize references, preserve the product, and build a campaign with a consistent visual language. Plan, create, and review each piece using clear criteria.
Module 1 · Prepare the model, prompt, and references
You will prepare a campaign test with a clear role for each reference.
You can record the available model and a three-part prompt.
An option called Pro may refer to the chat. You need to know which feature generated your image.
In 1 minute
Object: matte green bottle, cylindrical body, black cap
Setting: light café table
The chat name does not replace the image information.
1Nano Banana is a family
Nano Banana Pro is the Gemini 3 Pro Image model.
Model is the system that produces the image; Gemini is an interface for using it.
The Pro name in the chat selector alone does not prove which model generated the image.
In Gemini, a creation may use Nano Banana 2.
Official help describes “Redo with Pro” for eligible accounts.
Check the model name shown in the result.
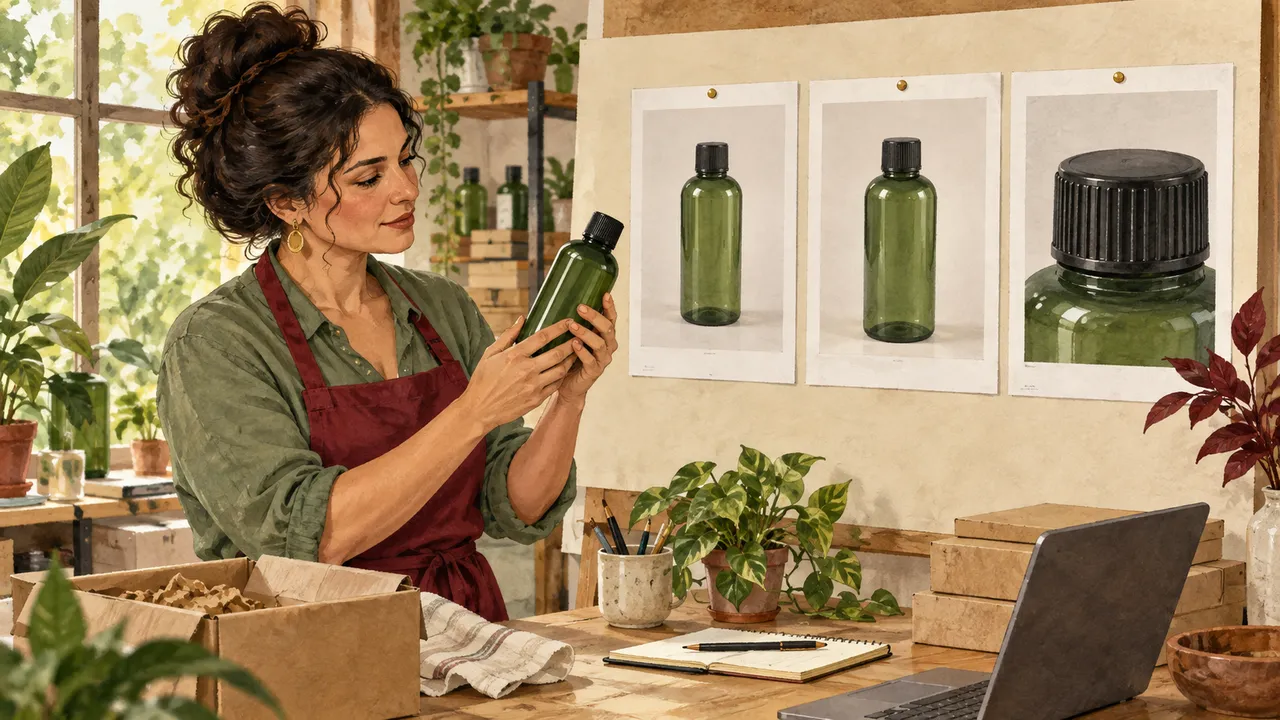
Lia, a designer, uses the example decision for a small shop poster. Check the image information and record the model. Separate the object, setting, and lighting choices in the prompt.
Prompts to compare · teaching example
PromptAny image created in a Pro chat came from Nano Banana Pro.
There are no observable limits to check the work against.
PromptCheck the image information and record the model. Separate the object, setting, and lighting choices in the prompt.
One change is defined, along with something that must stay the same.
Compare the two instructions. They are examples written for this lesson, with no simulated tool response.
2Object, setting, and technique
The object is the subject that should remain recognizable.
The setting is the environment and action.
Technique brings together framing, light, format, and finish choices.
This order helps organize the prompt without an unordered list of adjectives.
The object can look beautiful and still lose important characteristics.
Starting with identity and purpose makes clear what style must not sacrifice.
Renato, a shop owner, checks the request against the note: Light and format: soft window light; square; whole product
Completed brief · lesson example
1Object: matte green bottle, cylindrical body, black cap
2Setting: light café table
3Light and format: soft window light; square; whole product
Use this brief as a reference. Replace the example with your own product.
3Check the decision against its use
The chat name does not replace the image information.
Renato uses this note to decide: light and format: soft window light; square; whole product.
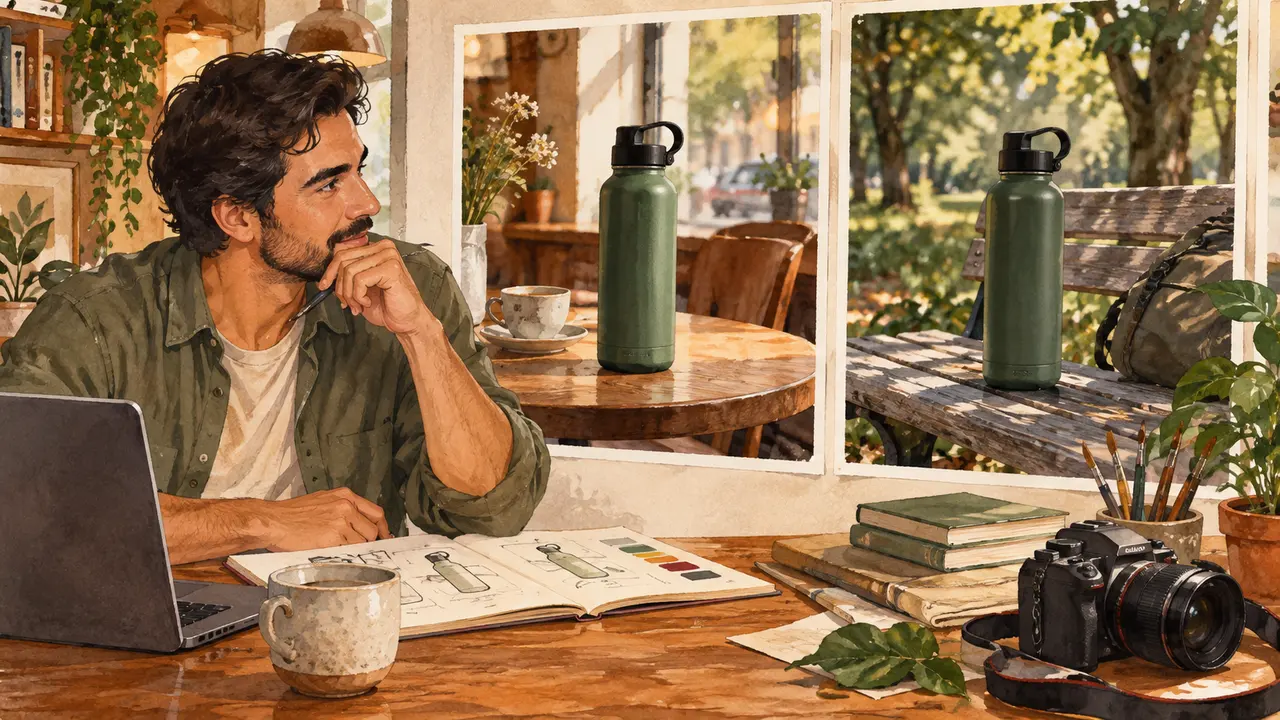
Codex illustration, not a Nano Banana result: The product, computer, and brief are different things. Identify the model in the service before naming a generation.
Test yourself
The chat is set to Pro, but the image says Nano Banana 2. What should you record?
If you got stuck here, that is normalCould not find Pro? Record that it is unavailable and prepare the prompt. You do not need to buy a plan to complete this brief.
Practice now 0/3
Identify the model and write a simple prompt
About 10 minutes. You are done when the model, or its absence, is recorded and the prompt has three parts.
Use your own photos or ones you are authorized to use. Fill out the brief on paper or in Notes. If the practice asks you to edit, keep the original and work on a copy.
Tool and observed model: <image name or image model not confirmed>.
Object: matte green bottle, cylindrical body, black cap.
Setting: light café table.
Light: soft window light. Format: square, whole product, no text.
After completing the steps, you can record the available model and a three-part prompt.
Lesson cheat sheet
Identify the model and write a simple prompt
Object: matte green bottle, cylindrical body, black cap
Setting: light café table
The chat name does not replace the image information.
Your next step
You now have criteria for recording the available model and a three-part prompt.
Use this lesson’s brief with an image from your work. Set aside ten minutes and note the decision you made.
Next step: Define the campaign and the role of the references
Supplementary material · module 1Practice and considerations for both topics. Not included in lesson time.
Nano Banana is a family
Experiment at your own pace
Open gemini.google.com and look for the image creation option. Check the official help linked at the end of this lesson. Record the available model. If Pro does not appear, note that without attributing results to it.
What to observe
Access depends on the account, plan, and country. The course does not promise free access or a fixed number of images.
Object, setting, and technique
Experiment at your own pace
Describe the bottle in one sentence, the situation in another, and the light in a third. Make a simple first attempt before adding a character, text, or complex setting.
What to observe
The prompt order organizes your intention, but it is not a guaranteed priority algorithm. Check the result instead of trusting the length of the instruction.
Official sources
Consulted on 25/09/2026. Availability and interface may change.
Define the campaign and the role of the references
You can prepare a campaign brief with separate references.
A campaign needs to remain recognizable. Photos with no defined role may introduce objects and colors that do not belong to the brand.
In 1 minute
Campaign: Brisa, an everyday pause
Fixed product: matte green, cylindrical body, black cap
A coffee reference must not replace the bottle.
1The Brisa campaign request summary
A campaign is a set of pieces connected by one idea.
Our concept is an everyday pause with bottles for everyday use.
Audience, purpose, visual language, and deliverables need to be clear before generation.
A standalone image can explore freely.
A campaign must remain recognizable when the format or scene changes.
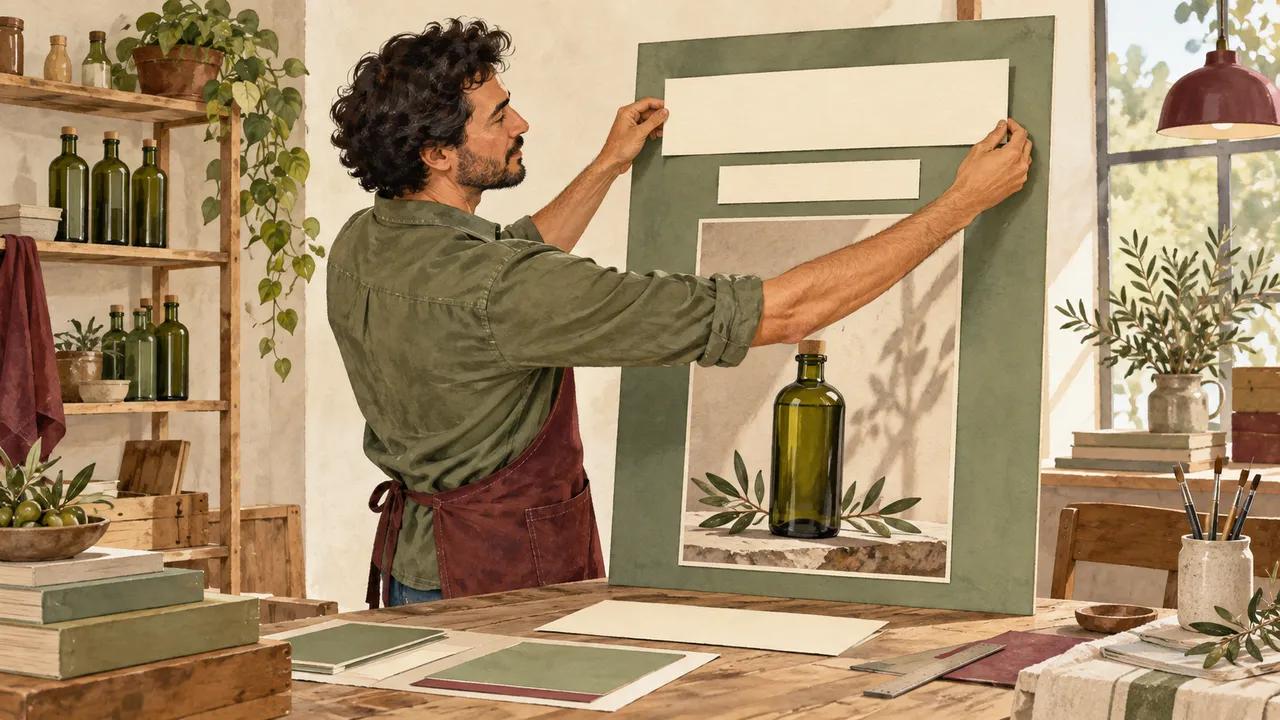
Lia, a designer, uses the example decision for a small shop poster. Photo A defines the bottle; B guides only the setting. Green, cream, and ochre make up the palette. The idea is an everyday pause.
Prompts to compare · teaching example
PromptCopy everything from these five images and make a beautiful campaign.
There are no observable limits to check the work against.
PromptPhoto A defines the bottle; B guides only the setting. Green, cream, and ochre make up the palette. The idea is an everyday pause.
One change is defined, along with something that must stay the same.
Compare the two instructions. They are examples written for this lesson, with no simulated tool response.
2Build a small reference kit
A kit is an organized set of files with distinct roles: product, character, setting, and visual direction.
Sharp images and clear crops help show what to use.
Sending everything at once can mix up their roles.
Starting with a few references makes it easier to notice which one is pulling the result in another direction.
Renato, a shop owner, checks the request against the note: Setting reference: coffee and light only; do not copy objects
Completed brief · lesson example
1Campaign: Brisa, an everyday pause
2Fixed product: matte green, cylindrical body, black cap
3Setting reference: coffee and light only; do not copy objects
Use this brief as a reference. Replace the example with your own product.
3Check the decision against its use
A coffee reference must not replace the bottle.
Renato uses this note to decide: setting reference: coffee and light only; do not copy objects.
Codex illustration, not a Nano Banana result: Separate photos and samples help distinguish the object, palette, and setting.
Test yourself
The coffee photo contains another bottle. Which instruction prevents mixing them?
If you got stuck here, that is normalDo not have the photos yet? Write down the product to photograph and the setting to choose. The plan should make what is missing clear.
Practice now 0/3
Define the campaign and the role of the references
About 10 minutes. You are done when the idea, fixed characteristics, and references are stated.
Use your own photos or ones you are authorized to use. Fill out the brief on paper or in Notes. If the practice asks you to edit, keep the original and work on a copy.
Brand: Brisa (fictional exercise).
Audience: people taking a break at work.
Idea: an everyday pause.
Product: matte green, cylindrical, black cap.
A: <file or photo pending> → product.
B: <file or photo pending> → setting and light.
After completing the steps, you can prepare a campaign brief with separate references.
Lesson cheat sheet
Define the campaign and the role of the references
Campaign: Brisa, an everyday pause
Fixed product: matte green, cylindrical body, black cap
A coffee reference must not replace the bottle.
Your next step
You now have criteria for preparing a campaign brief with separate references.
Use this lesson’s brief with an image from your work. Set aside ten minutes and note the decision you made.
Next step: Run a small test before the campaign
Supplementary material · module 1Practice and considerations for both topics. Not included in lesson time.
The Brisa campaign request summary
Experiment at your own pace
Write the fixed characteristics: matte green cylindrical body, black cap, cream background, and ochre shirt. Define what each piece will communicate: shape, finish, use, or story.
What to observe
Brisa is a fictional exercise. Do not add claims about capacity, origin, or physical benefits that the request summary does not state.
Build a small reference kit
Experiment at your own pace
Save the product’s base image and a palette brief. Name the files. Before generating, note which image defines the shape and which guides only light or composition.
What to observe
If the platform uses labels like image 1 or attached references, adapt the wording to its actual process. Do not invent a marker the tool does not recognize.
Official sources
Consulted on 25/09/2026. Availability and interface may change.
You can generate a base image and compare a simple edit.
Finding a flaw early takes less work. The first round tests whether the product stays consistent after a change.
In 1 minute
Attempt 1: simple product on a cream background
Edit 1: change only the background to light gray
A good result does not guarantee that every edit will preserve the product.
1Run a diagnostic round
A diagnostic is a short attempt to find out how the tool handles the task.
First, check how well it follows the prompt. Then see whether you can edit it. This is a test, not the final piece.
Detecting a shape or reference problem early keeps you from building a whole campaign on an unstable base.
Lia, a designer, uses the example decision for a small shop poster. Generate a whole bottle; change only the chosen background. Compare the body, cap, and color before continuing.
Weak decision
Generate twenty variations and choose later.
Verifiable decision
Generate a whole bottle; change only the chosen background. Compare the body, cap, and color before continuing.
Notice which characteristics make the second decision easy to check.
2Plan attempts and files
An attempt budget sets how many ideas you will explore before reviewing the strategy.
The actual cost depends on the service and plan.
An approved folder helps you avoid using old versions by mistake.
A campaign requires repetition, and redoing everything without a record creates more work.
Separating exploration from final production makes each round more focused.
Renato, a shop owner, checks the request against the note: Limit: one generation and one edit in this practice
Completed brief · lesson example
1Attempt 1: simple product on a cream background
2Edit 1: change only the background to light gray
3Limit: one generation and one edit in this practice
Use this brief as a reference. Replace the example with your own product.
3Check the decision against its use
A good result does not guarantee that every edit will preserve the product.
Renato uses this note to decide: limit: one generation and one edit in this practice.
Codex illustration, not a Nano Banana result: The second print clears the background. In a real comparison, inspect the product too, not just the edited area.
Test yourself
The edit changed the background and the cap. What should you do?
If you got stuck here, that is normalNo access or credits? Save the prompt and leave this practice pending. Do not mark a generation you did not make.
Practice now 0/3
Run a small test before the campaign
About 10 minutes. You are done when you have saved two images and recorded one difference.
Use your own photos or ones you are authorized to use. Fill out the brief on paper or in Notes. If the practice asks you to edit, keep the original and work on a copy.
Create a front view of a matte green bottle with a cylindrical body and black cap. Show the whole product on a cream background with soft light. Square format. No text.
After completing the steps, you can generate a base image and compare a simple edit.
Lesson cheat sheet
Run a small test before the campaign
Attempt 1: simple product on a cream background
Edit 1: change only the background to light gray
A good result does not guarantee that every edit will preserve the product.
Your next step
You now have criteria for generating a base image and comparing a simple edit.
Use this lesson’s brief with an image from your work. Set aside ten minutes and note the decision you made.
Next step: Create three product views
Supplementary material · module 1Practice and considerations for both topics. Not included in lesson time.
Run a diagnostic round
Experiment at your own pace
Generate the simple product and request a small background edit. Compare the bottle in both versions. Record what changed outside the requested area and whether the tool lets you continue editing.
What to observe
Do not mistake one good attempt for universal reliability. Also save the deviation you observed; it will guide later revisions.
Plan attempts and files
Experiment at your own pace
For this exercise, plan three composition ideas and one review round for the chosen one. Record attempts and the usage shown by the tool. Save originals and approved images in separate folders.
What to observe
If an idea repeatedly fails, simplify the prompt or change the reference. Do not treat the suggested number of attempts as required spending.
Official sources
Consulted on 25/09/2026. Availability and interface may change.
You can complete three views using one shared reference.
A beautiful image may show a different product. A product brief turns appearance into observable criteria.
In 1 minute
Front view shows the whole product.
Three-quarter view shows volume; a detail shows one part.
Compare all three views with the same reference.
1The product brief
The product brief lists the outline, color, material, and required details.
The Brisa bottle is matte green, cylindrical, and has a black cap.
Capacity, insulation, and origin were not specified; do not present them as facts.
The model may preserve the idea of a bottle while changing the specific object.
A brief helps distinguish a framing variation from an unauthorized product change.
Lia, a designer, uses the example decision for a small shop poster. Front view for proportions, three-quarter view for volume, and a cap close-up. Keep the matte green color, cylindrical body, and black cap in all three.
Weak decision
A luxury bottle from every angle.
Verifiable decision
Front view for proportions, three-quarter view for volume, and a cap close-up. Keep the matte green color, cylindrical body, and black cap in all three.
Notice which characteristics make the second decision easy to check.
2Three views that add information
A front view shows proportions; a three-quarter view reveals volume and the cap; a detail shows the material.
Each view needs a purpose in the set.
Three nearly identical angles take up space without adding understanding.
Choosing distinct purposes creates a more informative product presentation.
Renato, a shop owner, checks the request against the note: Detail: finish and fit of the cap
Completed brief · lesson example
1Front: whole product and body proportions
2Three-quarter: body volume and cap
3Detail: finish and fit of the cap
Use this brief as a reference. Replace the example with your own product.
3Check the decision against its use
A detail does not replace an image of the whole product.
Renato uses this note to decide: detail: finish and fit of the cap.
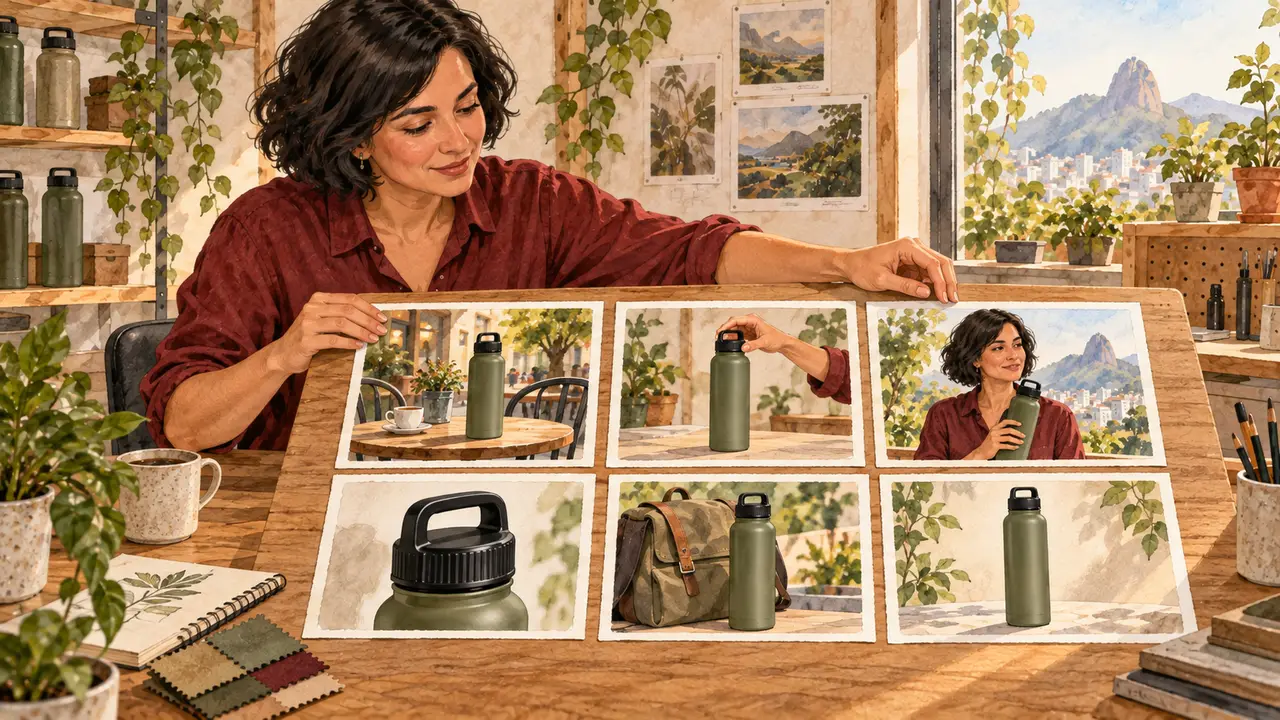
Codex illustration, not a Nano Banana result: The three illustrated photos change the framing. The body and cap should stay recognizable.
Test yourself
You need to show how the cap fits. Which view helps?
If you got stuck here, that is normalNo access to image generation? Take three photos of an object you own using the described views. Record that they are photographs; do not attribute them to the model.
Practice now 0/3
Create three product views
About 10 minutes. You are done when the front, three-quarter, and detail views are saved and checked.
Use your own photos or ones you are authorized to use. Fill out the brief on paper or in Notes. If the practice asks you to edit, keep the original and work on a copy.
Use the attached image as a reference. Preserve the body, color, finish, and cap exactly as shown. Show the front and part of one side of the whole product. Cream background and soft light. No text.
After completing the steps, you can complete three views using one shared reference.
Lesson cheat sheet
Create three product views
A front view shows the whole product.
A three-quarter view shows volume; a detail shows one part.
Compare all three views with the same reference.
Your next step
You now have criteria for completing three views using one shared reference.
Use this lesson’s brief with an image from your work. Set aside ten minutes and note the decision you made.
Next step: Create a character with the product
Supplementary material · module 2Practice and considerations for both topics. Not included in lesson time.
The product brief
Experiment at your own pace
Note three regions in the product photo: cap, body, and base. For each, record one recognizable cue. Use this list for every approval.
What to observe
The course scenes illustrate decisions; they are not exact references for the campaign. For fidelity to a real product, use your own photos of it.
Three views that add information
Experiment at your own pace
Create a front view, a three-quarter view, and a detail. Attach the same approved reference to each prompt. Compare rim thickness and cap proportions, even when part of the object is hidden.
What to observe
A new view reveals areas that were not in the reference. AI may invent them; check against other photos when fidelity matters.
Official sources
Consulted on 25/09/2026. Availability and interface may change.
You can generate a scene with a fictional character and review the contact.
A person in the scene adds scale and action. It also creates new sources of error: the hand, support, and contact with the bottle.
In 1 minute
Use a fictional character with a described identity.
Check the hands, scale, and contact.
Save the approved reference before varying the scene.
1Create a fictional character with a purpose
A character is the person represented in the campaign.
The character should fit the situation and have enough identifying features to be recognizable, without copying a real person.
A consistent face alone does not tell the story.
Clothing, gesture, and the character’s relationship to the product also communicate their role.
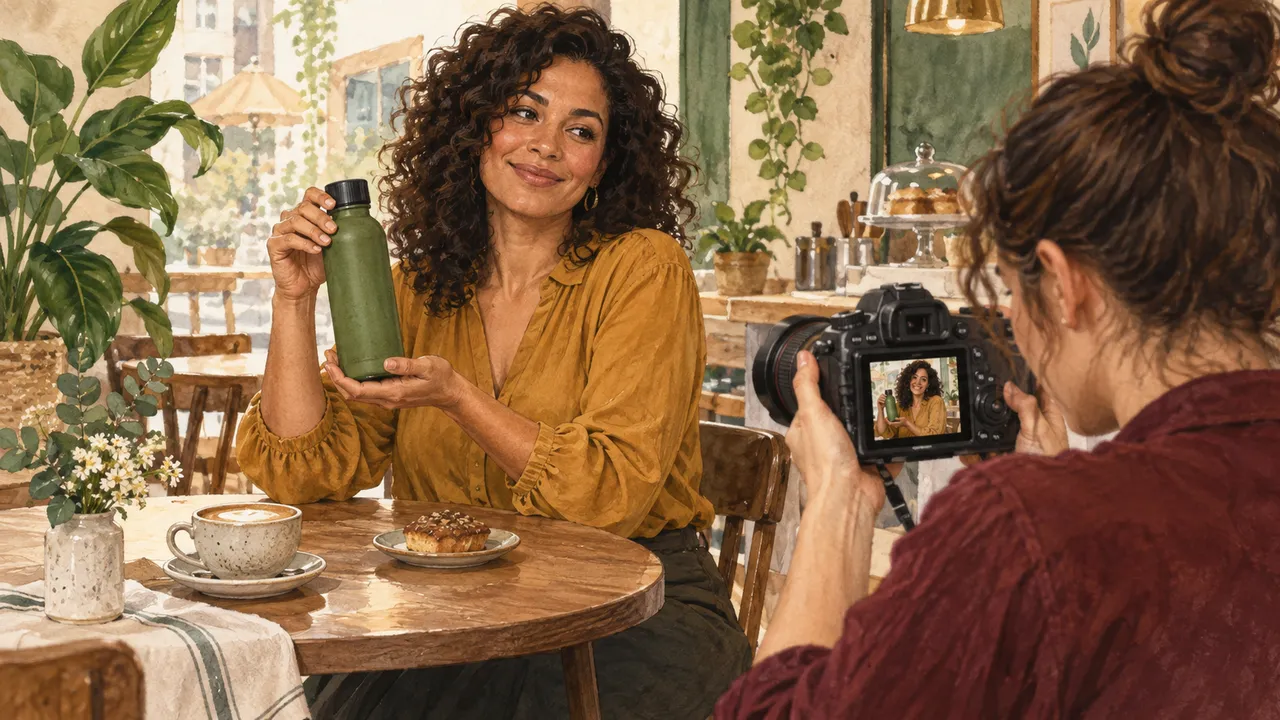
Lia, a designer, uses the example decision for a small shop poster. Fictional adult woman, short curly hair, and an ochre blouse. Her hand wraps around the bottle; the cap and fingers remain visible.
Prompts to compare · teaching example
PromptA beautiful person holds the product any way they like.
There are no observable limits to check the work against.
PromptFictional adult woman, short curly hair, and an ochre blouse. Her hand wraps around the bottle; the cap and fingers remain visible.
One change is defined, along with something that must stay the same.
Compare the two instructions. They are examples written for this lesson, with no simulated tool response.
2Person and product in the same frame
A believable interaction needs consistent scale, support, and contact.
Hands near caps and edges deserve a closer inspection.
An image may look convincing as a thumbnail but show fused fingers or a deformed product when enlarged.
The error makes the piece unusable.
Renato, a shop owner, checks the request against the note: Check fingers, scale, and contact
Completed brief · lesson example
1Identity: fictional adult, short curly hair, ochre blouse
2Action: hand wraps around the bottle
3Check: fingers, scale, and contact
Use this brief as a reference. Replace the example with your own product.
3Check the decision against its use
A nearby hand does not guarantee believable contact.
Renato uses this note to decide: check: fingers, scale, and contact.
Codex illustration, not a Nano Banana result: Notice where the fingers touch the product. The cap’s position helps you understand the bottle’s orientation.
Test yourself
The hand passes through the bottle. What should you review?
If you got stuck here, that is normalNo access to generation? Leave this practice pending. If the hand fails, ask for a simpler action: bottle resting on a table, hand beside it.
Practice now 0/3
Create a character with the product
About 10 minutes. You are done when you have saved a scene and evaluated the hands, scale, and contact.
Use your own photos or ones you are authorized to use. Fill out the brief on paper or in Notes. If the practice asks you to edit, keep the original and work on a copy.
Create a scene with a fictional adult woman with short curly hair and an ochre blouse, sitting in a café. She naturally holds the body of the reference bottle. Preserve the reference’s shape, color, finish, and cap. Show her hand, the whole product, and believable contact. Soft light, no text.
Evaluation: hands <decision>; scale <decision>; contact <decision>.
File: person-base or person-review.
After completing the steps, you can generate a scene with a fictional character and review the contact.
Lesson cheat sheet
Create a character with the product
Use a fictional character with a described identity.
Check the hands, scale, and contact.
Save the approved reference before varying the scene.
Your next step
You now have criteria for generating a scene with a fictional character and reviewing the contact.
Use this lesson’s brief with an image from your work. Set aside ten minutes and note the decision you made.
Next step: Approve a base before changing the camera angle
Supplementary material · module 2Practice and considerations for both topics. Not included in lesson time.
Create a fictional character with a purpose
Experiment at your own pace
Use the fictional adult woman described in this lesson’s brief: short curly hair and an ochre blouse. Generate a base image with her face and hair visible. Record the features you observe before reusing the image.
What to observe
The course does not require mixing faces of real people. Creating a fictional character from a description avoids relying on references when you do not know whether you have permission to use them.
Person and product in the same frame
Experiment at your own pace
First generate a simple pose with two clearly assigned references: character and product. Check the hand, cap, and contact shadow. Only then try more complex actions.
What to observe
Do not treat a preserved face as proof that everything was preserved. Evaluate the product, anatomy, and contact separately.
Official sources
Consulted on 25/09/2026. Availability and interface may change.
You can decide whether an image can guide the next pieces.
A flawed base spreads the problem across the campaign. Approving it first prevents repeating the wrong shape.
In 1 minute
Required: cylindrical body, matte green, black cap
Allowed variation: camera distance and height
A lens name does not guarantee a physically accurate camera.
1Angle and lens as visual language
Angle describes where the scene is viewed from.
Lens terms suggest a visual vocabulary, but an image generator does not have to follow the laws of a physical camera.
Describing the intended effect is essential.
A camera brand can suggest associations. It does not say how much of the setting to show or where to place the product.
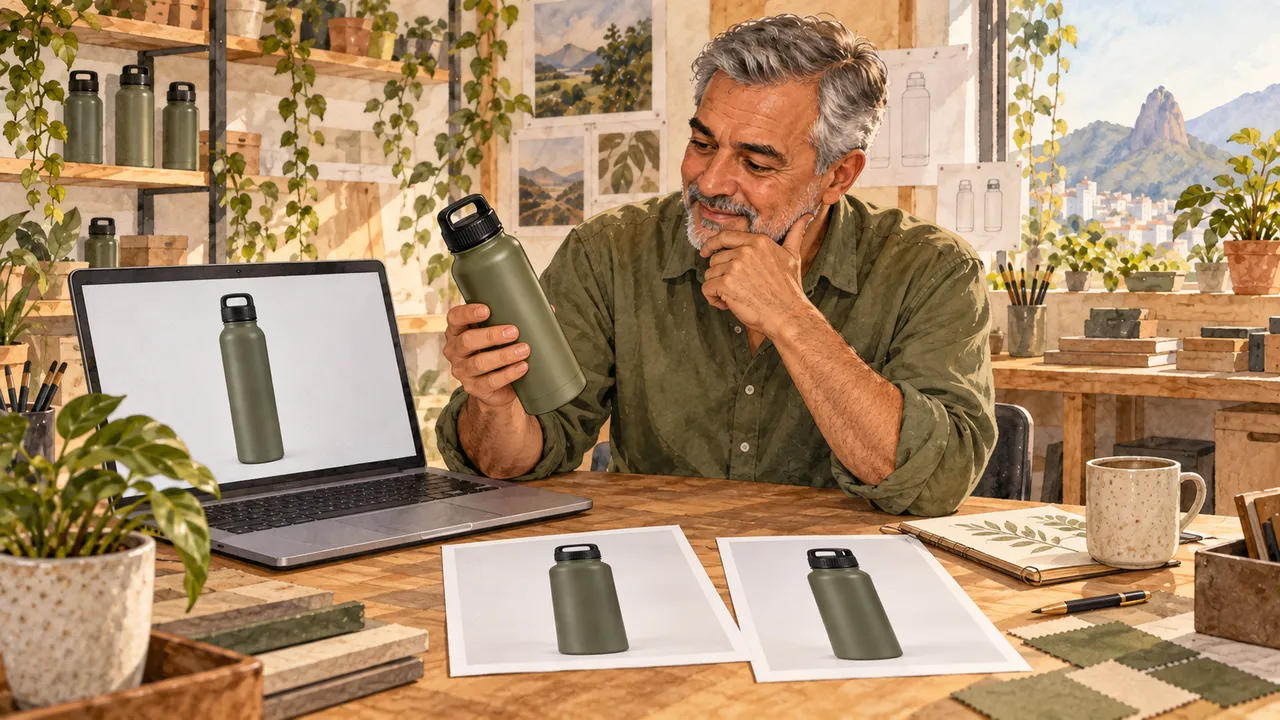
Lia, a designer, uses the example decision for a small shop poster. Approve only if the body, cap, and color meet the brief. Then vary the viewpoint while preserving the product.
Weak decision
The image has beautiful light; it can guide the series even with the wrong cap.
Verifiable decision
Approve only if the body, cap, and color meet the brief. Then vary the viewpoint while preserving the product.
Notice which characteristics make the second decision easy to check.
2Approve a base before varying it
An approved base is a version that meets the fixed criteria.
It becomes a starting point for new scenes and edits, always with a decision brief.
Varying a flawed base multiplies rework.
It is better to resolve shape and identity before exploring settings and materials.
Renato, a shop owner, checks the request against the note: Status: approved, revise, or pending
Completed brief · lesson example
1Required: cylindrical body, matte green, black cap
2Allowed variation: camera distance and height
3Status: approved, revise, or pending
Use this brief as a reference. Replace the example with your own product.
3Check the decision against its use
A lens name does not guarantee a physically accurate camera.
Renato uses this note to decide: status: approved, revise, or pending.
Codex illustration, not a Nano Banana result: The object beside the photo lets you check shape and proportions before creating other views.
Test yourself
The product changed, but the light improved. What should you do first?
If you got stuck here, that is normalDo not know lens numbers? Describe the effect: whole product, simple background, and little perspective distortion.
Practice now 0/3
Approve a base before changing the camera angle
About 10 minutes. You are done when the base has a decision and supporting evidence.
Use your own photos or ones you are authorized to use. Fill out the brief on paper or in Notes. If the practice asks you to edit, keep the original and work on a copy.
Base reviewed: <file>.
Body: <meets/revise>. Color: <meets/revise>. Cap: <meets/revise>.
Evidence: <what I saw>.
Decision: <approve, correct, or wait>.
Next view or correction: <one change>.
After completing the steps, you can decide whether an image can guide the next pieces.
Lesson cheat sheet
Approve a base before changing the camera angle
Required: cylindrical body, matte green, black cap
Allowed variation: camera distance and height
A lens name does not guarantee a physically accurate camera.
Your next step
You now have criteria for deciding whether an image can guide the next pieces.
Use this lesson’s brief with an image from your work. Set aside ten minutes and note the decision you made.
Next step: Create a short brand guide
Supplementary material · module 2Practice and considerations for both topics. Not included in lesson time.
Angle and lens as visual language
Experiment at your own pace
Observe an object at table height, then from above. Write the effect you want: cap visible, whole body, or its relationship to the table. Try both positions with your phone camera.
What to observe
Do not treat 85 mm, macro, or anamorphic as automatic proof of realism. Check distortion, focus, and composition in the resulting file.
Approve a base before varying it
Experiment at your own pace
Make a contact sheet of candidate images. Choose the most useful as a reference, not just the most dramatic. Keep the highest-quality original and record the approval.
What to observe
Avoid references with important elements cropped or hidden. The base image needs to show the characteristics you want to repeat.
Official sources
Consulted on 25/09/2026. Availability and interface may change.
You can record the palette, text, and restrictions on one page.
A brand loses consistency when every image uses a different color and tone. A short guide reduces conflicting decisions.
In 1 minute
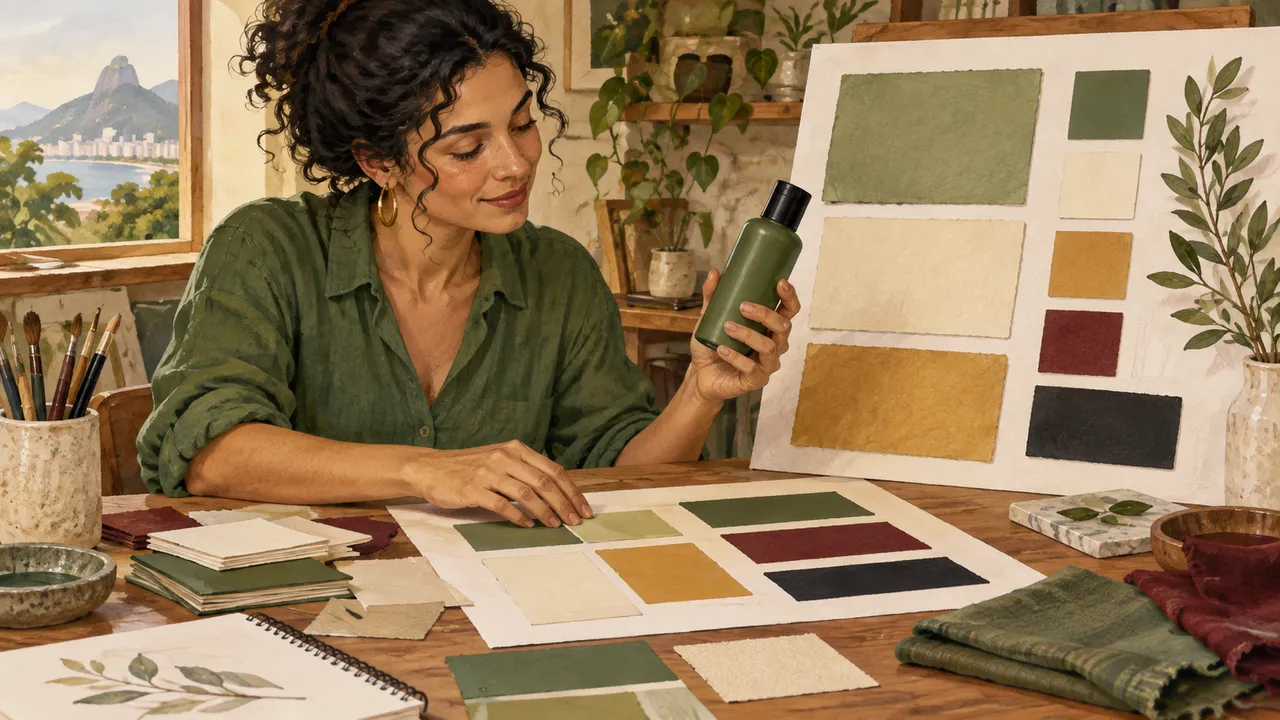
Reference green: #66755B; cream: #F4EEE2
Accent: ochre #A87732; dark text: #242820
A color code guides the choice; generation does not guarantee an exact match.
1A concise brand guide
A brand guide records recurring choices: colors, typography, name usage, image language, and restrictions.
It guides the set and reduces conflicting decisions.
Without a guide, each generation may suggest a different brand.
A simple system is enough to judge whether a piece belongs to the campaign.
Lia, a designer, uses the example decision for a small shop poster. Use #66755B as a reference for green. Check how it looks in the image; apply exact colors to solid areas in an editor.
Weak decision
Use the exact green in every shadow and texture.
Verifiable decision
Use #66755B as a reference for green. Check how it looks in the image; apply exact colors to solid areas in an editor.
Notice which characteristics make the second decision easy to check.
2Colors: intention and checking
A digital color can be recorded with six characters after #, such as #66755B.
This code is called HEX.
It guides the choice, but a lit surface may look different.
For an exact color background, use a solid area in an editor.
A campaign can look consistent without every pixel having the same value.
A brand background or logo may need the exact code set in the editor.
Renato, a shop owner, checks the request against the note: Language: an everyday pause; no technical claims
Completed brief · lesson example
1Reference green: #66755B; cream: #F4EEE2
2Accent: ochre #A87732; dark text: #242820
3Language: an everyday pause; no technical claims
Use this brief as a reference. Replace the example with your own product.
3Check the decision against its use
A color code guides the choice; generation does not guarantee an exact match.
Renato uses this note to decide: language: an everyday pause; no technical claims.
Codex illustration, not a Nano Banana result: The samples are solid color areas. Light and shadow affect the bottle, so its appearance varies.
Test yourself
The green looks different in shadow than in the sample. What is the right conclusion?
If you got stuck here, that is normalYou do not need to memorize HEX. Copy the example codes and save the color samples with the brief.
Practice now 0/3
Create a short brand guide
About 10 minutes. You are done when the guide records colors, a phrase, and two restrictions.
Use your own photos or ones you are authorized to use. Fill out the brief on paper or in Notes. If the practice asks you to edit, keep the original and work on a copy.
Brand: Brisa.
Colors: green #66755B; cream #F4EEE2; ochre #A87732.
Tagline: Brisa, an everyday pause.
Do not claim capacity or thermal insulation without data.
Final text: dark on a light background; check at the intended size.
By following the steps, you can record a palette, text, and restrictions on one page.
Lesson cheat sheet
Create a short brand guide
Reference green: #66755B; cream: #F4EEE2
Accent: ochre #A87732; dark text #242820
A color code gives direction; generation does not guarantee an exact match.
Your next step
You now have criteria for recording a palette, text, and restrictions on one page.
Use this lesson’s brief with an image from your work. Set aside ten minutes and note the decision you made.
Next step: Separate text and image in the poster
Supplementary material · module 3Activities and guidance for the two topics. Not included in lesson time.
A concise brand guide
Experiment at your own pace
Create a page with the palette, Brisa name, tagline, approved example, and three restrictions. Include a simple background, a clear product, and no invented claims.
What to observe
Do not make the guide a list of incompatible references. Start with a few rules that can be shown visually.
Colors: direction and verification
Experiment at your own pace
Use the Brisa palette in the generator as a guide. Set text, shapes, and solid backgrounds in the editor. Compare the image and layout on the device where they will be used.
What to observe
Do not sample a product reflection and conclude that the whole brand color is wrong. Distinguish an illuminated surface from a solid graphic element.
Official sources
Consulted on 25/09/2026. Availability and interface may change.
You can plan a piece with one main message and editable text.
A misspelled letter should not require generating the product again. Separate text is easier to review and adapt.
In 1 minute
Main message: Brisa, an everyday pause
Image: whole product with open space above
Readable text still needs a spelling and information check.
1Generated text needs review
Text rendering is the ability to draw letters inside an image.
Even models that can produce readable words can make spelling or accent errors, repeat text, or arrange it poorly.
A short phrase may look right in a thumbnail and be wrong when enlarged.
A person needs to read every word.
Lia, a designer, applies the example decision to a small shop poster. Keep the clean image. Add “Brisa, an everyday pause” as a separate title and review before export.
Prompts to compare · teaching example
PromptCombine text, photo, and price into one image with no original.
There are no observable limits to check the work against.
PromptKeep the clean image. Add “Brisa, an everyday pause” as a separate title and review before export.
One change is defined, along with something that must stay the same.
Compare the two instructions. They are examples written for this lesson, with no simulated tool response.
2Hierarchy: one main message
Visual hierarchy is the order in which elements attract attention.
Size, contrast, position, and spacing help create a clear entry point, an explanation, and a secondary detail.
When everything competes, nothing guides the reader.
A product piece needs to decide whether to lead with the object or the message, based on its goal.
Renato, a shop owner, checks the order against the record: Text: separate layer, editable in the editor
Completed brief · lesson example
1Main message: Brisa, an everyday pause
2Image: whole product with open space above
3Text: separate layer, editable in the editor
Use this brief as a reference. Replace the example with your own product.
3Check the decision against its use
Readable text still needs a spelling and information check.
Renato uses this note to decide: text: separate layer, editable in the editor.
Codex illustration, not a Nano Banana result: The loose strips represent text that can be repositioned without changing the product photo.
Test yourself
One word needs to change. Which arrangement makes review easier?
If you got stuck here, that is normalIf you do not use layers, always keep the image without text. You can make your plan on paper.
Practice now 0/3
Separate text and image in the poster
About 10 minutes. You are done when the layout distinguishes the image, title, and secondary text.
Use your own photos or ones you are authorized to use. Fill out the brief on paper or in Notes. If the practice asks you to edit, keep the original and work on a copy.
Exact title: Brisa, an everyday pause.
Secondary line: Meet the fictional collection.
Base image: <clean file or pending>.
Title area: <position with open space>.
Editor: <name or to be chosen>.
Check: spelling, size, and contrast.
By following the steps, you can plan a piece with one main message and editable text.
Lesson cheat sheet
Separate text and image in the poster
Main message: Brisa, an everyday pause
Image: whole product with open space above
Readable text still needs a spelling and information check.
Your next step
You now have criteria for planning a piece with one main message and editable text.
Use this lesson’s brief with an image from your work. Set aside ten minutes and note the decision you made.
Next step: Draw an infographic without inventing data
Supplementary material · module 3Activities and guidance for the two topics. Not included in lesson time.
Generated text needs review
Experiment at your own pace
To test lettering in the generator, try: Create a square piece with a cream background and only the phrase “Brisa, an everyday pause.” Check every word. Keep text editable in your final poster.
What to observe
Do not repeat claims from the asset library that text is perfect. Checking it is part of production, even when the first attempt looks right.
Hierarchy: one main message
Experiment at your own pace
Make two versions with the same content: one led by the title and one by the product. View them as thumbnails. Choose the one that better communicates the order brief’s intent.
What to observe
Do not use color alone to show importance. Size, spacing, and position also need to support readability.
Official sources
Consulted on 25/09/2026. Availability and interface may change.
You can organize three product parts with verifiable labels.
Arrows and numbers look precise. They help only when pointing to true information.
In 1 minute
Label 1: cap → top part
Label 2: body → green cylindrical area
A convincing drawing does not turn an assumption into information.
1Infographic with supplied data
An infographic organizes information through visual relationships.
The generator can help with composition, but must not invent measurements, properties, or product facts.
A technical-looking illustration can make something false seem credible.
Separating supplied data from decorative elements prevents this confusion.
Lia, a designer, applies the example decision to a small shop poster. Show only the cap, body, and base, which can be observed. Do not claim capacity or performance.
Weak decision
Invent a 24-hour insulation claim because the poster looks professional.
Verifiable decision
Show only the cap, body, and base, which can be observed. Do not claim capacity or performance.
Notice which characteristics make the second decision easy to check.
2Finish with editable layers
Layers separate the photo, text, logo, background, and graphic elements.
This organization allows format changes and review without damaging approved material.
A composition generated as one flat image can be hard to adapt.
Editable elements make it easier to fix lettering and widen margins.
Renato, a shop owner, checks the order against the record: Label 3: base → lower support
Completed brief · lesson example
1Label 1: cap → top part
2Label 2: body → green cylindrical area
3Label 3: base → lower support
Use this brief as a reference. Replace the example with your own product.
3Check the decision against its use
A convincing drawing does not turn an assumption into information.
Renato uses this note to decide: label 3: base → lower support.
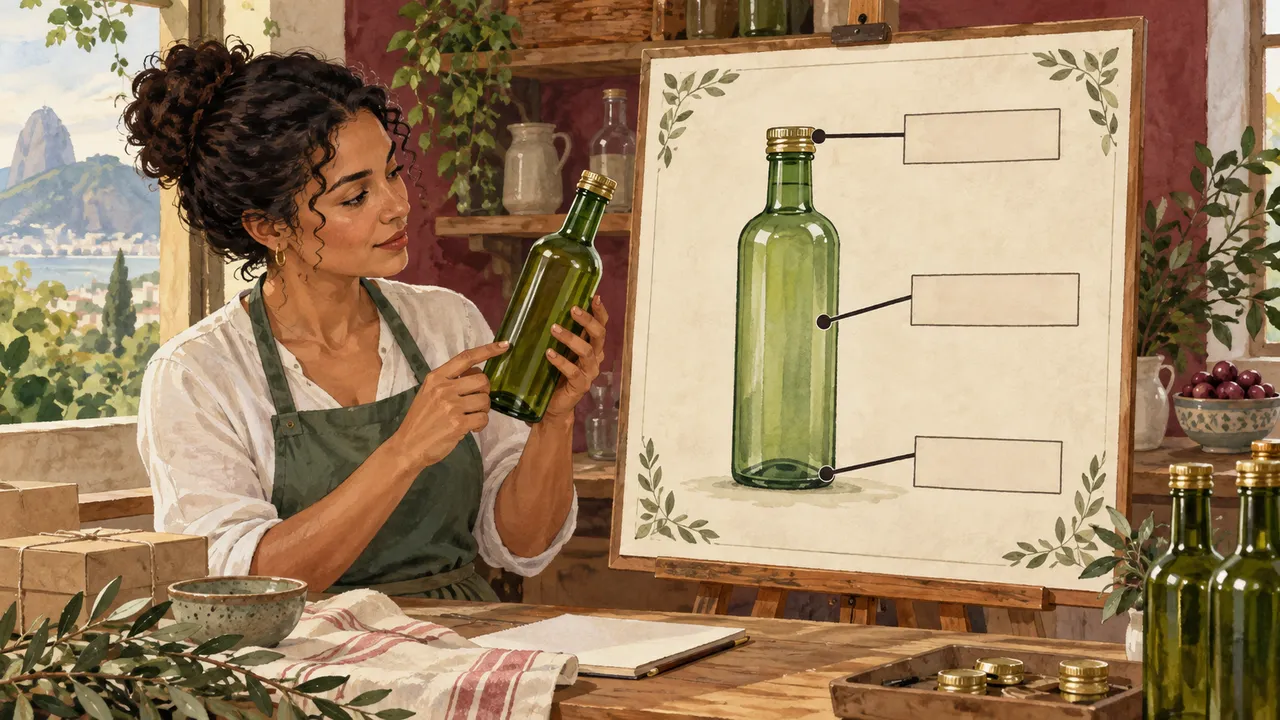
Codex illustration, not a Nano Banana result: Three lines connect empty labels to the parts. In your activity, write only names you can verify.
Test yourself
What information can you include based only on the example image?
If you got stuck here, that is normalNot good at drawing? Use a rectangle for the body and a small block for the cap. The goal is to show the relationships.
Practice now 0/3
Draw an infographic without inventing data
About 10 minutes. You are done when three labels point to the right parts and no data has been invented.
Use your own photos or ones you are authorized to use. Fill out the brief on paper or in Notes. If the practice asks you to edit, keep the original and work on a copy.
Source: observable features of the bottle.
Cap → top part.
Body → green cylinder.
Base → lower support.
Not provided: capacity, composition, and insulation.
Review: does each line point to the right part?
By following the steps, you can organize three product parts with verifiable labels.
Lesson cheat sheet
Draw an infographic without inventing data
Label 1: cap → top part
Label 2: body → green cylindrical area
A convincing drawing does not turn an assumption into information.
Your next step
You now have criteria for organizing three product parts with verifiable labels.
Use this lesson’s brief with an image from your work. Set aside ten minutes and note the decision you made.
Next step: Produce two scenes while keeping the character consistent
Supplementary material · module 3Activities and guidance for the two topics. Not included in lesson time.
Infographic using supplied data
Experiment at your own pace
Draw an infographic with three observable parts: cap, body, and base. Make the lines point to the right areas. Write the labels separately so they can be corrected.
What to observe
Do not invent capacity, temperature resistance, or manufacturing time without real data. This activity is about the object’s visible parts, not technical specifications.
Finish with editable layers
Experiment at your own pace
Create a piece with the base image, title, and phrase on separate layers. Export a copy and open it on your phone. Check that the title is readable and the product is not covered.
What to observe
Keep the editable file as well as the export. A flattened final image is not a substitute for the working file.
Official sources
Consulted on 25/09/2026. Availability and interface may change.
Produce two scenes while keeping the character consistent
You can create two setting variations and check that the identity is consistent.
Changing everything at once makes the result hard to understand. One question can guide exploration.
In 1 minute
Return to the approved base for each new variation.
Change the setting and preserve the person and product.
Compare the face, clothing, and bottle before approving.
1Explore without losing the question
Exploration is the search for alternatives for a decision.
It is more useful when it answers a question: does a simpler background make the product stand out?
Does a cool tone change the mood of the scene?
Generating many images without a hypothesis creates variety but little learning.
A small experiment helps explain what changed.
Lia, a designer, applies the example decision to a small shop poster. Compare a café and a park while keeping the bottle, format, and approximate size the same. Judge which setting communicates a pause better.
Weak decision
Change the product, person, light, and background in every attempt.
Verifiable decision
Compare a café and a park while keeping the bottle, format, and approximate size the same. Judge which setting communicates a pause better.
Notice which characteristics make the second decision easy to check.
2Change the setting while keeping continuity
Continuity means preserving characteristics across scenes.
In this activity, the face, hair, ochre shirt, and product stay the same.
Only the setting changes.
In another project, changing clothes can be intentional if it is planned.
The setting needs to fit the object and the story.
A studio shadow in an outdoor scene can reveal the composite.
Renato, a shop owner, checks the order against the record: Fixed: bottle, format, and approximate size
Completed brief · lesson example
1Person stays the same: same face, hair, and clothing as the reference
2Product stays the same: same body, green color, and black cap
3Changes: café setting to park setting
Use this brief as a reference. Replace the example with your own product.
3Check the decision against its use
A different setting does not authorize changing the product’s identity.
Renato uses the note below to decide: changes: café setting to park setting.
Codex illustration, not a Nano Banana result: The illustration shows only product continuity across settings. In your activity, also compare the character’s face, hair, shirt, and hands.
Test yourself
Which comparison helps you understand the role of the setting?
If you got stuck here, that is normalUse the base image from lesson 5 or an authorized photo of a person with a product. Preserve that photo’s characteristics. If generation is not available, leave the scenes pending.
Practice now 0/3
Produce two scenes while keeping the character consistent
About 10 minutes. You are done when two new scenes have been saved and compared with the base.
Use your own photos or ones you are authorized to use. Fill out the brief on paper or in Notes. If the practice asks you to edit, keep the original and work on a copy.
Use the attached reference of the person and product. Preserve the face, hair, shirt, and bottle. Show the person holding the bottle by a café window. Keep the whole bottle visible and the hand in natural contact with it. No text.
By following the steps, you can create two setting variations and check that the identity is consistent.
Lesson cheat sheet
Produce two scenes while keeping the character consistent
Return to the approved base for each new variation.
Change the setting and preserve the person and product.
Compare the face, clothing, and bottle before approving.
Your next step
You now have criteria for creating two setting variations and checking identity.
Use this lesson’s brief with an image from your work. Set aside ten minutes and note the decision you made.
Next step: Plan six scenes before producing them
Supplementary material · module 4Activities and guidance for the two topics. Not included in the lesson time.
Explore without losing the question
Experiment at your own pace
Choose one variable: light, background material, or framing. Make three versions and compare them against the same order brief. Write a provisional conclusion.
What to observe
A difference seen in three images is not a universal rule. Use it to decide the next round for your project.
Change the setting while keeping continuity
Experiment at your own pace
Show the same bottle on a table by a window and then on a covered patio. Preserve its shape and palette. Check the contact point, light direction, and scale.
What to observe
A change in setting may require a legitimate change in lighting. Record what must stay the same and what needs to adapt.
Official sources
Consulted on 25/09/2026. Availability and interface may change.
You can plan a sequence of six frames with distinct purposes.
Six beautiful images do not necessarily make a story. Each frame needs to add information.
In 1 minute
1 setting; 2 choice; 3 use
4 detail; 5 group; 6 closing
Planning is not the same as having six finished image files.
1One purpose for each frame
Before you sketch, choose the information each frame will add.
Setting shows the place; choice shows intent; use shows scale.
Detail explains one part; group shows context; closing leaves room for the message.
The sequence loses impact when it repeats the same information.
Defining the purpose lets you vary crops without changing the product’s identity.
Lia, a designer, applies the example decision to a small shop poster. Setting, choice, use, detail, group, and closing. One purpose per frame, always with the same product.
Prompts to compare · teaching example
PromptSix identical close-ups of the bottle, with no action or new information.
There are no observable limits to check the work against.
PromptSetting, choice, use, detail, group, and closing. One purpose per frame, always with the same product.
One change is defined, along with something that must stay the same.
Compare the two instructions. They are examples written for this lesson, with no simulated tool response.
2Storyboard: purpose of each frame
A storyboard is a visual plan for a sequence.
It shows what happens and how each moment will be framed before the final files are produced.
Without a plan, a campaign may repeat information or skip transitions.
A storyboard makes these gaps visible with little effort.
Renato, a shop owner, checks the order against the record: Fixed: matte green, cylindrical body, and black cap
Completed brief · lesson example
11 setting; 2 choice; 3 use
24 detail; 5 group; 6 closing
3Fixed: matte green, cylindrical body, and black cap
Use this brief as a reference. Replace the example with your own product.
3Check the decision against its use
Planning is not the same as having six finished image files.
Renato uses the note below to decide: fixed: matte green, cylindrical body, and black cap.
Codex illustration, not a Nano Banana result: The cards represent steps in the sequence. Final production happens later, one piece at a time.
Test yourself
Two frames show the same detail. What should you review?
If you got stuck here, that is normalYou do not need to draw people. Use simple shapes and phrases about action and framing.
Practice now 0/3
Plan six scenes before producing them
About 10 minutes. You are done when all six frames have a purpose and framing.
Use your own photos or ones you are authorized to use. Fill out the brief on paper or in Notes. If the practice asks you to edit, keep the original and work on a copy.
1 Café: establish the place; wide shot.
2 Choice: hand reaches in; whole product.
3 Use: person holds it; shows scale.
4 Detail: cap; close-up.
5 Group: bottle and bag; context.
6 Closing: whole product with room for a title.
Fixed reference: <product photo>.
By following the steps, you can plan a sequence of six frames with distinct purposes.
Lesson cheat sheet
Plan six scenes before producing them
1 setting; 2 choice; 3 use
4 detail; 5 group; 6 closing
Planning is not the same as having six finished image files.
Your next step
You now have criteria for planning a sequence of six frames with distinct purposes.
Use this lesson’s brief with an image from your work. Set aside ten minutes and note the decision you made.
Next step: Review the sequence before enlarging
Supplementary material · module 4Activities and guidance for the two topics. Not included in the lesson time.
One purpose for each frame
Experiment at your own pace
Use an image of your own as a base and request an interpretation using paper cutouts. Compare the silhouette and object position before and after. Label the version as a visual experiment.
What to observe
Do not present the restyling as a photo of the product’s actual material. A paper bottle is an interpretation, not a change in its specifications.
Storyboard: purpose of each frame
Experiment at your own pace
Fill in six frames with an action, shot, and goal. Use the module example and check for a beginning, middle, and ending. Reorder the frames if the sequence feels confusing.
What to observe
This course provides still images and planning. You do not need to generate a video to show that the sequence works.
Official sources
Consulted on 25/09/2026. Availability and interface may change.
You can identify a deviation and choose the next correction.
A small frame can hide flaws. Enlarging the collage does not recover reliable detail.
In 1 minute
Continuity: same product and outfit
Detail: inspect at the intended size
An enlarged image may invent texture instead of recovering detail.
1From small frame to final file
A frame in a collage uses only part of the total resolution.
Cropping it can help as a reference, but it does not create reliable new details.
The final image needs to be produced and reviewed on its own.
Approving the story in a grid is different from approving each file for use.
Keeping these separate prevents confusing a draft with a deliverable.
Lia, a designer, applies the example decision to a small shop poster. Use the frame as a reference. Produce the piece individually and check the product, character, and display size.
Weak decision
Crop a panel and call the enlarged file a final photo.
Verifiable decision
Use the frame as a reference. Produce the piece individually and check the product, character, and display size.
Notice which characteristics make the second decision easy to check.
2Review the sequence as a set
A continuity review checks the product, outfit, palette, position, and direction of the action.
The rhythm of a still sequence also depends on alternating wide views and details.
One frame outside the visual language can break the unity, even if it is beautiful.
The set needs to make sense without a long explanation.
Renato, a shop owner, checks the order against the record: Decision: produce individually or correct the reference
Completed brief · lesson example
1Continuity: same product and outfit
2Detail: inspect at the intended size
3Decision: produce individually or correct the reference
Use this brief as a reference. Replace the example with your own product.
3Check the decision against its use
An enlarged image may invent texture instead of recovering detail.
Renato uses the note below to decide: decision: produce individually or correct the reference.
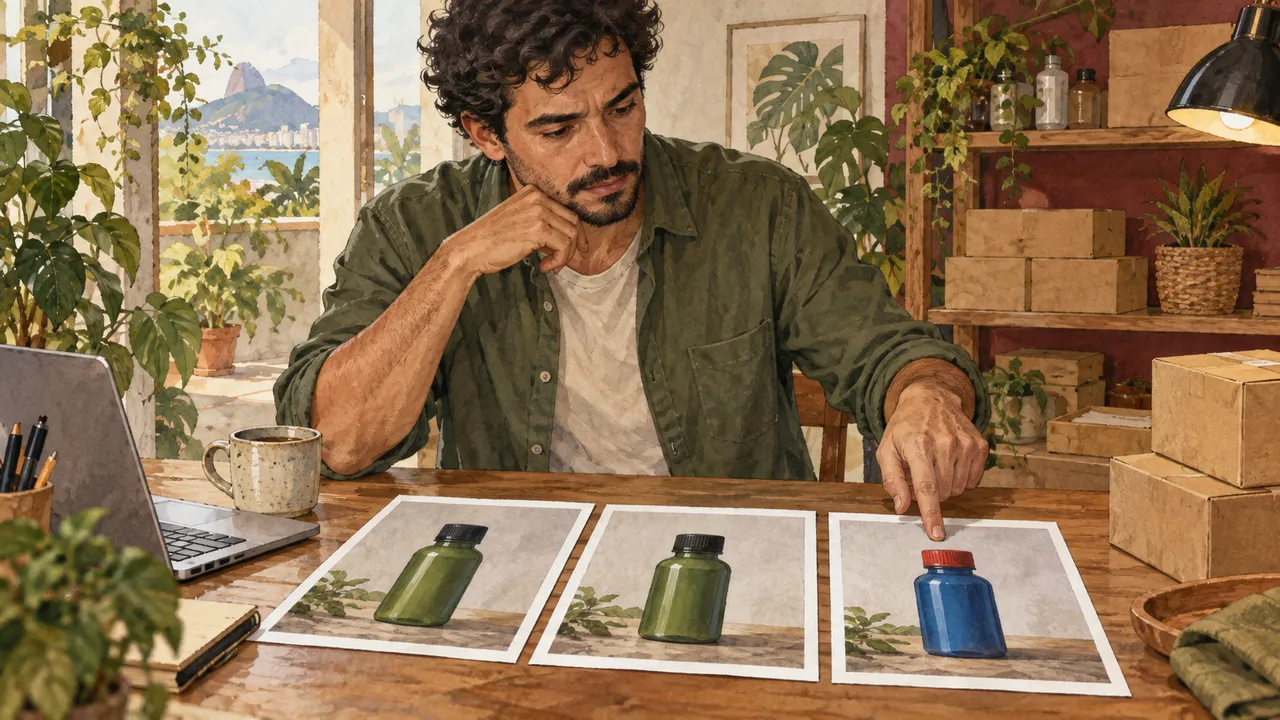
Codex illustration, not a Nano Banana result: The blue bottle with the red cap stands out. Restore its color without changing its shape.
Test yourself
The frame looks blurry when enlarged. What should you do?
If you got stuck here, that is normalCan you not see the cap? Record that there is not enough detail and request a closer crop before approval.
Practice now 0/3
Review the sequence before enlarging
About 10 minutes. You are done when one deviation has a correction and a stated status.
Use your own photos or ones you are authorized to use. Fill out the brief on paper or in Notes. If the practice asks you to edit, keep the original and work on a copy.
Piece reviewed: <which one>.
Deviation: <characteristic>.
Correction: <one change>.
Preserve: <other characteristics>.
Final use and size: <known or to be confirmed>.
Status: planning, review, or final.
By following the steps, you can identify a deviation and choose the next correction.
Lesson cheat sheet
Review the sequence before enlarging
Continuity: same product and outfit
Detail: inspect at the intended size
An enlarged image may invent texture instead of recovering detail.
Your next step
You now have criteria for identifying a deviation and choosing the next correction.
Use this lesson’s brief with an image from your work. Set aside ten minutes and note the decision you made.
Next step: Edit one thing and compare it with the base
Supplementary material · module 4Activities and guidance for the two topics. Not included in the lesson time.
From small frame to final file
Experiment at your own pace
Choose a frame, describe its action, and generate it individually using the original product and character references. Use the storyboard for composition if the tool allows it.
What to observe
Do not rely on a tiny crop alone to maintain identity. Return to higher-quality references and check details after enlargement.
Review the sequence as a set
Experiment at your own pace
Make a contact sheet and say the purpose of each image out loud. Remove repetitions and fix deviations that make it look like a different campaign.
What to observe
Do not use the same image six times as proof of consistency. Consistency means keeping the identity while each scene serves a different purpose.
Official sources
Consulted on 25/09/2026. Availability and interface may change.
You can write a short edit instruction and check for unwanted changes.
Repeated edits can move the product away from the reference. Returning to the base helps you notice the drift.
In 1 minute
Change: wall color only
Preserve: product and framing
Compare with the approved base, not only with the previous attempt.
1Editing through conversation
Some tools let you continue from an image and request changes in natural language.
That supports refinement, but each round can still introduce changes you did not request.
Conversation history adds context, but it does not replace checking the result.
The more steps you take, the more important it is to save approved points along the way.
Lia, a designer, applies the example decision to a small shop poster. Change only the wall to light gray. Preserve the body, cap, and framing. Compare it with the first approved base.
Weak decision
Improve everything and keep editing the latest attempt without comparing.
Verifiable decision
Change only the wall to light gray. Preserve the body, cap, and framing. Compare it with the first approved base.
Notice which characteristics make the second decision easy to check.
2Control identity drift
Drift is the gradual departure from the original characteristics across generations or edits.
It can appear in a face, product shape, or palette.
A small deviation in each round can lead to a different character or product after several edits.
The comparison needs to go back to the original.
Renato, a shop owner, checks the order against the record: Compare: approved original and new version
Completed brief · lesson example
1Change: wall color only
2Preserve: product and framing
3Compare: approved original and new version
Use this brief as a reference. Replace the example with your own product.
3Check the decision against its use
Compare with the approved base, not only with the previous attempt.
Renato uses the note below to decide: compare: approved original and new version.
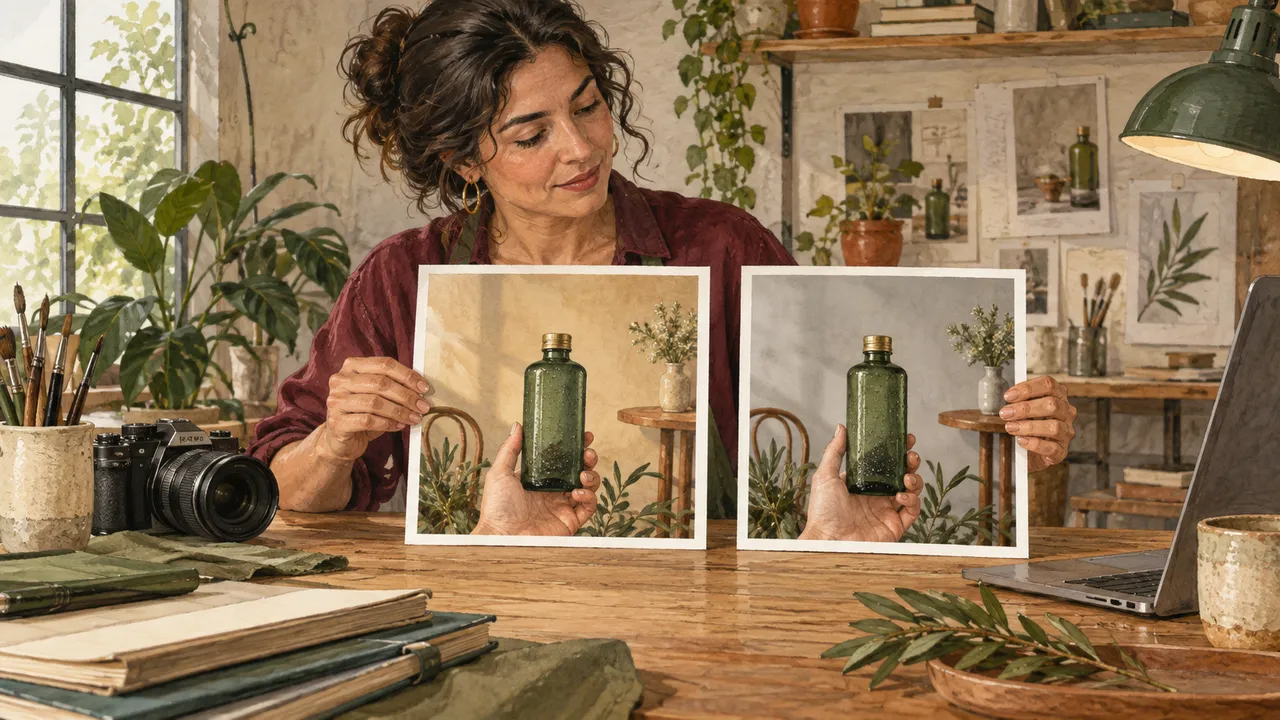
Codex illustration, not a Nano Banana result: The prints illustrate a wall color change. The body, hand, and cap also need to be checked.
Test yourself
The fifth edit looks like a different product. Which reference should you use?
If you got stuck here, that is normalIf the tool keeps drifting, return to the original and simplify. Keep the attempt as a revision, not a final.
Practice now 0/3
Edit one thing and compare it with the base
About 10 minutes. You are done when the prompt limits the change and the comparison has evidence.
Use your own photos or ones you are authorized to use. Fill out the brief on paper or in Notes. If the practice asks you to edit, keep the original and work on a copy.
Edit the attached base image: change only the wall to light gray. Preserve the product exactly as it appears in the reference, including its body, color, cap, and framing. Do not change the hand or its position.
By following the steps, you can write a short edit instruction and evaluate unwanted changes.
Lesson cheat sheet
Edit one thing and compare it with the base
Change: wall color only
Preserve: product and framing
Compare with the approved base, not only with the previous attempt.
Your next step
You now have criteria for writing a short edit instruction and evaluating unwanted changes.
Use this lesson’s brief with an image from your work. Set aside ten minutes and note the decision you made.
Next step: Combine references without mixing identities
Supplementary material · module 5Activities and guidance for the two topics. Not included in lesson time.
Editing through conversation
Experiment at your own pace
Make a small edit, save it, and compare. Instead of saying “improve everything,” describe the element, the change, and what to preserve. Name the approved version before continuing.
What to observe
Do not chain many corrections if the image is moving away from the base. Return to an approved version and give a more localized instruction.
Control identity drift
Experiment at your own pace
Put the base and current version side by side. Check five fixed characteristics. If there is a deviation, use the approved reference again and request one correction.
What to observe
Comparing only with the immediately previous version can hide accumulated change. Keep the original available at all times.
Official sources
Consulted on 25/09/2026. Availability and interface may change.
You can assign the person, product, and setting to separate files.
The generator may copy details from the wrong reference. Stating each role makes review more objective.
In 1 minute
A: character; face, hair, and clothes
B: product; shape, color, and cap
Match A, B, and C to the labels shown in your interface.
1Use references with clear roles
Multiple references work best when their roles are clear and compatible.
One can guide the person, another the object, and another the setting; the prompt should explain these relationships.
Conflicts between files can lead the model to choose the wrong features.
The solution may be to remove a reference, not add another.
Lia, a designer, applies the example decision to a small shop poster. A defines the fictional character; B defines the bottle; C guides only the café. Do not copy another product or outfit from the setting.
Prompts to compare · teaching example
PromptMix these three images and use everything from all of them.
There are no observable limits to check the work against.
PromptA defines the fictional character; B defines the bottle; C guides only the café. Do not copy another product or outfit from the setting.
One change is defined, along with something that must stay the same.
Compare the two instructions. They are examples written for this lesson, with no simulated tool response.
2Restyle an approved composition
Restyling can keep the scene layout while changing its visual language.
This method is useful for exploring an illustrated campaign without rebuilding the whole story.
Separating structure from finish makes it possible to study the effect of style.
The product still needs to be recognizable within the concept.
Renato, a shop owner, checks the order against the record: C: setting; café and light
Completed brief · lesson example
1A: character; face, hair, and clothes
2B: product; shape, color, and cap
3C: setting; café and light
Use this brief as a reference. Replace the example with your own product.
3Check the decision against its use
Match A, B, and C to the labels shown in your interface.
Renato uses the note below to decide: C: setting; café and light.
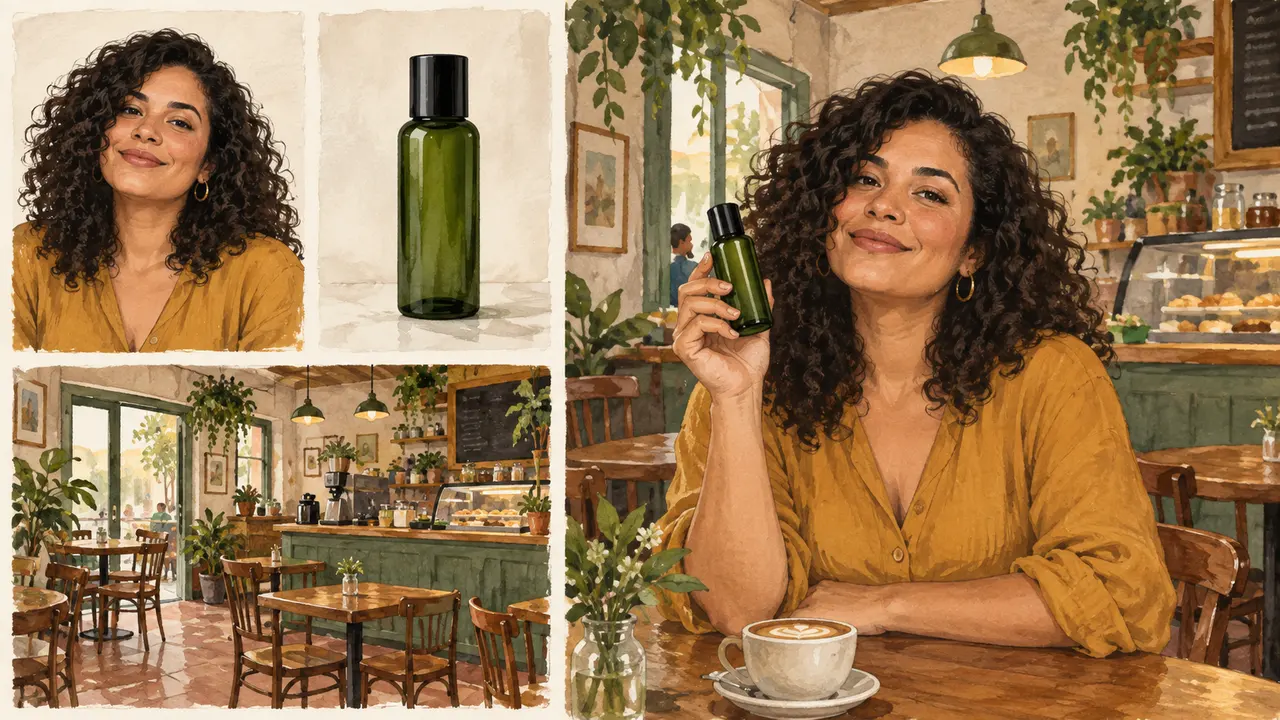
Codex illustration, not a Nano Banana result: The separate references show the person, product, and place. The final composition needs to respect those roles.
Test yourself
The café photo changed the character’s clothes. Which limit was missing?
If you got stuck here, that is normalDoes your account accept only one reference? Work with the product first. Describe the setting in text and record the limitation.
Practice now 0/3
Combine references without mixing identities
About 10 minutes. You are done when each reference has a role and a limit.
Use your own photos or ones you are authorized to use. Fill out the brief on paper or in Notes. If the practice asks you to edit, keep the original and work on a copy.
A: <file or pending> → fictional person; ignore the setting.
B: <file or pending> → bottle; ignore the background.
C: <file or pending> → café and light; ignore people and products.
Check: face, clothes, cap, and color.
Status: plan or execution.
By following the steps, you can assign the person, product, and setting to separate files.
Lesson cheat sheet
Combine references without mixing identities
A: character; face, hair, and clothes
B: product; shape, color, and cap
Match A, B, and C to the labels shown in your interface.
Your next step
You now have criteria for assigning the person, product, and setting to separate files.
Use this lesson’s brief with an image from your work. Set aside ten minutes and note the decision you made.
Next step: Adapt the format while preserving the piece
Supplementary material · module 5Activities and guidance for the two topics. Not included in lesson time.
Use references with clear roles
Experiment at your own pace
Make a table with file, role, and what to preserve. Use two references in the first test and check the result. Add a third only when its role is clear.
What to observe
Do not promise that the same number of references works in every interface. Limits and how references are assigned depend on the service and selected model.
Restyle an approved composition
Experiment at your own pace
Use the planning collage or one of your own frames. Request a flat geometric interpretation while preserving the main positions. Compare the silhouette and hierarchy with the original.
What to observe
A style translation can change identity details. Treat it as a new candidate and review it using the same criteria.
Official sources
Consulted on 25/09/2026. Availability and interface may change.
You can plan a vertical format without distorting the product.
Stretching an image changes proportions. Adapting it means deciding what to crop, move, or expand.
In 1 minute
Preserve: bottle proportions and identity
Change: background area and text placement
Resizing the file does not rearrange the composition for you.
1Adapt the format with intent
Adapting is more than resizing.
A square and a vertical design may require repositioning the object, expanding the background, and rearranging text.
Essential content needs to remain readable.
A design that works on desktop can feel cramped on a phone.
Planning open areas makes it easier to create versions without covering the product or face.
Lia, a designer, applies the example decision to a small shop poster. Keep the product’s proportions and add background. Rearrange the title and open space in a vertical format.
Weak decision
Stretch the square until the bottle is tall and narrow.
Verifiable decision
Keep the product’s proportions and add background. Rearrange the title and open space in a vertical format.
Notice which characteristics make the second decision easy to check.
2Prepare the editable package
An editable package contains base images, finals, and layout files.
It also records what was generated, what was retouched, and which references were used.
The campaign needs to remain editable for review.
A new tagline or format should not require starting all the images over.
Renato, a shop owner, checks the order against the record: Save: clean base and file with separate text
Completed brief · lesson example
1Preserve: bottle proportions and identity
2Change: background area and text placement
3Save: clean base and file with separate text
Use this brief as a reference. Replace the example with your own product.
3Check the decision against its use
Resizing the file does not rearrange the composition for you.
Renato uses the note below to decide: save: clean base and file with separate text.
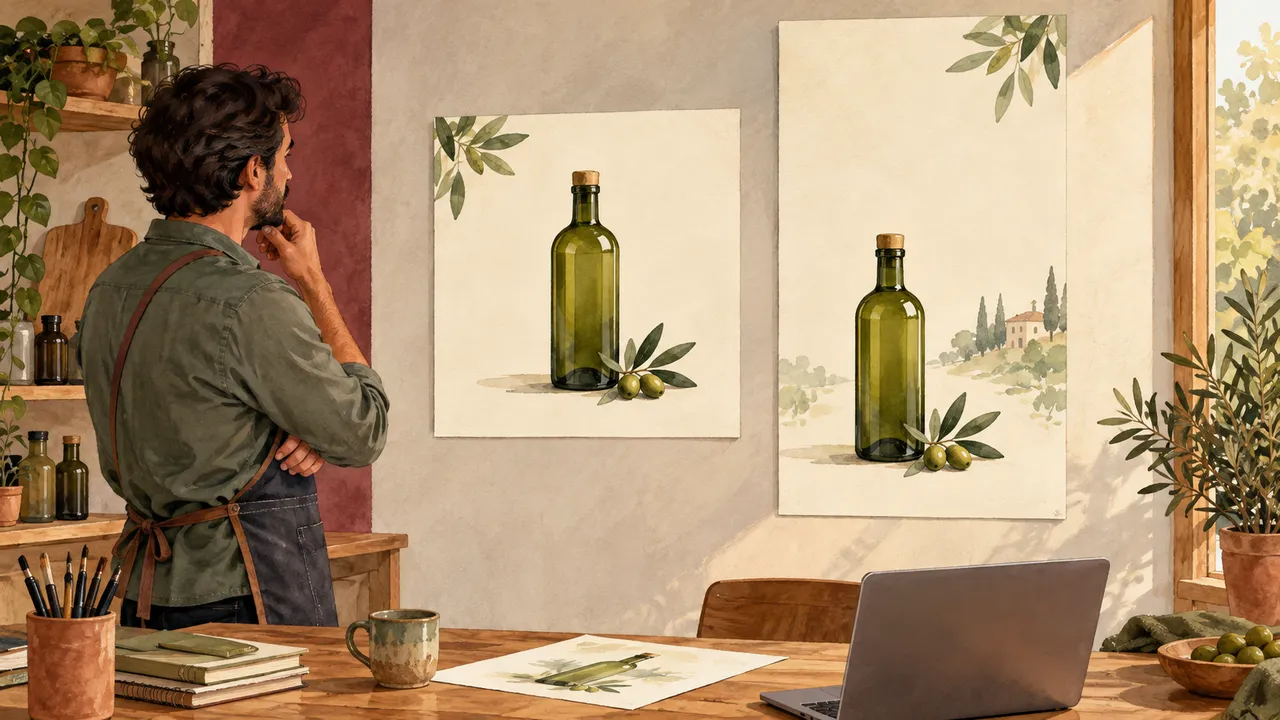
Codex illustration, not a Nano Banana result: The two frames change format. The bottle keeps its proportions; the surrounding space is rearranged.
Test yourself
The bottle looks narrow in the vertical version. What happened?
If you got stuck here, that is normalNo editor right now? Compare the two drawings. The activity asks for an adaptation plan, not a pretend export.
Practice now 0/3
Adapt the format while preserving the piece
About 10 minutes. You are done when the vertical plan preserves the product and lists the needed files.
Use your own photos or ones you are authorized to use. Fill out the brief on paper or in Notes. If the practice asks you to edit, keep the original and work on a copy.
Starting format: square. Destination: vertical.
Product: keep its shape and proportions.
Background: expand above and below if needed.
Text: rearrange on a separate layer.
Save: base, editable file, and final.
Check: outline, spacing, and readability.
By following the steps, you can plan a vertical format without distorting the product.
Lesson cheat sheet
Adapt the format while preserving the piece
Preserve: bottle proportions and identity
Change: background area and text placement
Resizing the file does not rearrange the composition for you.
Your next step
You now have criteria for planning a vertical format without distorting the product.
Use this lesson’s brief with an image from your work. Set aside ten minutes and note the decision you made.
Next step: Take inventory of the campaign
Supplementary material · module 5Activities and guidance for the two topics. Not included in lesson time.
Adapt the format with intent
Experiment at your own pace
Make a square and a vertical version. Crop when there is room; expand when more area is needed. Move text on separate layers and check the result at display size.
What to observe
Do not stretch the image to fill a format. That changes proportions and can distort the product and character.
Prepare the editable package
Experiment at your own pace
Organize by purpose: product, character, campaign, and finals. Include a generation record for each piece and a file with visual rules. Keep the original versions.
What to observe
Exporting your journey saves notes and course progress, not campaign files. Back up campaign materials separately.
Official sources
Consulted on 25/09/2026. Availability and interface may change.
You can identify finished pieces, revisions, and missing deliverables.
Without a list, duplicate files can look like progress. An inventory separates actual deliverables from planning.
In 1 minute
Product: three different views
Character: three distinct scenes with the same identity
Planning and final files need different statuses.
1Check the deliverables list
The deliverables include three product images and three scenes with a character.
They also include a poster, a parts infographic, and a six-frame plan.
Some pieces may reuse approved base images.
A clear list helps finish the project and check that each part has a purpose.
Planned reuse prevents unnecessary generation.
Lia, a designer, applies the example decision to a small shop poster. Check purpose and identity: three product views, three scenes with a person, poster, infographic, and six-frame plan.
Weak decision
Count the same photo under three different names as three different views.
Verifiable decision
Check purpose and identity: three product views, three scenes with a person, poster, infographic, and six-frame plan.
Notice which characteristics make the second decision easy to check.
2Review identity
The review compares each piece with the approved references.
The product and character need to remain recognizable, even when the action or framing changes.
A campaign can have a consistent palette and still show different products.
Identity needs its own review.
Renato, a shop owner, checks the order against the record: Composition: poster, infographic, and six-frame sequence
Completed brief · lesson example
1Product: three different views
2Character: three distinct scenes with the same identity
3Composition: poster, infographic, and six-frame sequence
Use this brief as a reference. Replace the example with your own product.
3Check the decision against its use
Planning and final files need different statuses.
Renato uses the note below to decide: composition: poster, infographic, and six-frame sequence.
Codex illustration, not a Nano Banana result: The pieces are grouped by purpose. Each inventory row needs a file or a clearly marked pending item.
Test yourself
Two identical copies have different names. How many distinct pieces are there?
If you got stuck here, that is normalDid you not produce everything? The inventory is meant to show what is missing. Do not mark the campaign as delivered.
Practice now 0/3
Take inventory of the campaign
About 10 minutes. You are done when nine deliverables have a file or pending status and there is a next action.
Use your own photos or ones you are authorized to use. Fill out the brief on paper or in Notes. If the practice asks you to edit, keep the original and work on a copy.
Deliverable | file | status
Products 1, 2, 3: <files or pending>.
People 1, 2, 3: <files or pending>.
Poster: <file/pending>.
Infographic: <file/pending>.
Sequence: <six-frame plan/pending>.
Next action: <one task>.
By following the steps, you can identify finished pieces, revisions, and missing deliverables.
Lesson cheat sheet
Take inventory of the campaign
Product: three different views
Character: three distinct scenes with the same identity
Planning and final files need different statuses.
Your next step
You now have criteria for identifying finished pieces, revisions, and missing deliverables.
Use this lesson’s brief with an image from your work. Set aside ten minutes and note the decision you made.
Next step: Review the text and record a correction
Supplementary material · module 6Activities and guidance for the two topics. Not included in the lesson time.
Check the deliverables list
Experiment at your own pace
Mark which base images already exist. Link each one to a deliverable. Generate only what is missing or needs correction; label the storyboard as planning.
What to observe
Do not count duplicate files with different names as new pieces. Explain when one base image supports more than one layout.
Review identity
Experiment at your own pace
Use the contact sheet and enlarge critical details: face, hair, cap, and rim. Write down deviations and correct any that prevent recognition.
What to observe
An impactful image does not make up for changing a product the brief says to preserve. Fix it before presenting.
Official sources
Consulted on 25/09/2026. Availability and interface may change.
You can correct information and explain the revision.
A visual review can miss an invented claim. Text needs a separate check.
In 1 minute
Practice original: keeps cold for 24 hours
Available data: no insulation measurement
The before and after shows a decision, not a sales conversion.
1Review text and information
An editorial review checks spelling, punctuation, data, labels, and the match between caption and image.
In the infographic, every arrow should point to the part named.
Text errors can survive a visual review when attention is on the photos.
Checking needs to be a deliberate step.
Lia, a designer, applies the example decision to a small shop poster. Replace it with “Brisa, an everyday pause.” Record that the review removed an unsupported claim.
Prompts to compare · teaching example
PromptBrisa keeps your drink cold for 24 hours: claim not provided.
There are no observable limits to check the work against.
PromptReplace it with “Brisa, an everyday pause.” Record that the review removed an unsupported claim.
One change is defined, along with something that must stay the same.
Compare the two instructions. They are examples written for this lesson, with no simulated tool response.
2Present the before and after
A case study explains a decision and shows the change it made.
A useful pair keeps the scale comparable and identifies the problem that was fixed.
Showing the process makes the learning visible.
It shows how you chose, not only that you generated images.
Renato, a shop owner, checks the order against the record: Revision: an everyday pause
Completed brief · lesson example
1Practice original: keeps cold for 24 hours
2Available data: no insulation measurement
3Revision: an everyday pause
Use this brief as a reference. Replace the example with your own product.
3Check the decision against its use
The before and after shows a decision, not a sales conversion.
Renato uses the note below to decide: revision: an everyday pause.
Codex illustration, not a Nano Banana result: The text strip is handled separately. Reviewing information does not require changing the whole photo.
Test yourself
What evidence supports the change in this activity?
If you got stuck here, that is normalYou can do the whole review on paper. You do not need to generate a new image to correct the phrase.
Practice now 0/3
Review the text and record a correction
About 10 minutes. You are done when one phrase has actually been corrected and the reason is recorded.
Use your own photos or ones you are authorized to use. Fill out the brief on paper or in Notes. If the practice asks you to edit, keep the original and work on a copy.
Before: Brisa keeps your drink cold for 24 hours.
Source for this claim: not provided.
After: Brisa, an everyday pause.
Reason: remove an unsupported claim in this exercise.
Observed result: text without a performance claim.
By following the steps, you can correct information and explain the revision.
Lesson cheat sheet
Review the text and record a correction
Practice original: keeps cold for 24 hours
Available data: no insulation measurement
The before and after shows a decision, not a sales conversion.
Your next step
You now have criteria for correcting information and explaining the revision.
Use this lesson’s brief with an image from your work. Set aside ten minutes and note the decision you made.
Next step: Organize the delivery and choose your next practice
Supplementary material · module 6Activities and guidance for the two topics. Not included in the lesson time.
Review text and information
Experiment at your own pace
Read the piece with text aloud. Check the phrase against the order brief, then inspect the infographic. Look for seals or claims that were not requested.
What to observe
A professional appearance does not make information true. Remove invented data. Keep only what was provided or observed.
Present the before and after
Experiment at your own pace
Choose a useful correction, such as cleaning the background or preserving the cap. Show the base, edit, and final with one sentence of evidence. Identify the brand as fictional.
What to observe
Do not invent client approval, reach, or conversion. Present the project as an original AI exercise.
Official sources
Consulted on 25/09/2026. Availability and interface may change.
Organize the delivery and choose your next practice
You can create a file structure that clearly shows pending work.
A folder full of tests does not explain the campaign. Clear names make it easier to open, review, and continue the work.
In 1 minute
Finals: approved pieces only
References and sources: bases and editable composition
Exporting course progress does not include your external images.
1Organize and export
The delivery needs clear filenames, verified dimensions, and separate folders for final files and editable sources.
A set of instructions explains what is in the package.
Work that is hard to find or review creates rework, even when the images are good.
Organization is part of production.
Lia, a designer, applies the example decision to a small shop poster. Separate finals, references, and sources. Include a record of the model used, changes, and pieces still pending.
Weak decision
Deliver tests, references, and finals mixed together without labels.
Verifiable decision
Separate finals, references, and sources. Include a record of the model used, changes, and pieces still pending.
Notice which characteristics make the second decision easy to check.
2Assess the skills you gained
The goal is to turn an order brief into a series, preserve identity, edit deviations, and explain decisions.
A completion note does not prove these skills.
Applying the method to another product shows whether you learned the process or only followed an example.
Reflection helps choose the next practice.
Renato, a shop owner, checks the order against the record: Record: decisions, model, and pending work
Completed brief · lesson example
1Finals: approved pieces only
2References and sources: bases and editable composition
3Record: decisions, model, and pending work
Use this brief as a reference. Replace the example with your own product.
3Check the decision against its use
Exporting course progress does not include your external images.
Renato uses the note below to decide: record: decisions, model, and pending work.
Codex illustration, not a Nano Banana result: The folders separate deliverables, references, and records. Only a reviewed piece belongs in the finals folder.
Test yourself
You exported the course progress. Where are the campaign images?
If you got stuck here, that is normalCould you not find New Folder? Use an existing folder and name files with the prefixes final-, reference-, and source-. Record the naming system.
Practice now 0/3
Organize the delivery and choose your next practice
About 10 minutes. You are done when folders or prefixes organize the files and the record separates deliverables from pending work.
Use your own photos or ones you are authorized to use. Fill out the brief on paper or in Notes. If the practice asks you to edit, keep the original and work on a copy.
Project: Brisa, original exercise.
Model used: <observed name or not used yet>.
Finals: <files or none yet>.
References: <authorized source>.
Editable sources: <files or pending>.
Limitations: <what is missing>.
Next practice: <one action>.
By following the steps, you can create a file structure that clearly shows pending work.
Lesson cheat sheet
Organize the delivery and choose your next practice
Finals: approved pieces only
References and sources: bases and editable composition
Exporting course progress does not include your external images.
Your next step
You now have criteria for creating a file structure that clearly shows pending work.
Use this lesson’s brief with an image from your work. Set aside ten minutes and note the decision you made.
Next step: Apply the method to another product and compare your decisions.
Supplementary material · module 6Activities and guidance for the two topics. Not included in the lesson time.
Organize and export
Experiment at your own pace
Export the final pieces and check the dimensions of each one. Include layout sources, prompts, and authorized references. Keep a copy of the clean bases without text.
What to observe
Do not deliver unidentified test files with the finals. Do not replace the editable file with the only flattened export.
Assess the skills you gained
Experiment at your own pace
Imagine replacing the bottle with a lamp. Describe what changes in its shape, reflections, and support points. List one task you completed and one you still need to do.
What to observe
The course was not evaluated in a student test. Use your deliverable and process evidence to assess your own progress.
Official sources
Consulted on 25/09/2026. Availability and interface may change.