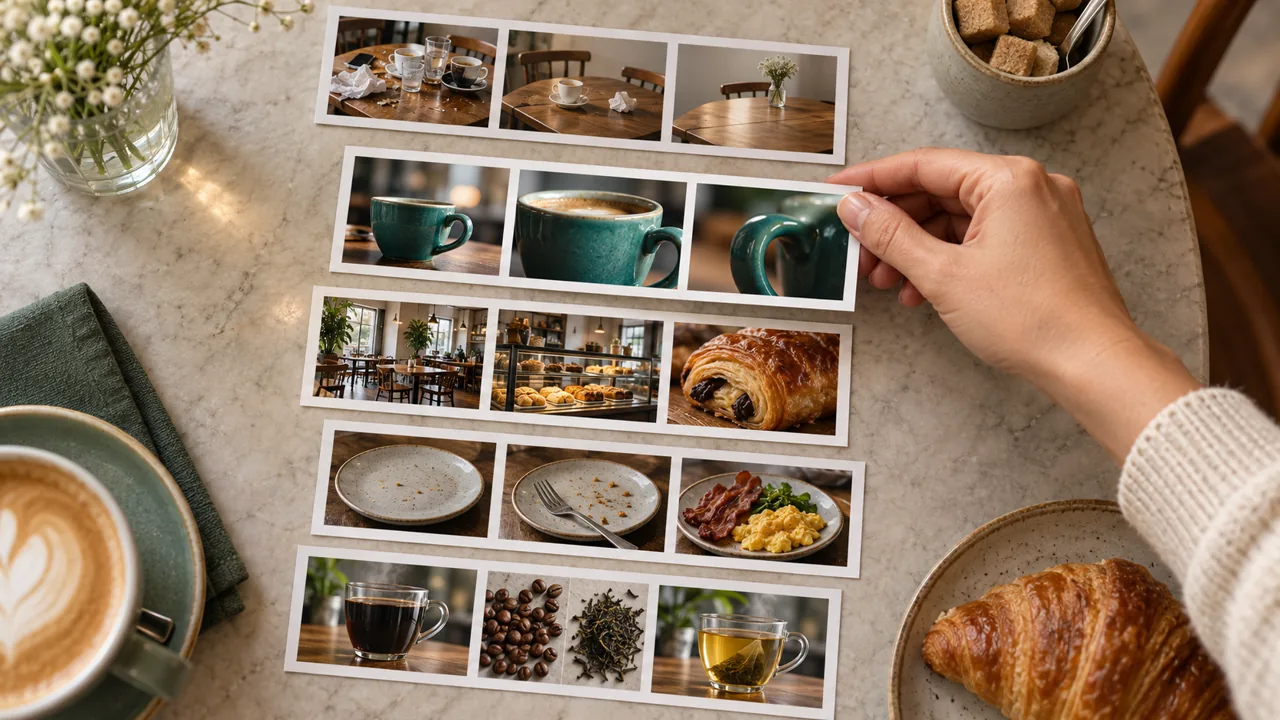
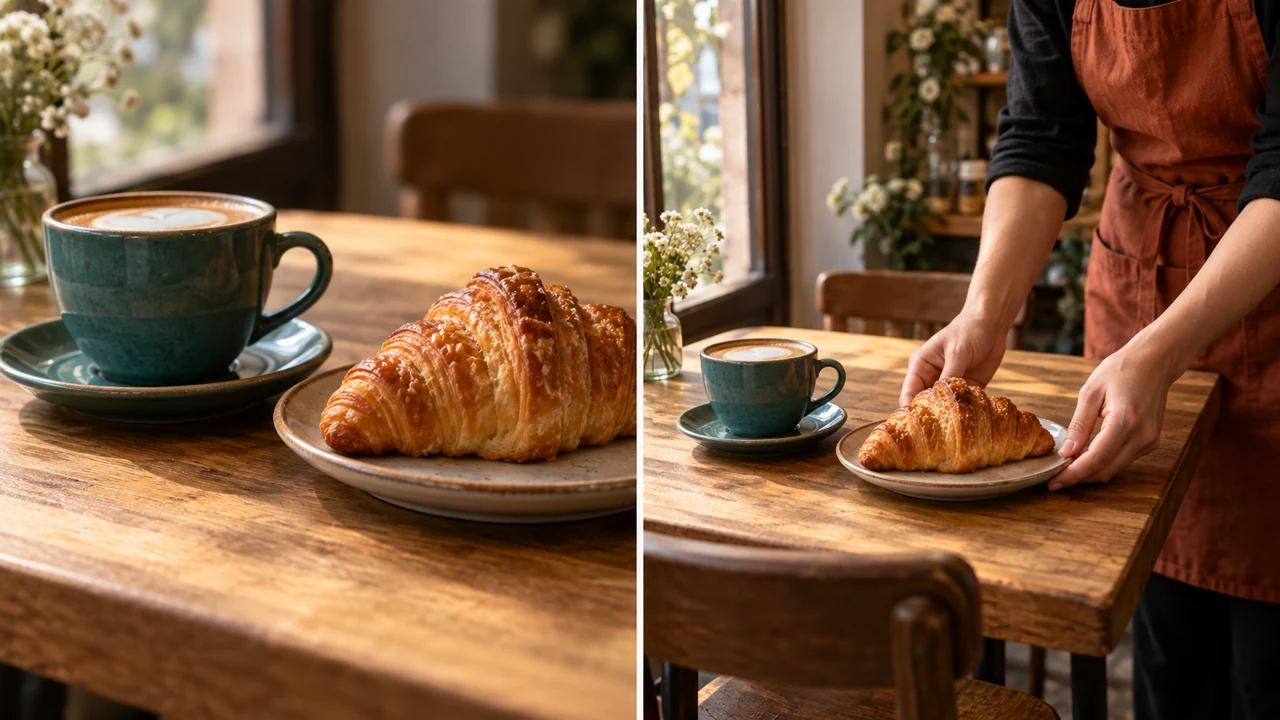
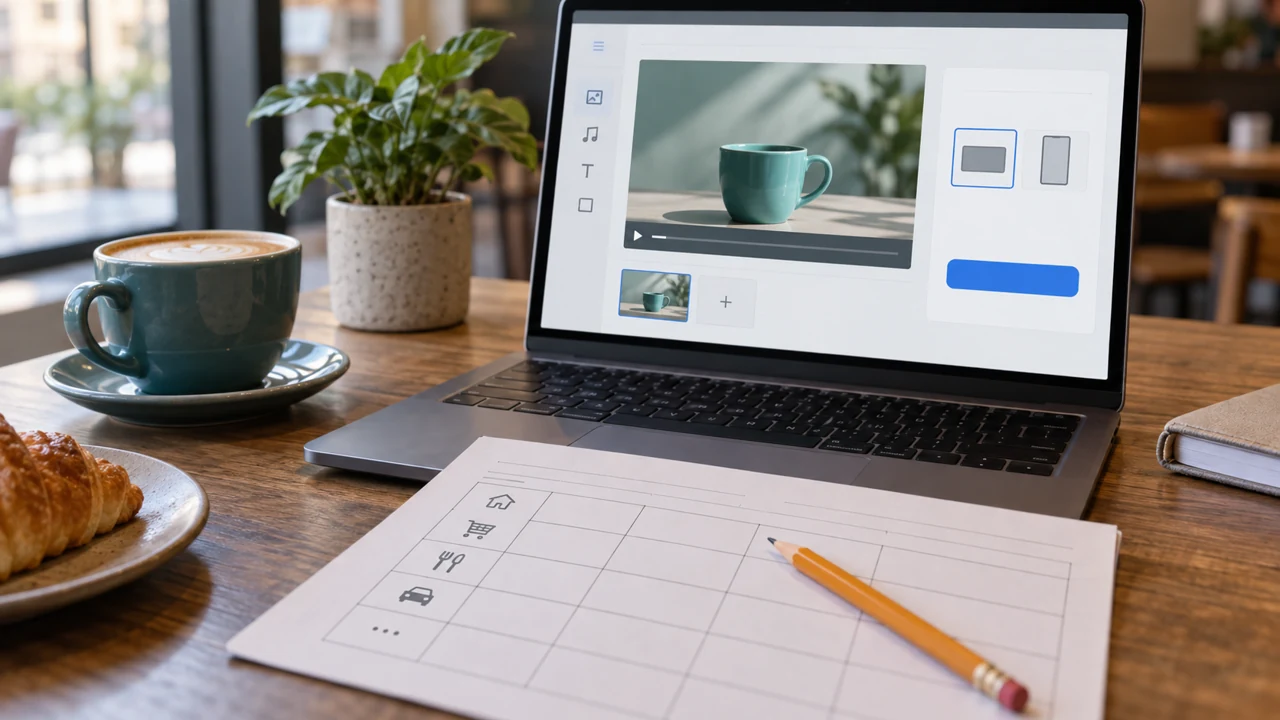
You can define the audience, action, and limit for a short video.
When your first idea tries to show everything, each scene creates another decision. A smaller scope lets you finish and learn.
In 1 minute
Audience: neighbors looking for a break
Full video: 15–20 seconds, divided into four shots
Limit: no more than two tries per shot
1Scope: the size of your first deliverable
Scope is the limit of the work.
Our example is a 15- to 20-second invitation for the fictional Ponto da Pausa café.
The audience is neighbors looking for a quiet break.
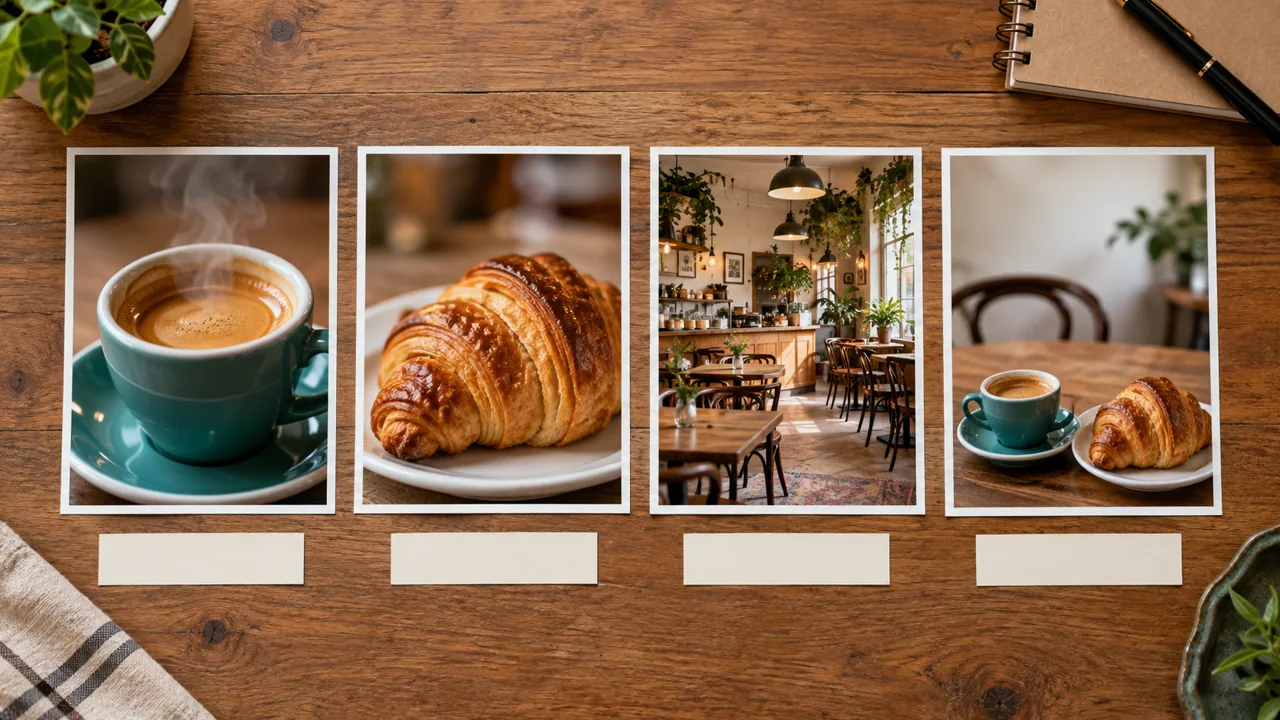
The video will have four shots: a cup, a snack close-up, the café, and an invitation.
A shot is one continuous segment with no cut.
A simple video makes it easier to notice where the image changed or the message became unclear.
The 24-hour deadline is an organization challenge.
Account access, credits, generation queues, and review time may require another day.
Caio, a 29-year-old communications student, replaces the business’s whole story with a twenty-second invitation.
Prompts to compare · teaching example
PromptA complete café film with five characters and many transformations.
There are no observable limits to check the work against.
PromptFour shots totaling up to 20 seconds, inviting people to visit the café.
There are clear criteria for checking the decision.
Compare the two instructions. They are examples written for this lesson, with no simulated tool response.
2Control before spectacle
A usable result depends on repeatable decisions: a recognizable product, similar lighting, and one action per shot.
Changing the setting, face, and camera at the same time increases what you need to check.
In this course, the sequence is reference, still image, motion, and edit.
Review each step as you go.
A flashy transition cannot fix a handle that disappeared.
Choosing what must stay the same first makes it easier to decide whether a generated result works.
Also set a limit on the number of tries before spending credits.
Helena, a 55-year-old café owner, keeps the same cup and setting so viewers recognize her offer.
Completed brief · lesson example
1Audience: neighbors looking for a break
2Full video: 15–20 seconds, divided into four shots
3Limit: no more than two tries per shot
Use this sheet as a reference. Replace the example with your own project.
3Check the decision against its use
A completed brief ends the planning stage; only a playable file proves the video was produced.
Helena uses the sheet to check: limit: no more than two tries per shot.
Teaching illustration created in Codex: The blank cards represent scenes that still need decisions. The camera on the table is illustrative; equipment is not required.
Test yourself
The first project depends on many expensive scenes. What choice will help you finish?
If you got stuck here, that is normalIf your idea feels too big, choose just one product and one invitation. You can expand later.
Practice now 0/3
Define a video you can make today
About 10 minutes of practice. You are done when the brief has an audience, action, duration, limits, and access status.
Use files you own or are allowed to use. Generation may require an account and credits. Leave tasks you have not done marked as pending, and keep the originals.
Project: Ponto da Pausa (fictional)
Audience: neighbors
Action: visit the café
Duration: 15–20 seconds
Fixed elements: teal cup, wood, soft light
Limit: two tries per shot
Date and access: <fill in>
After completing the steps, you can define the audience, action, and limit for a short video.
Lesson cheat sheet
Define a video you can make today
Audience: neighbors looking for a break
Full video: 15–20 seconds, divided into four shots
Limit: no more than two tries per shot
Your next step
You now have criteria for defining the audience, action, and limit for a short video.
Save this lesson’s deliverable in the project folder. You will use it in the next step.
Next step: Choose one of five simple structures
Supplementary material · module 1Production notes and care tips for returning after the short practice.
Scope: the size of your first deliverable
Experiment at your own pace
Write down what will go in this video and what can wait for a second one.
What to observe
Do not promise a professional result or a guaranteed timeline on your first try.
Control before spectacle
Experiment at your own pace
List three features that must remain the same in every shot.
What to observe
The model’s name alone does not prove that a video is good.
You can choose a structure and explain why it fits the project.
An idea list helps when each option says what to show. The best first video is one you can make with the materials you have.
In 1 minute
Structure: setting → detail → invitation
Materials: a photo of the café and cup
Missing: a final image with room for text
1Five ways to shape a message
Before and after shows a change.
Product spotlight brings attention to an object.
Setting, detail, and invitation present a place.
Problem and solution focus on a specific difficulty.
A versus B compares two options using the same criterion.
These are communication structures, not formulas that guarantee reach.
The café has photos of its space and coffee.
Setting, detail, and invitation uses these materials.
A complex transformation would require showing a change that may not actually happen.
Choosing based on available materials avoids unnecessary inventions.
Caio avoids transforming an entire café: too many details would need to be generated and reviewed.
Prompts to compare · teaching example
PromptChoose before and after because it seems viral, even though there is no transformation to show.
There are no observable limits to check the work against.
PromptChoose setting, detail, and invitation because photos of the café and its space are already available.
There are clear criteria for checking the decision.
Compare the two instructions. They are examples written for this lesson, with no simulated tool response.
2Choose based on what you can show
Ask what evidence each structure requires.
A comparison needs similar conditions.
A problem-and-solution story needs a visible solution.
A product spotlight needs clear details.
Write down what materials you already have and what is missing.
A first production works better with fewer gaps.
Choosing an idea for its most striking effect may require resources you do not have yet.
A feasibility check turns inspiration into a decision.
You can save the other structures for future projects.
Helena chooses to show the space, a snack, and an invitation because these three images already suggest a possible visit.
Completed brief · lesson example
1Structure: setting → detail → invitation
2Materials: a photo of the café and cup
3Missing: a final image with room for text
Use this sheet as a reference. Replace the example with your own project.
3Check the decision against its use
A structure brings together functions; it does not require one fixed order. In lesson 3, we open with the cup, show a snack detail, introduce the setting, and end with the invitation.
Helena uses the sheet to check: missing: a final image with room for text.
Teaching illustration created in Codex: The strips on the table suggest different sequences. Use the five descriptions in the text to choose your own structure.
Test yourself
What makes an A-versus-B comparison fairer?
If you got stuck here, that is normalNo photos today? Choose a product spotlight and plan to photograph a simple object near a window.
Practice now 0/3
Choose one of five simple structures
About 10 minutes of practice. You are done when one structure is connected to the goal and available materials.
Use files you own or are allowed to use. Generation may require an account and credits. Leave tasks you have not done marked as pending, and keep the originals.
Chosen structure: <one of the five>
Available images: <list>
What is missing: <one gap>
I chose it because: <materials and goal>
Second idea: <save for later>
After completing the steps, you can choose a structure and explain why it fits the project.
Lesson cheat sheet
Choose one of five simple structures
Structure: setting → detail → invitation
Materials: a photo of the café and cup
Missing: a final image with room for text
Your next step
You now have criteria for choosing a structure and explaining why it fits the project.
Save this lesson’s deliverable in the project folder. You will use it in the next step.
Next step: Write four lines that become scenes
Supplementary material · module 1Production notes and care tips for returning after the short practice.
Five ways to shape a message
Experiment at your own pace
Draft one sentence for each of the five structures using the same business.
What to observe
Before and after should not claim an effect the product does not demonstrate.
Choose based on what you can show
Experiment at your own pace
Rank the ideas from easiest to hardest for the materials you have today.
What to observe
A generated illustration does not prove real performance, taste, or customer satisfaction.
A script full of adjectives may sound nice without showing anything. A short line with a possible image is easier to produce.
In 1 minute
Opening: Need a break?
Value: coffee, a snack, and a quiet corner
Invitation: visit Ponto da Pausa
1Hook, value, and invitation
A hook is an opening that gives people a reason to keep watching.
It could be a specific question, a curious detail, or a familiar situation.
Our example: Need a break?
Then we show coffee and a snack, introduce the café, and invite people to visit.
Each line has a different job.
The opening should match what comes next.
Promising a surprise the video does not deliver breaks expectations.
The first three seconds are a planning limit for this exercise, not a guarantee that people will keep watching.
Caio replaces an abstract phrase with coffee and a snack, which he can show in one shot.
Weak decision
An incredible, unforgettable sensory experience that changes everything.
Verifiable decision
Need a break? Coffee and a snack. A quiet corner. Visit Ponto da Pausa.
Notice which characteristics make the second decision easy to check.
2One line, one possible image
Read the lines aloud and time them with your phone clock.
Cut repetition before speaking faster.
Next to each line, write what we will see.
A steaming cup can be filmed or generated.
An unforgettable experience still needs to be translated into a visible situation.
An AI assistant can suggest versions, but you must confirm the information.
Ask for four lines, an audience, and a duration.
Then review every word.
Do not accept an address, price, or hours invented by the assistant.
Helena reads the invitation aloud and pauses before the café name.
Completed brief · lesson example
1Opening: Need a break?
2Value: coffee, a snack, and a quiet corner
3Invitation: visit Ponto da Pausa
Use this sheet as a reference. Replace the example with your own project.
3Check the decision against its use
The script’s timing includes pauses. If it is too long, cut words before asking for faster speech.
Helena uses the sheet to check: invitation: visit Ponto da Pausa.
Teaching illustration created in Codex: The cup, snack, and entrance are possible images for different lines. The illustration does not prove duration or motion.
Test yourself
The assistant added an address you did not provide. What should you do?
If you got stuck here, that is normalRead slowly. If you finish before fifteen seconds, add pauses that give people time to see the images instead of stretching the sentences.
Practice now 0/3
Write four lines that become scenes
About 10 minutes of practice. You are done when all four lines have a matching image and the reading takes 15 to 20 seconds.
Use files you own or are allowed to use. Generation may require an account and credits. Leave tasks you have not done marked as pending, and keep the originals.
1. Need a break? | cup
2. Coffee and a snack. | croissant close-up
3. A quiet corner. | setting
4. Visit Ponto da Pausa. | product and invitation
Reading time: <seconds>
Adjustment needed: <record it>
After completing the steps, you can write and time a four-line script.
Lesson cheat sheet
Write four lines that become scenes
Opening: Need a break?
Value: coffee, a snack, and a quiet corner
Invitation: visit Ponto da Pausa
Your next step
You now have criteria for writing and timing a four-line script.
Save this lesson’s deliverable in the project folder. You will use it in the next step.
Next step: Prepare a reference that shows the product
Supplementary material · module 1Production notes and care tips for returning after the short practice.
Hook, value, and invitation
Experiment at your own pace
Create three honest openings for the same video and choose the easiest one to show.
What to observe
Do not promise a cure, income, popularity, or results the image does not demonstrate.
One line, one possible image
Experiment at your own pace
Ask an assistant for three short versions of the script, with a clear instruction not to invent facts. Compare them with your version.
What to observe
A timed read is better evidence of duration than an automatic estimate.
You can photograph an object and check the reference.
A confusing starting image lets the generator fill in details you needed to preserve. The reference should show what matters.
In 1 minute
Reference: a photo you took of the object
Check: shape, color, and visible details
File: 01-reference-original
1The object needs to be recognizable
A reference is an image used to guide appearance.
For a real product, start with a photo of your own.
Place the object near a window and choose a simple background.
Show the important parts without cropping the edges.
Check whether reflections, shadows, or fingers hide any details.
A clear photo does not guarantee fidelity, but it gives you something to compare.
If the handle is missing from the reference, it is hard to complain that the generator invented one.
Choosing the angle is part of being in control.
Caio clears the background before taking the photo and makes sure the handle is visible.
Weak decision
Dark photo, cropped handle, and several competing objects.
Verifiable decision
Clear photo of a whole object, with a simple background and room around it.
Notice which characteristics make the second decision easy to check.
2The starting image is a scene decision
A starting image, also called a first frame, is the image from which the motion begins.
It can be a photo or a generated image that you have reviewed.
It should already show the framing you want.
For this exercise, use a vertical format and leave a small margin around the product.
A very tight composition may lose parts of the object when cropped.
Check it in your phone gallery before sending it.
Keep the original and a selected copy with an easy-to-recognize name.
Helena keeps the original photo to compare the cup’s color with later videos.
Completed brief · lesson example
1Reference: a photo you took of the object
2Check: shape, color, and visible details
3File: 01-reference-original
Use this sheet as a reference. Replace the example with your own project.
3Check the decision against its use
The object should fit in the needed frame, with its important details visible.
Helena uses the sheet to check: file: 01-reference-original.
Teaching illustration created in Codex: The handle and cup outline are visible. This is an illustration; take your own photo to represent a real product.
Test yourself
The handle is outside the starting photo. What is the best fix?
If you got stuck here, that is normalNo project product nearby? Practice with a cup or another object close at hand. Change the reference before final production.
Practice now 0/3
Prepare a reference that shows the product
About 10 minutes of practice. You are done when a photo of your own is saved and you have noted three details you can check.
Use files you own or are allowed to use. Generation may require an account and credits. Leave tasks you have not done marked as pending, and keep the originals.
You can record three fixed features and one allowed change.
A face or product that changes at every cut is distracting. A short reference sheet helps you recognize the same project across different scenes.
In 1 minute
Fixed: cup color, wood, soft light
Can change: close or wide shot
Character: optional in this first video
1Continuity: making the same world recognizable
Continuity is the sense that scenes belong to the same project.
Color, clothing, objects, light, and setting help create that impression.
Choose three features to keep fixed.
Example: a teal-green mug, a wooden table, and window light.
Then state what may change, such as camera distance.
Without this distinction, you may approve attractive images that do not fit together.
The visual style should stay clear too.
Photography, drawing, and stylized animation look different.
Mixing them calls for an intention, not just whatever result appears.
Caio chooses photography with window light and saves a talking character for another project.
Prompts to compare · teaching example
PromptChange the mug color, table type, and visual style in every shot.
There are no observable limits to check the work against.
PromptKeep the mug, wood, and light; vary only the framing distance.
There are clear criteria for checking the decision.
Compare the two instructions. They are examples written for this lesson, with no simulated tool response.
2A character is a choice, not a requirement
A product video can work without showing faces.
For this first project, hands or objects are enough.
If you include a character, use a fictional adult or someone who authorized use of their image.
Give them a working name and describe their clothes, hair, and role in the scene.
A name helps organize files; it does not guarantee the generator will preserve the person.
Always compare the images.
Skipping characters in your first video reduces the details you need to control and review.
Helena allows a wider shot but checks that the product remains recognizable.
Completed brief · lesson example
1Keep fixed: mug color, wood, soft light
2Can change: close or wide shot
3Character: optional in this first video
Use this sheet as a reference. Replace the example with your own project.
3Check the decision against its use
A character’s or product’s name organizes the prompt; the image shows whether it was preserved.
Helena uses the sheet to check: character: optional in this first video.
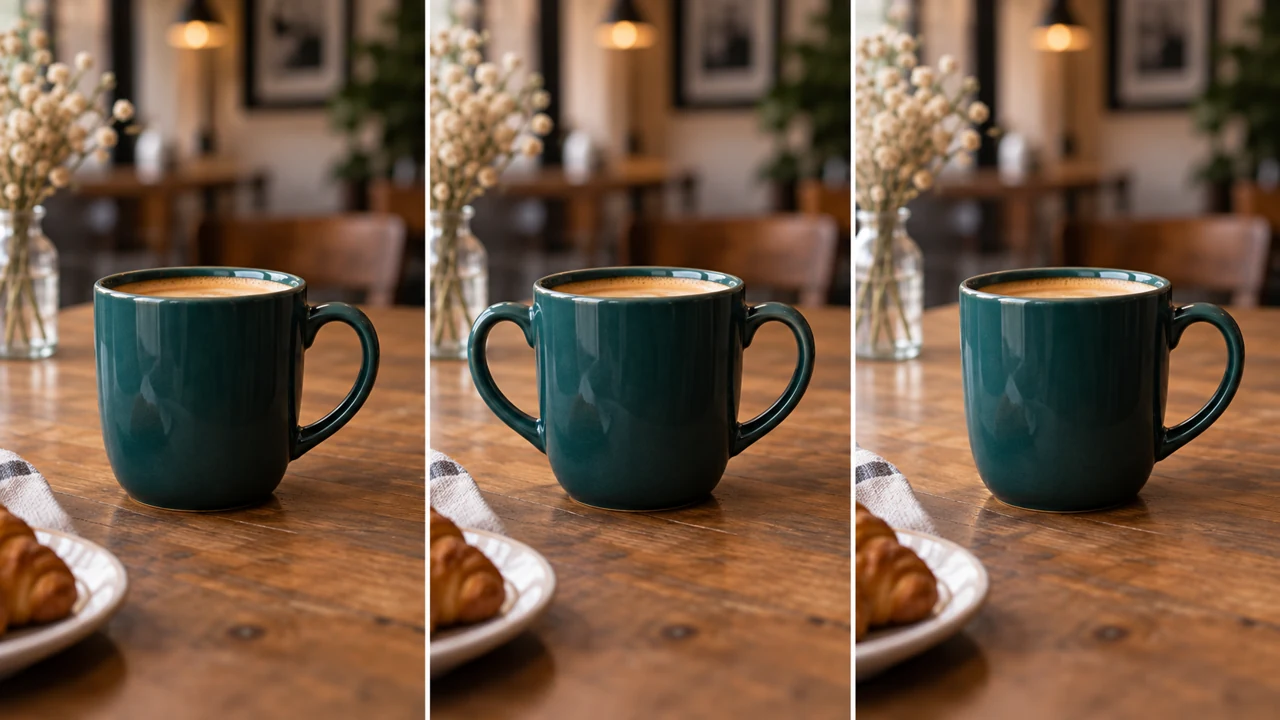
Didactic illustration created in Codex: The framing varies while keeping a similar palette. Compare details; separate images may change the object’s exact shape.
Test yourself
The character has the same name but a different face. Does that prove continuity?
It’s normal to get stuck hereIf controlling a face feels difficult, keep only the object. A useful video does not need a person on screen.
Practice now 0/3
Lock the look before varying the scenes
About 10 minutes of practice. You’re done when the sheet separates three fixed features from one allowed change.
Use files you own or are allowed to use. Generation may require an account and credits. Leave tasks you have not done marked as pending, and keep the originals.
Keep fixed: 1.<detail> 2.<detail> 3.<detail>
Can change: <one choice>
Style: photography or drawing
Character: no face / <profile and authorization>
Check in each scene: <list>
After these steps, you can record three fixed features and one allowed change.
Lesson cheat sheet
Lock the look before varying the scenes
Keep fixed: mug color, wood, soft light
Can change: close or wide shot
Character: optional in this first video
Your next step
You now have criteria for recording three fixed features and one allowed change.
Save this lesson’s deliverable in the project folder. You will use it in the next step.
Next: Draw a four-scene storyboard
Supplementary material · module 2Production notes and care tips for returning after the short practice.
Continuity: making the same world recognizable
Experiment at your own pace
Make a visual sheet with one reference and three features to repeat.
What to observe
Stylized animation can simplify shapes, but it does not remove continuity errors.
A character is a choice, not a requirement
Experiment at your own pace
Create a character sheet for a future video, without generating images yet.
What to observe
Do not present a fictional person as a real client or the author of a genuine testimonial.
You can lay out four frames with an image, movement, and timing.
A script becomes a production plan when each line has an image and a place in the sequence. Simple sketches are enough to plan.
In 1 minute
Order: mug → snack → setting → invitation
Editing times: 4 + 4 + 5 + 5 = 18 seconds
One action per shot
1Storyboard: the sequence before the video
A storyboard is a set of frames showing the scene order.
Draw four vertical rectangles on paper.
Represent the mug, snack, setting, and invitation inside them.
Use simple shapes.
Under each frame, write the matching line and approximate duration.
The sketch reveals whether two scenes repeat the same information.
It also lets you check whether the invitation has room for text.
You can still change the order without spending a video generation.
Caio divides eighteen seconds among the four frames before opening the generator.
Weak decision
One twenty-second scene with a spinning camera, a customer entering, and a transforming product.
Verifiable decision
Four short scenes, each with one message and one simple action.
Notice which characteristics make the second decision easy to check.
2One idea per shot
A shot begins and ends before the next cut.
For a first attempt, choose one small action for each shot.
Rising steam, a camera move closer, or a hand adjusting the plate are different actions.
Combining them in one prompt increases the review work.
Divide fifteen to twenty seconds among the four shots.
These are editing targets: you can generate a longer clip and use only part of it.
Check the total and leave enough time to read the invitation.
Helena sets aside five seconds so the final invitation is readable.
Completed brief · lesson example
1Order: mug → snack → setting → invitation
2Editing times: 4 + 4 + 5 + 5 = 18 seconds
3One action per shot
Use this sheet as a reference. Replace the example with your own project.
3Check the decision against its use
Storyboard durations are editing targets. Check which lengths the generator offers before creating a clip.
Helena uses the sheet to check: one action per shot.
Didactic illustration created in Codex: The four prints show scene order. Write movement and timing on the sheet; a still image cannot show them.
Test yourself
The generator offers ten seconds, but you planned four for the edit. What should you do?
It’s normal to get stuck hereYou do not need to draw well. A circle for the mug and a triangle for the snack already help you choose the order.
Practice now 0/3
Draw a four-scene storyboard
About 10 minutes of practice. You’re done when four frames have an image, action, and duration totaling 15 to 20 seconds.
Use files you own or are allowed to use. Generation may require an account and credits. Leave tasks you have not done marked as pending, and keep the originals.
01 mug | steam rises | 4 sec
02 snack | slow move closer | 4 sec
03 setting | camera still | 5 sec
04 product and invitation | camera still | 5 sec
Total: 18 sec
Images still to make: <list>
After these steps, you can lay out four frames with an image, movement, and timing.
Lesson cheat sheet
Draw a four-scene storyboard
Order: mug → snack → setting → invitation
Editing times: 4 + 4 + 5 + 5 = 18 seconds
One action per shot
Your next step
You now have criteria for laying out four frames with an image, movement, and timing.
Save this lesson’s deliverable in the project folder. You will use it in the next step.
Next: Check access, format, and cost before generating
Supplementary material · module 2Production notes and care tips for returning after the short practice.
Storyboard: the sequence before the video
Experiment at your own pace
Swap two frames and see whether the message becomes clearer.
What to observe
A storyboard is a production plan, not a set of generated videos.
One idea per shot
Experiment at your own pace
Mark which shot could be shorter without losing its main information.
What to observe
A video opening frame and an animation keyframe are different uses of “keyframe.” Here, we mean the starting image.
You can fill out a generation sheet using information from your account.
Interfaces change and balances are limited. Checking settings before confirming helps prevent the wrong format or unexpected spending.
In 1 minute
Orientation: vertical 9:16
Outputs per attempt: one
Cost and model: copy what your account shows
1Tool, model, and feature are different things
Flow is a tool that brings creation features together.
Veo is a family of video models available in that environment.
Kling also offers generation from images.
This course uses image-to-video: provide a starting image and describe the movement.
Names and options depend on the version available.
There is no universal best model here.
Choose based on your access, the needed format, and a test of your plan.
Compare quality using the same material before switching tools.
Caio checks orientation before adding the image; a horizontal clip would need a different crop.
Weak decision
Clicking Generate without checking orientation, model, and output count.
Verifiable decision
Note 9:16, the displayed model, duration, one output, and cost before confirming.
Notice which characteristics make the second decision easy to check.
2A checklist before clicking Generate
In Flow, open a project and look for Video and Frames.
Add the starting image.
Check format, duration, output count, model, and listed cost.
In Kling, look for Image to Video and equivalent controls.
This lesson ends with checking settings; generation comes next.
For this project, choose vertical, also called 9:16.
One output per attempt makes spending easier to control.
Multiply the displayed cost by your maximum number of attempts.
Do not confirm if the total exceeds the limit you set.
Helena notes her balance and the displayed cost to decide how many attempts fit the project.
Completed brief · lesson example
1Orientation: vertical 9:16
2Outputs per attempt: one
3Cost and model: copy what your account shows
Use this sheet as a reference. Replace the example with your own project.
3Check the decision against its use
Use the credits and durations shown on your current screen. A lesson example does not replace your account settings.
Helena uses the sheet to check: cost and model: copy what your account shows.
Didactic illustration created in Codex: The drawn interface is generic, not a button map. Check names and values in the actual tool.
Test yourself
The screen shows four outputs per attempt, but you planned one. What should you do?
It’s normal to get stuck hereIf you do not have access, finish planning. To complete the AI video, return to generation when you can use a compatible tool.
Practice now 0/3
Check access, format, and cost before generating
About 10 minutes of practice. You’re done when the actual settings and limit are recorded, or the access barrier is identified.
Use files you own or are allowed to use. Generation may require an account and credits. Leave tasks you have not done marked as pending, and keep the originals.
Tool and model: <copy from screen>
Orientation: 9:16
Available duration: <seconds>
Outputs: 1
Cost per attempt: <credits shown>
Maximum attempts: <number>
Maximum cost: <multiplication>
Access: ready / pending because <reason>
After these steps, you can fill out a generation sheet using information from your account.
Lesson cheat sheet
Check access, format, and cost before generating
Orientation: vertical 9:16
Outputs per attempt: one
Cost and model: copy what your account shows
Your next step
You now have criteria for filling out a generation sheet using information from your account.
Save this lesson’s deliverable in the project folder. You will use it in the next step.
Next: Generate one shot with a simple action
Supplemental material · Module 3Production notes and safeguards for continuing after the short practice.
Tool, model, and feature are different things
Experiment at your own pace
Find image-to-video in the available tool and note the selected model.
What to observe
Do not assume it is free. Plans, regions, limits, and costs may change.
A checklist before clicking Generate
Experiment at your own pace
Compare two settings without generating and note which one fits your limit.
What to observe
The course teaches the process; it does not buy credits or guarantee access to your account.
You can generate, save, and review a first AI clip.
15 minutes of guided study. Generation queues are not included; return to review when the file is ready.
The image already shows the setting. Now the prompt should say what moves, how it moves, and what stays still.
In 1 minute
Action: steam rises gently
Camera: still
Review: beginning, middle, end, and full playback
1Subject, action, and camera
Name the subject and one possible action.
For a mug: steam rises gently.
Then set the camera: still, no zoom.
Finally, say what must stay the same: shape, color, and position.
This prompt is a hypothesis to test.
Words do not guarantee the generator will follow instructions.
Starting with a small movement makes unwanted changes easier to spot.
A rotating camera must reveal parts the image does not show.
If the object must stay faithful, that movement increases the risk of inventing its shape.
Caio starts with a still camera so he can watch only the steam and the object’s shape.
Prompts to compare · teaching example
PromptThe camera turns, the coffee jumps, and the mug changes color as someone enters.
There are no observable limits to check the work against.
PromptSteam rises gently. Camera stays still. Mug keeps its shape, color, and position.
There are clear criteria for checking the decision.
Compare the two instructions. They are examples written for this lesson, with no simulated tool response.
2Generating is only the start of the review
Use your starting image and the settings from the previous lesson.
Submit the prompt and wait.
Save the video using the tool’s Save or Download option.
Open the file and watch it all the way through.
Pause at the beginning, middle, and end to check the fixed details.
A submitted prompt is not yet an approved clip.
If something is wrong, note where it happens.
On the second attempt, simplify just one part of the prompt.
Keep the files so you can compare them.
Generation queues do not count toward reading time.
Helena rejects an attempt where the handle changes, even if the light looks beautiful.
Completed brief · lesson example
1Action: steam rises gently
2Camera: still
3Review: beginning, middle, end, and full playback
Use this sheet as a reference. Replace the example with your own project.
3Check the decision against its use
Watch the whole file. Three pauses help check details, but they do not replace watching the movement.
Helena uses the sheet to check: review: beginning, middle, end, and full playback.
Didactic illustration created in Codex: The steam suggests the intended action. This is a still image made in Codex, not a video result from Kling or Flow.
Test yourself
The prompt was accepted and is in the queue. Is the practice complete?
It’s normal to get stuck hereIf you lack access or credits, leave the practice pending. You can write the prompt now, but that does not prove a video was generated.
Practice now 0/3
Generate one shot with a simple action
About 10 minutes of active work. Queues, extra recordings, and fixes may need another session. You’re done when a generated clip is saved, played, and given a reasoned decision.
Use files you own or are allowed to use. Generation may require an account and credits. Leave tasks you have not done marked as pending, and keep the originals.
Prompt: steam rises gently above the mug. Camera stays still. Preserve the object’s shape, color, and position.
File: <name>
Model and cost: <actual details>
Beginning/middle/end: <observation>
Decision: approved / retry because of <issue>
After these steps, you can generate, save, and review a first AI clip.
Lesson cheat sheet
Generate one shot with a simple action
Action: steam rises gently
Camera: still
Review: beginning, middle, end, and full playback
Your next step
You now have criteria for generating, saving, and reviewing a first AI clip.
Save this lesson’s deliverable in the project folder. You will use it in the next step.
Next: Review a shot and organize production
Supplemental material · Module 3Production notes and safeguards for continuing after the short practice.
Subject, action, and camera
Experiment at your own pace
Write two prompts for the same image, changing only the action.
What to observe
Avoid asking for actions that conflict with what appears in the reference.
Generating is only the start of the review
Experiment at your own pace
Compare one attempt with a still camera and another with a slow move closer, only if it fits your limit.
What to observe
If you reach your attempt limit, leave the shot pending instead of accepting an issue that changes the product.
You can review a clip and record what still needs to be made.
15 minutes to study and review one generated clip. The other shots require additional production before Lesson 10.
An opening image may look perfect while the object warps in the middle. Review the video over time.
In 1 minute
Review: shape, color, and movement throughout the clip
Organize: approved files separate from attempts
Before editing: make the remaining shots
1Continuity within and between shots
First, watch each clip all the way through.
Look for parts that appear or disappear, pulsing texture, and senseless movement.
Then compare the clips side by side or in sequence.
Check whether the light, color, and object remain consistent.
A transition should not hide a shape error by itself.
The illustration shows a second handle in the middle frame.
That flaw was drawn to teach review.
In your file, note the approximate second when the problem occurs.
A specific marker helps you choose whether to cut, retry, or replace the clip.
Caio notes the exact moment of the flaw before deciding whether any section is usable.
Weak decision
Approve four files by looking only at their thumbnails.
Verifiable decision
Watch a whole clip, decide what can be used, and record which shots are still pending.
Notice which characteristics make the second decision easy to check.
2An organized folder makes editing easier
Next, before editing, make the remaining shots using the storyboard images.
You can photograph the product, snack, and space or create revised images.
To create images, describe the subject, framing, light, and style; check the continuity sheet before animating.
Save approved files in a separate folder.
Name them in order: 01-mug, 02-snack, 03-setting, and 04-invitation.
Keep the starting images and prompts too.
Editing is easier when chosen files are separate from rejected attempts.
Helena separates approved files from attempts, then lists the shots still to make.
Completed brief · lesson example
1Review: shape, color, and movement throughout the clip
2Organize: reviewed file and list of pending shots
3Keep: starting images and prompts used
Use this sheet as a reference. Replace the example with your own project.
3Check the decision against its use
Do not call a shot approved while an important flaw remains in the section you plan to use.
Helena uses the sheet to check: keep: starting images and prompts used.
Didactic illustration created in Codex: The center image has two handles, unlike the others. This illustrative flaw is for inspection practice.
Test yourself
The cup gets a second handle only in the middle of the clip. What note is useful?
If you got stuck here, that is normalNo generated clip yet? Return to lesson 8. The review needs a real file; this lesson’s image only shows the kind of flaw to look for.
Practice now 0/3
Review a shot and organize production
About 10 minutes of active work. Queues, extra recordings, and fixes may require another session. You are done when one clip has a documented review and all four shots have a status.
Use files you own or are allowed to use. Generation may require an account and credits. Leave tasks you have not done marked as pending, and keep the originals.
After completing the steps, you can review a clip and record what remains to be produced.
Lesson cheat sheet
Review a shot and organize production
Review: shape, color, and motion throughout the clip
Organize: approved files separate from attempts
Before editing: produce the pending shots
Your next step
You now have criteria for reviewing a clip and recording what remains to be produced.
Save this lesson’s deliverable in the project folder. You will use it in the next step.
Next step: Make a first edit in CapCut
Continuation needed before lesson 10 · module 3Production notes and care tips for returning after the short practice.
Consistency within and across shots
Experiment at your own pace
Pause a clip at three points and note one real difference, or record that you found none.
What to observe
A spot check can miss flaws. Play the entire segment you plan to use.
An organized folder makes editing easier
Experiment at your own pace
Project continuation before lesson 10: set aside 20–40 minutes of work, in addition to queue time, for each remaining round. Photograph or generate images for shots 02–04, check the fixed features, and add simple motion as in lesson 8. Watch the results and save the approved ones. Move to editing only when all four shots have usable segments. Stay within your limit; if a shot is missing, continue later.
What to observe
Producing the remaining clips may take longer than this lesson; keep pending work visible.
You can arrange four clips in a 15- to 20-second sequence.
Editing starts with order and timing. Before adding effects, check whether the video communicates a message you can follow.
In 1 minute
Order: the four storyboard shots
Format: vertical 9:16 with the whole object visible
Duration: 15 to 20 seconds
1The timeline is the order of your files
In CapCut, create a project and choose Import to add the approved clips.
Place them on the timeline, the track where files appear in sequence.
Drag them into the storyboard order.
Set a vertical 9:16 aspect ratio and check each shot’s crop.
The editable project stores your decisions; it is not the final video yet.
Do not move or delete the original files while you are editing.
On a phone, start with New Project and select the files.
Labels vary by version.
Caio cuts an opening with no action and sees that the message appears sooner.
Weak decision
Import every attempt, add effects, and think about the order later.
Verifiable decision
Import the four approved clips, arrange them, trim them, and check the duration.
Notice which characteristics make the second decision easy to check.
2Trimming means choosing the part that communicates
Select a clip and drag its edge to shorten it.
To remove a section in the middle, place the playhead, choose Split, then select the part to delete.
Play the video before and after each cut.
Start without transitions: a direct cut shows whether the order works.
Adjust the sequence to fifteen to twenty seconds.
If a scene needs more time to make sense, remove a repeated moment from another shot.
Do not speed everything up automatically.
The final invitation needs to stay on screen long enough to read.
Helena watches the edit on a phone-sized screen to check that the whole product is visible.
Completed brief · lesson example
1Order: the four storyboard shots
2Format: vertical 9:16 with the whole object visible
3Duration: 15 to 20 seconds
Use this sheet as a reference. Replace the example with your own project.
3Check the decision against its use
Check the sequence by playing it, not just by looking at the timeline blocks.
Helena uses the sheet to check: duration: 15 to 20 seconds.
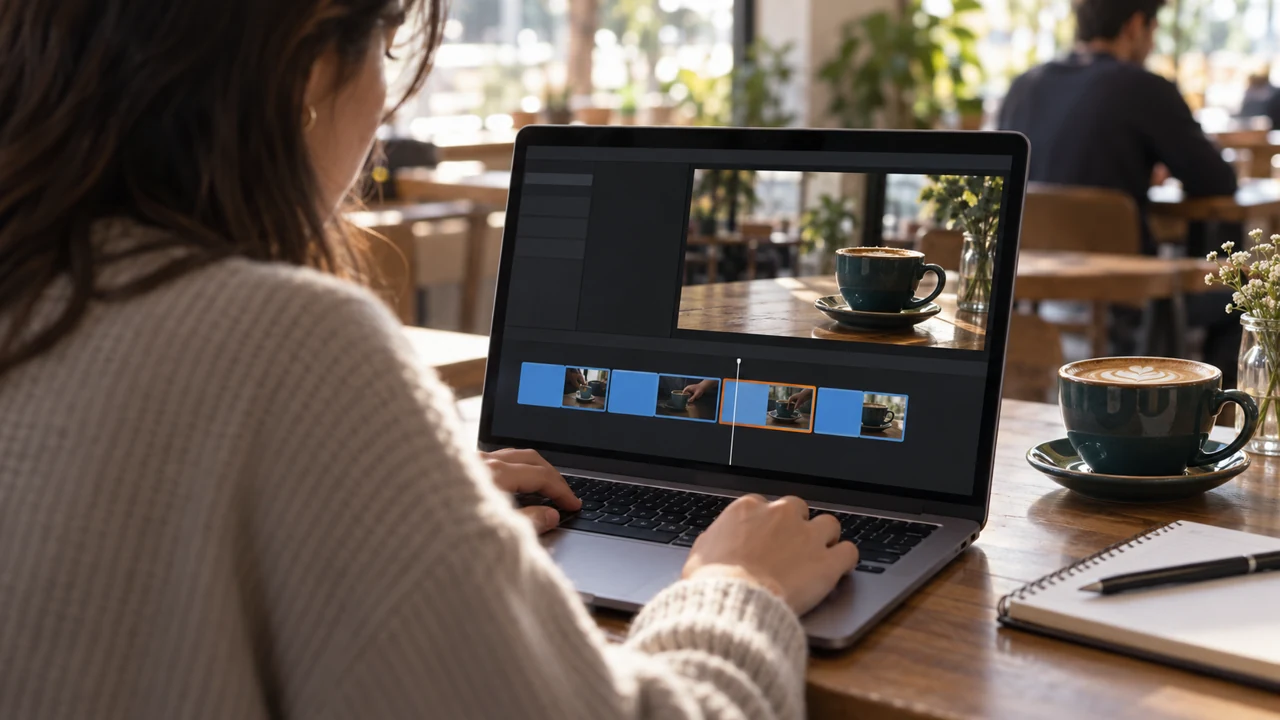
Teaching illustration created in Codex: The illustrated timeline represents clips in sequence. It is a generic interface, not a CapCut screenshot.
Test yourself
The product was cropped after switching to vertical. What should you check?
If you got stuck here, that is normalIf you do not have four clips yet, return to the pending items from the previous lesson. You can practice cuts with your own files without confusing that practice with the final project.
Practice now 0/3
Make a first edit in CapCut
About 10 minutes of active work. Queues, extra recordings, and fixes may require another session. You are done when the project plays all four shots in order, in 9:16, with a measured duration of 15 to 20 seconds.
Use files you own or are allowed to use. Generation may require an account and credits. Leave tasks you have not done marked as pending, and keep the originals.
You can add your own narration and check the captions.
A clear voice helps people understand. Loud music or incorrect captions can undo the care you took with the images.
In 1 minute
Voice: clear, your own, and matched to the scenes
Captions: words and timing checked
Test: listen, then watch with the sound off
1The narration must fit and be audible
Record the four lines in a quiet place.
Use your phone’s recorder or the editor’s voice feature.
Leave a short pause between sentences.
Listen to the recording before importing it.
Voice too distant? Move the device closer.
Muffled voice? Keep the microphone clear and find a quiet place.
Clipped or distorted voice? Move back a little or speak more softly.
Record again and listen.
Place the narration on the timeline and match each sentence to its scene.
If clip audio competes with the narration, select each clip and lower its volume or mute it.
If the narration does not fit, cut words or adjust the pauses.
For this first project, music is optional.
The voice should remain understandable through a phone speaker.
Caio turns off a nearby fan before rerecording a noisy sentence.
Prompts to compare · teaching example
PromptAccept automatic captions without listening and cover the product with text.
There are no observable limits to check the work against.
PromptListen to each sentence, correct the text, and place captions in an open area.
There are clear criteria for checking the decision.
Compare the two instructions. They are examples written for this lesson, with no simulated tool response.
2Automatic captions need review
In CapCut, look for Captions or Subtitles, then Auto Captions.
Choose the audio and spoken language, then generate the captions.
Play the video and correct words, punctuation, and when each caption appears.
If the feature is unavailable, add short text captions manually and adjust their timing.
Pay special attention to proper names and the invitation.
Place the text so it does not cover the product.
Use enough contrast and only a few words per line.
Checking it on a phone is most important; a large preview may hide readability problems.
Helena corrects the name Ponto da Pausa and checks that the caption does not cover the cup.
Completed brief · lesson example
1Voice: clear, your own, and matched to the scenes
2Captions: words and timing checked
3Test: listen, then watch with the sound off
Use this sheet as a reference. Replace the example with your own project.
3Check the decision against its use
Automatic captions save typing, but review determines whether the spoken words match the text.
Helena uses the sheet to check: test: listen, then watch with the sound off.
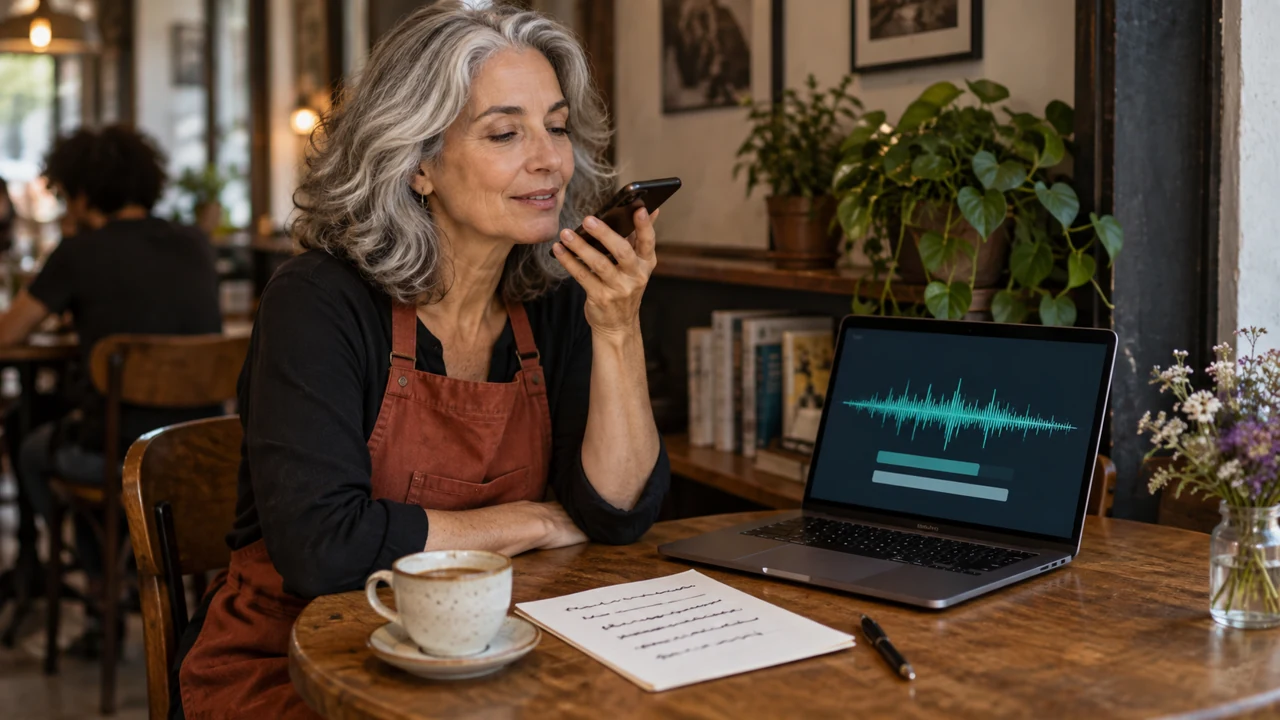
Teaching illustration created in Codex: The scene shows a voice recording. The waveforms and caption tracks are illustrative and do not demonstrate audio quality.
Test yourself
The caption misspelled the café’s name. What should you do?
If you got stuck here, that is normalNo automatic captions? Add four short text captions, one for each line. You can still practice reading and timing.
Practice now 0/3
Record voice and review captions
About 10 minutes of active work. Queues, extra recordings, and fixes may require another session. You are done when the narration is aligned and every caption has been checked in the project.
Use files you own or are allowed to use. Generation may require an account and credits. Leave tasks you have not done marked as pending, and keep the originals.
Voice file: <name>
Line I had to rerecord: <or none>
Caption corrected: <before → after, or checked with no error>
Test with sound: <result>
Test with sound off: <result>
After completing the steps, you can add your own narration and check the captions.
Lesson cheat sheet
Record voice and review captions
Voice: clear, original, and aligned with the scenes
Captions: wording and timing reviewed
Test: listen, then watch with the sound off
Your next step
You now have criteria for adding your own narration and checked captions.
Save this lesson’s deliverable in the project folder. You will use it in the next step.
Next: Export, review, and publish with context
Supplementary material · module 4Production notes and care tips for returning after the short practice.
The speech must fit and be audible
Experiment at your own pace
Record two versions at different paces and choose the one that sounds natural.
What to observe
Use your own voice or an authorized voice. Do not attribute a fictional testimonial to a real person.
Automatic captions need review
Experiment at your own pace
Watch without sound and see whether the captions carry the message.
What to observe
Feature availability can change by platform, region, version, and account.
You can export and review the video, and record how you delivered it.
A project may look right in the editor but have bad cuts or text in the final file. Do the final review on the exported file.
In 1 minute
File: final video played outside the editor
Package: video + starting images + learning note
Delivery: local file, private link, or recorded publication
1Exporting creates the file you will deliver
In CapCut, choose Export and check duration, orientation, and available options.
For this exercise, choose MP4 and 1080p resolution when available.
Keep the frame rate compatible with the project.
Frame rate is the number of images shown per second; increasing it does not fix generation flaws.
Open the file outside the editor.
Watch the whole video with sound and without sound.
Check the first image, transitions, voice, captions, and final invitation.
If you fix the project, export a new version and review it again.
Caio opens the MP4 on his phone and notices a cut-off caption before delivery.
Weak decision
Export and publish without opening the final file, presenting the fictional café as real.
Verifiable decision
Review the file, identify it as an AI study, and record where it was delivered.
Notice which characteristics make the second decision easy to check.
2Delivery includes explaining what you made
Keep the video, three to five starting images, and one sentence about what you learned.
For this fictional example, label it as a study of an imaginary café with AI-generated scenes.
For a real business, verify the details and permissions.
Publish only when the review has no important open issues.
You can deliver through a private link or publish on your chosen channel.
Record the method and the file or post location.
Before sending, check the preview and use the AI-generated content label if the platform asks for it.
Helena keeps the study with its starting images and notes that simpler movement improved continuity.
Completed brief · lesson example
1File: final video played outside the editor
2Package: video + starting images + learning note
3Delivery: local file, private link, or recorded publication
Use this sheet as a reference. Replace the example with your own project.
3Check the decision against its use
The 24 hours structure the challenge. Delivery is evidenced by a reviewed file with its open issues resolved.
Helena uses the sheet to check: delivery: local file, private link, or recorded publication.
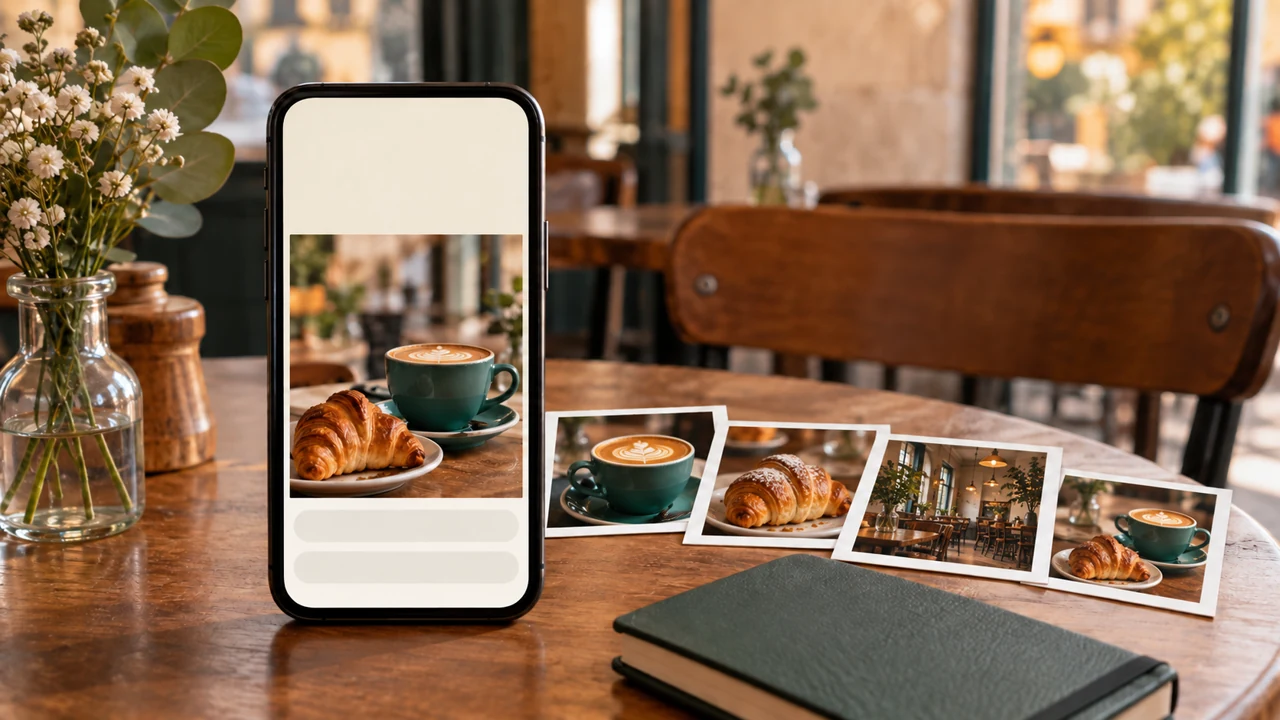
Didactic illustration created in Codex: The phone represents a vertical-format review. This is illustrative; the course does not present the frame as a produced video.
Test yourself
The file was exported, but nobody checked playback. What should happen next?
It’s normal to get stuck hereIf you prefer not to publish publicly, deliver a file or private link. Record that choice; public posting is optional.
Practice now 0/3
Export, review, and publish with context
About 10 minutes of active work. Queues, extra recordings, and fixes may need another session. You’re done when the file is reviewed outside the editor and the delivery method is recorded with evidence.
Use files you own or are allowed to use. Generation may require an account and credits. Leave tasks you have not done marked as pending, and keep the originals.
Final file: <name and location>
Actual duration and resolution: <details>
Review: image, voice, captions, and invitation <result>
Starting images: <3–5 files>
Learning: <one sentence>
Method: local file / private link / published
Location or URL: <fill in>
Description: fictional study with AI-generated scenes
After these steps, you can export and review the video, and record how you delivered it.
Lesson cheat sheet
Export, review, and publish with context
File: final video played outside the editor
Package: video + starting images + learning note
Delivery: local file, private link, or recorded publication
Your next step
You now have criteria for exporting and reviewing the video, and recording how you delivered it.
Save this lesson’s deliverable in the project folder. You will use it in the next step.
Next: Apply the method to a new video with a different goal.
Supplementary material · module 4Production notes and care tips for returning after the short practice.
Exporting creates the file you will deliver
Experiment at your own pace
Send a copy to your own phone and check that text and audio are still clear.
What to observe
If an export option requires payment, choose an available one and record the resolution you actually used.
Delivery includes explaining what you made
Experiment at your own pace
Ask someone to say what message they understood before you explain it.
What to observe
Do not call a merely exported file published. They are different steps and should be recorded separately.