INEMA.CLUBPROMotion Echo v6

Motion Echo v6 · 4 practical lessons

A clear face. Four ways to create motion.

Create and review four portrait styles: violet, cyan, scarlet, and blue. One reference photo, one color per image, and one adjustment per attempt.
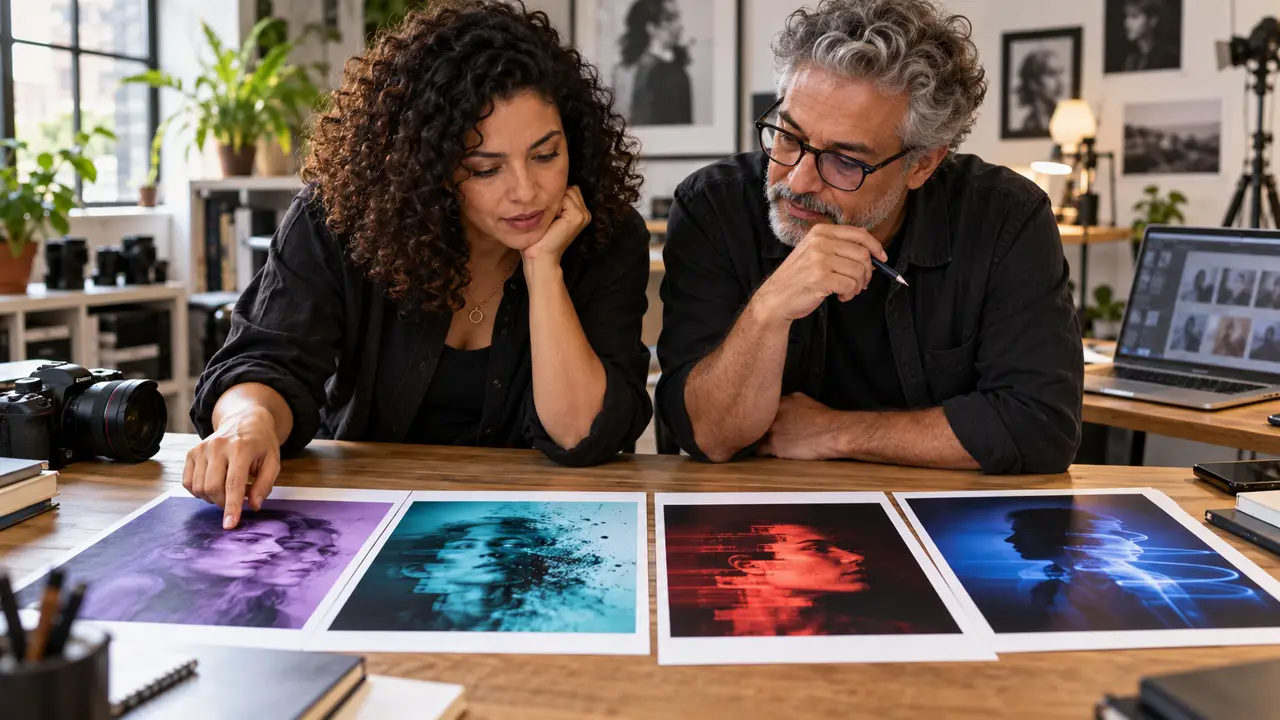
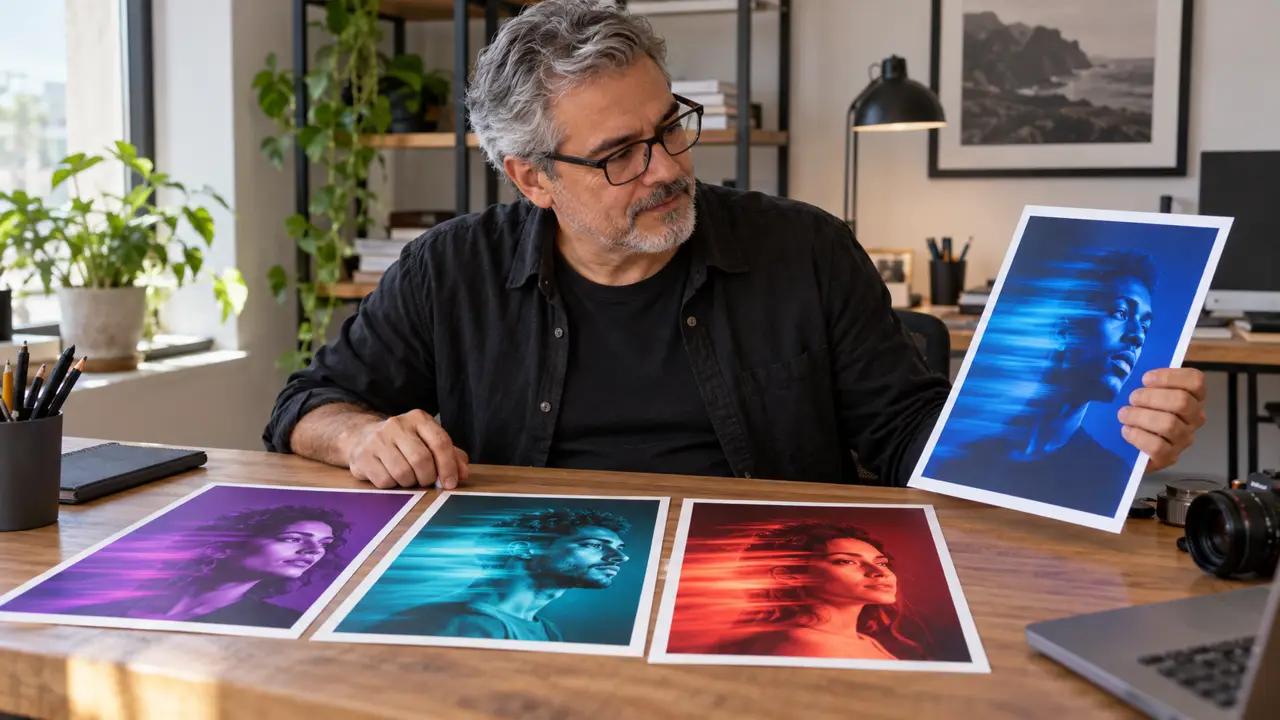
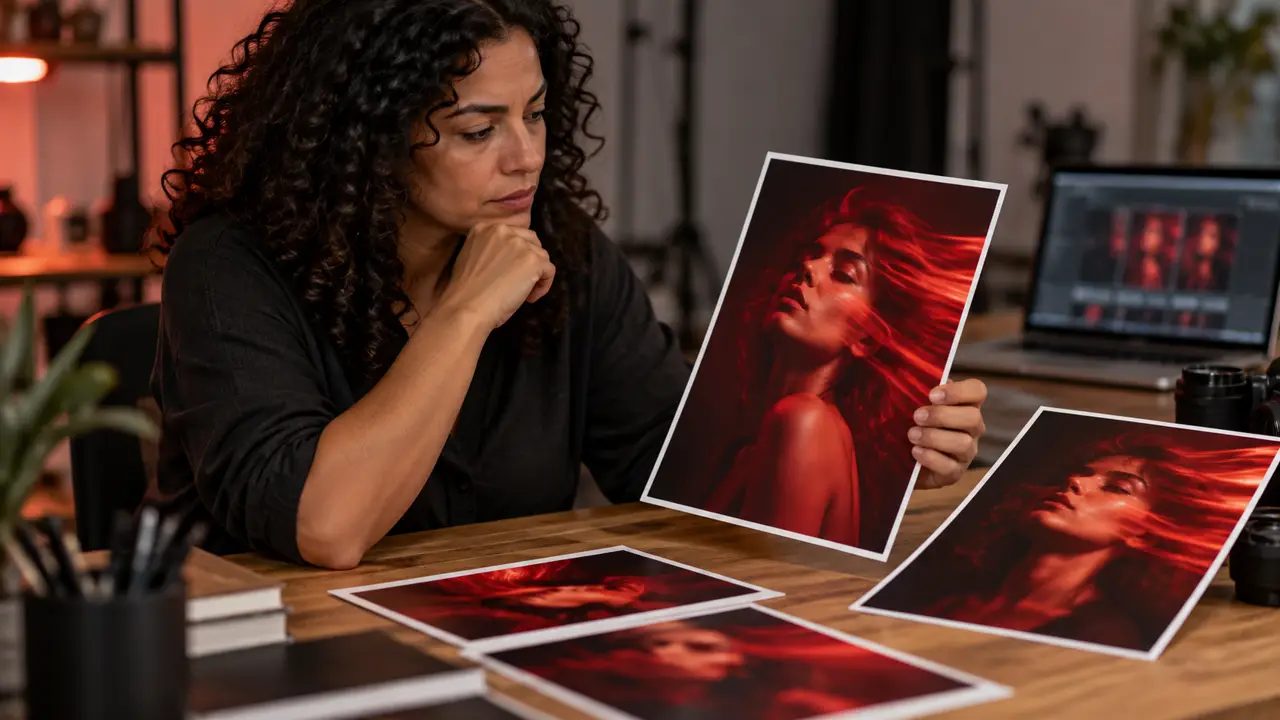
A photographer and a social media professional compare four colorful portraits to choose a consistent series.

1. Preserve the face

Choose a reference and define the effect.
2. Control and select

Adjust the intensity and review your series.
Lesson 1 of 4

A clear face carries the violet echo

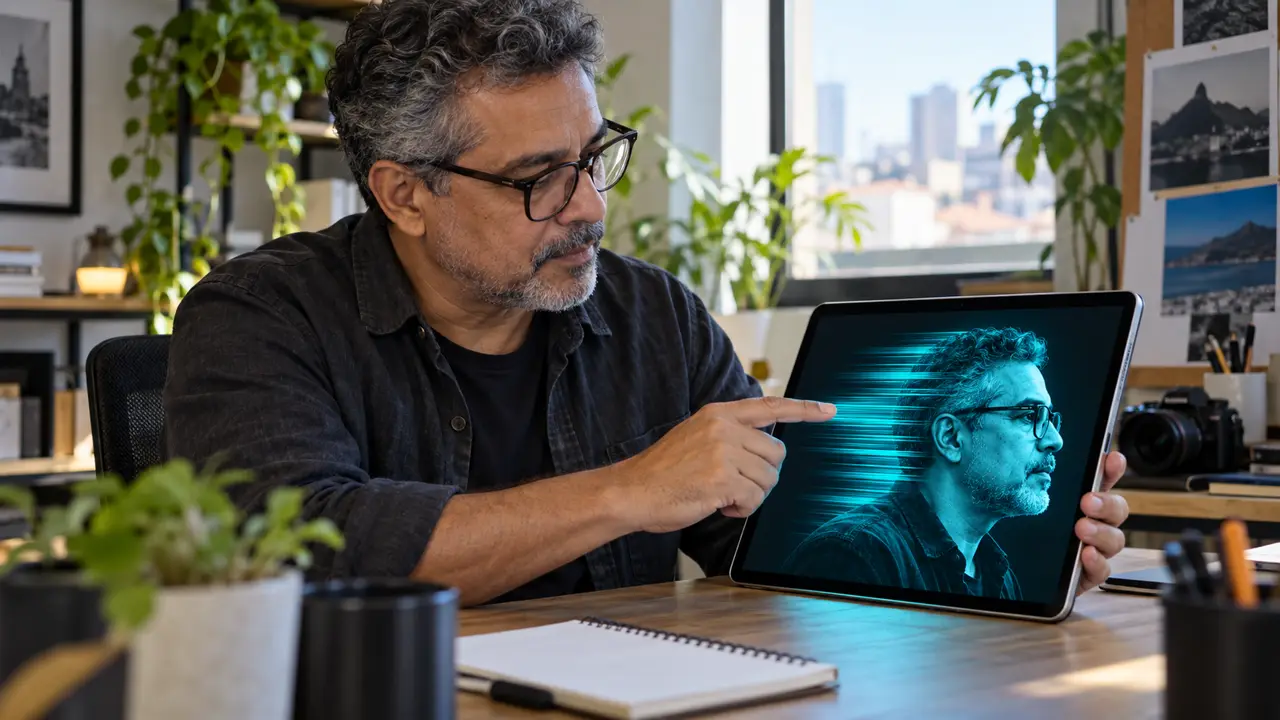
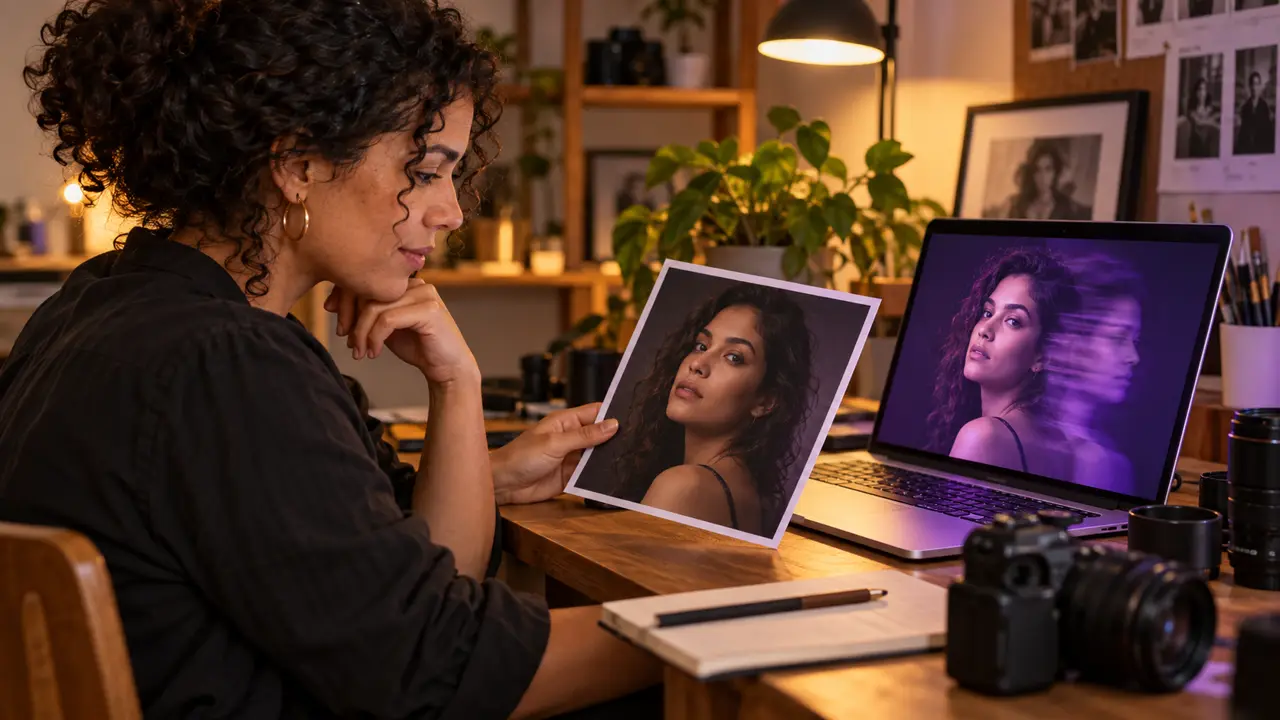
A professional reviews a violet portrait to decide how to preserve the face and control the movement.
Illustrative scene generated with AI. It is not a record of using a tool.

You can prepare a reference photo and create your first violet portrait attempt.

A beautiful trail can hide a person you can no longer recognize. Start by protecting the face. Then you can control the effect.

In 1 minute

  1. Use a clear photo you have permission to use.
  2. Ask for violet and just one residual profile.
  3. Compare the generated face with the original photo.

1The reference shows who should remain in the image

A reference photo needs to show the eyes, nose, and mouth. Choose an image of yourself or one you have permission to use. Avoid dark glasses and hands covering the face.

Lia photographs artists for publicity. She chooses an authorized front-facing portrait with the hair and eyes visible.

Review worksheet
1Face visible, with no object covering the mouth
2Photo is clear when you zoom in
3Permission to use the image
Check these three points in your own photo.

2The request limits the effect to the area around the face

The motion echo stays behind the main position. Specify a color and a direction for the trail. Don’t ask for several neon lights at once.

Davi is preparing a promotion for a singer. He replaces a generic request with an instruction for a sharp face and a violet echo.

Example requests · illustrative screen

YouMake a portrait full of effects.

There aren’t enough criteria to review the result.

YouPreserve my face. Use violet and a dark background. Place a single soft profile behind the head. Keep the eyes, nose, and mouth sharp.

The face, color, and effect position are defined.

Tap both examples. These are teaching requests, with no made-up response from the tool.
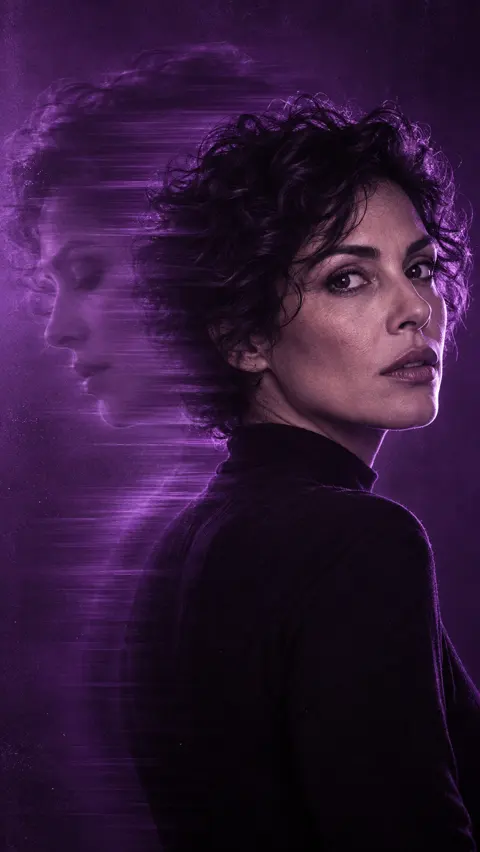
Example of a violet portrait with a sharp face and a controlled trail.
Illustration generated with a fictional person. It demonstrates the style; it does not test whether a real person’s appearance is preserved.

3A beautiful result still needs to be compared

Zoom in on the original photo and the generated version. Check the shape of the eyes, nose, and mouth. If they changed, go back to the original reference. Reduce the effect before trying again.

Lia notices that the nose looks different. She rejects the version, even though she likes the violet color.

Eye-catching effect

The trail draws attention, but that doesn’t confirm the person’s identity.

Face approved

The person is still recognizable when you compare their features.

Compare the instructions by their labels. This chart does not measure results.

Stuck here? That's normalCan’t find where to attach the photo? Look for the image button or the paper clip symbol. The names vary across tools. If this feature isn’t available, save the request in Notes and return to the practice when you have a compatible tool.

Test yourself

The portrait came out with different eyes. What’s the best next step?

Practice now 0/3

Create a violet attempt and note whether the face was preserved.

About 10 minutes, on your phone or computer. Finish with one reviewed attempt and one written observation.

Use a photo of yourself or one you’re authorized to use. Check the tool’s terms before generating. Don’t publish the test before reviewing it. If you can’t generate an image now, save the request in Notes. Return later; don’t mark the generation steps as complete. Without the original reference, the illustration lets you assess only the color, sharpness, and position of the trail.

Use the attached photo as the only reference for the person. Preserve their features, apparent age, and hairstyle. Keep the eyes, nose, and mouth of the main face sharp. Make a vertical 9:16 portrait, with simple dark clothing and a dark background. Use violet as the dominant color. Add an enlarged, soft, translucent profile behind the head. This profile suggests an earlier turn. Keep light along the hairline and deep shadows. Use subtle grain. Don’t add text, logos, accessories, or other neon colors. Keep the trail separate from the eyes, nose, and mouth. Preserve the skin’s natural texture.

You prepared a reference and evaluated your first violet attempt.

Lesson cheat sheet

Three points to remember

  1. A clear, authorized photo.
  2. One color and a soft profile.
  3. Identity comes before the effect.

Your next step

You already know the criteria for reviewing the violet portrait.

If you generated an image, save your revised attempt. If you only saved the request, return to the practice when you have a compatible tool.

In the next lesson, you’ll limit the dissolve effect to the edges of the portrait.

Supplementary materialOptional reference, outside the practice time.

Original requests and reference

The requests in this lesson are educational adaptations in Portuguese. The guide preserves the four original requests in English, provided from the AVCC · AI Video Creators material.

Open the four original requests

The professions and situations described are educational examples. Generation time depends on the tool. If the wait exceeds ten minutes, finish the review when the image is ready.

Lesson 1 · Motion Echo v6 · INEMA.CLUB PRO

Lesson 2 of 4

Cyan dissolves the edges while preserving the front

A professional reviews a cyan portrait to decide how to preserve the face and control the movement.
Illustrative scene generated with AI. It is not a record of using a tool.

You can create a cyan attempt with trails outside the center of the face.

Asking for blur without limits can erase the expression. In this lesson, the movement starts at the silhouette. The center of the face stays clear.

In 1 minute

  1. Return to your original photo.
  2. Limit the dissolve effect to the hair and shoulder.
  3. Check whether the trail crossed any facial features.

1The silhouette defines where the effect can begin

The silhouette separates the person from the background. Ask for the effect on the hair and shoulder. Don’t use the whole face as the area for the dissolve effect.

Davi is preparing a portrait for a music profile. He keeps the expression clear and focuses the lines behind the hair.

Protected area

Eyes, nose, mouth, and the skin at the front of the face.

Effect area

The hair outline and the back edge of the shoulder.

Compare the instructions by their labels. This chart does not measure results.

2One color gives the portrait a unified look

Cyan is a greenish blue. Use it as the dominant light and keep the shadows dark. Light and dark variations of the same color family don’t require other neon colors.

Lia is creating a cool-toned concept for a band. She keeps the cyan and asks for less brightness in the background.

Example requests · illustrative screen

YouBreak the face into several colors.

There aren’t enough criteria to review the result.

YouUse cyan as the dominant color. Dissolve only the back outline of the hair and shoulder. Preserve the center of the face.

The face, color, and effect position are defined.

Tap both examples. These are teaching requests, with no made-up response from the tool.
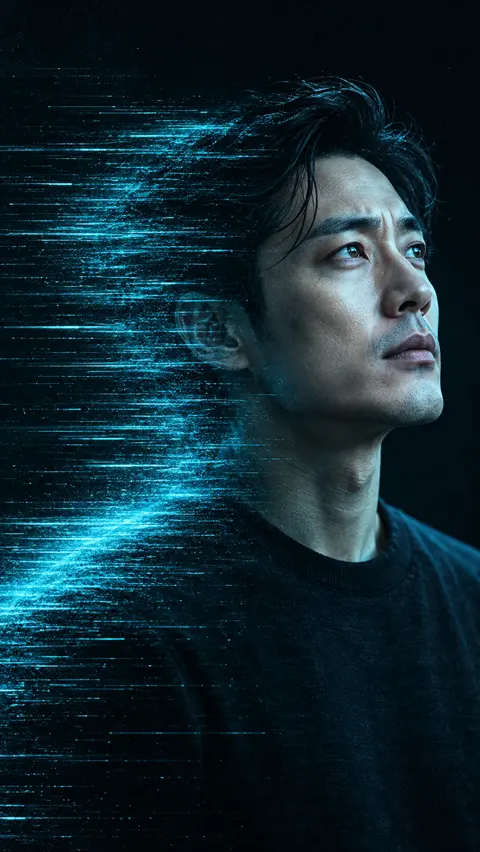
Example of a cyan portrait with a sharp face and a controlled trail.
Illustration generated with a fictional person. It demonstrates the style; it does not test whether a real person’s appearance is preserved.

3The trail needs to end before it reaches the facial features

See where the lines begin. If they cross the mouth or eyes, the limit failed. Ask for less intensity and a smaller area. Use the original photo again if the person has changed.

Davi finds lines over the main eye. He limits the effect to the edge of the hair before choosing the image.

Review worksheet
1Eyes and mouth remain clear
2Lines appear along the back outline
3One color family dominates the portrait
Read the face before judging how beautiful the lines are.

Stuck here? That's normalIs the effect too strong? Write: reduce the dissolve and apply it only to the hair outline. Make one change per attempt.

Practice now 0/3

Generate a cyan attempt and define the effect area.

About 10 minutes, on your phone or computer. Finish with one reviewed attempt and one written observation.

Use a photo of yourself or one you’re authorized to use. Check the tool’s terms before generating. Don’t publish the test before reviewing it. If you can’t generate an image now, save the request in Notes. Return later; don’t mark the generation steps as complete. Without the original reference, the illustration lets you assess only the color, sharpness, and position of the trail.

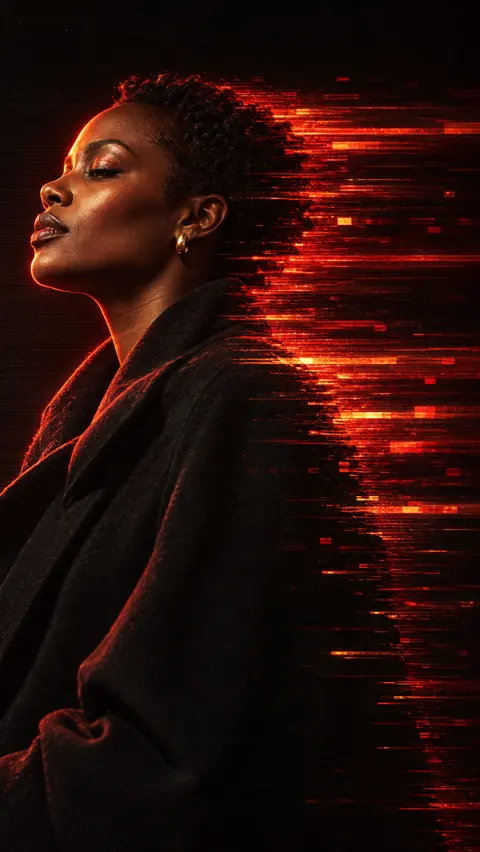
Use the attached photo as the only reference for the person. Preserve their features, apparent age, and hairstyle. Keep the eyes, nose, and mouth of the main face sharp. Make a vertical 9:16 portrait, with simple dark clothing and a dark background. Use cyan as the dominant color. The person looks slightly upward. Dissolve only the back outline of the hair and shoulder into thin horizontal lines. The center of the face must remain whole and sharp. Leave dark space for the trails. Do not add text, logos, accessories, or other neon colors. Keep the trail separate from the eyes, nose, and mouth. Preserve the natural texture of the skin.

You created a cyan attempt and checked whether the lines respect the face.

Lesson cheat sheet

Three points to remember

  1. Cyan dominates the light.
  2. Dissolve begins at the silhouette.
  3. One correction per attempt.

Your next step

You already know the criteria for reviewing the cyan portrait.

If you generated an image, save your revised attempt. If you only saved the request, return to the practice when you have a compatible tool.

In the next lesson, you'll increase the intensity without turning everything into noise.

Supplementary materialOptional reference, outside the practice time.

Original requests and reference

The requests in this lesson are educational adaptations in Portuguese. The guide preserves the four original requests in English, provided from the AVCC · AI Video Creators material.

Open the four original requests

The professions and situations described are educational examples. Generation time depends on the tool. If the wait exceeds ten minutes, finish the review when the image is ready.

Lesson 2 · Motion Echo v6 · INEMA.CLUB PRO

Lesson 3 of 4

Scarlet gains strength with a controlled trail

A professional reviews a scarlet portrait to decide how to preserve the face and control the movement.
Illustrative scene generated with AI. It is not a record of using a tool.

You can create a scarlet attempt and correct excessive dragging.

An intense effect doesn't need to fill the whole image. The contrast appears when part of the portrait stays sharp. You'll choose where to increase the strength.

In 1 minute

  1. Use the original photo as a reference.
  2. Choose a warm family: red and amber.
  3. Change only one feature per attempt.

1The drag appears at the edge of the figure

Pixel drag looks like small stretched fragments. Ask for this effect at the edge of the hair or clothing. Keep the main face intact.

Lia is preparing an image for a concert poster. She focuses the drag on the coat to keep the expression recognizable.

Main face

Clear skin and facial features remain the reference.

Moving edge

Elongated fragments extend from the hair or clothing.

Compare the instructions by their labels. This chart does not measure results.
Example of a scarlet portrait with a sharp face and a controlled trail.
Illustration generated with a fictional person. It demonstrates the style; it does not test whether a real person’s appearance is preserved.

2Red and amber form a warm color family

Choose scarlet as the dominant color. Small amber highlights can complement that light. Don’t add cyan or violet in the same attempt. Dark clothing helps the face stand out.

Davi gets a portrait with red, green, and blue lights. He keeps only the red color family for the musician’s promotion.

Example requests · illustrative screen

YouAdd all the effects and colors.

There aren’t enough criteria to review the result.

YouUse red as the dominant color, with small amber highlights. Focus the motion on the edge of the coat. Preserve the main face.

The face, color, and effect position are defined.

Tap both examples. These are teaching requests, with no made-up response from the tool.

3One change at a time shows what improved

Changing the color, pose, and trail all at once makes a clear comparison impossible. Choose just one problem. Write down what should stay and what should change.

Lia likes the light, but the hair changed. She opens a new request and attaches only the original photo. Then she repeats the scarlet request and adds the correction.

Review worksheet
1Choose one problem: altered hair
2Preserve the red light and clothing
3Use the original photo again and correct the hairstyle
The note explains why you prefer the next attempt.

Stuck here? That's normalNot sure which flaw to fix first? Compare the eyes, nose, and mouth with the reference. Then check the hair and apparent age. Only then adjust the trail.

Practice now 0/3

Generate a scarlet attempt and describe one specific correction.

About 10 minutes, on your phone or computer. Finish with one reviewed attempt and one written observation.

Use a photo of yourself or one you’re authorized to use. Check the tool’s terms before generating. Don’t publish the test before reviewing it. If you can’t generate an image now, save the request in Notes. Return later; don’t mark the generation steps as complete. Without the original reference, the illustration lets you assess only the color, sharpness, and position of the trail.

Use the attached photo as the only reference for the person. Preserve their facial features, apparent age, and hairstyle. Keep the eyes, nose, and mouth of the main face clear. Make a vertical 9:16 portrait with simple dark clothing and a dark background. Use scarlet as the dominant color, with small amber highlights. Create side lighting and deep shadows. Extend fragments from the edge of the hair and clothing into horizontal trails. Don’t drag the main face. Preserve the hairstyle exactly as shown in the reference. Don’t add text, logos, accessories, or other neon colors. Keep the trail separate from the eyes, nose, and mouth. Preserve the skin’s natural texture.

You evaluated the scarlet motion and wrote a specific adjustment you can check.

Lesson cheat sheet

Three points to remember

  1. Warm color family with no competing colors.
  2. Motion stays at the edge.
  3. One change makes comparison possible.

Your next step

You already know the criteria for reviewing the scarlet portrait.

If you generated an image, save your revised attempt. If you only saved the request, return to the practice when you have a compatible tool.

In the next lesson, you’ll create the blue effect and choose the images for your series.

Supplementary materialOptional reference, outside the practice time.

Original requests and reference

The requests in this lesson are educational adaptations in Portuguese. The guide preserves the four original requests in English, provided from the AVCC · AI Video Creators material.

Open the four original requests

The professions and situations described are educational examples. Generation time depends on the tool. If the wait exceeds ten minutes, finish the review when the image is ready.

Lesson 3 · Motion Echo v6 · INEMA.CLUB PRO

Lesson 4 of 4

Blue closes the series with continuous motion

A professional reviews a blue portrait to decide how to preserve the face and control the movement.
Illustrative scene generated with AI. It is not a record of using a tool.

You can create a blue version and select your approved versions for a series.

The final effect looks like a turn captured by a camera. The image is generated, but it needs visual logic. Then you decide which versions really work.

In 1 minute

  1. Use a soft trail, without pixel blocks.
  2. Compare the identity in each version.
  3. Keep only images that meet the criteria.

1The turn leaves a previous position behind

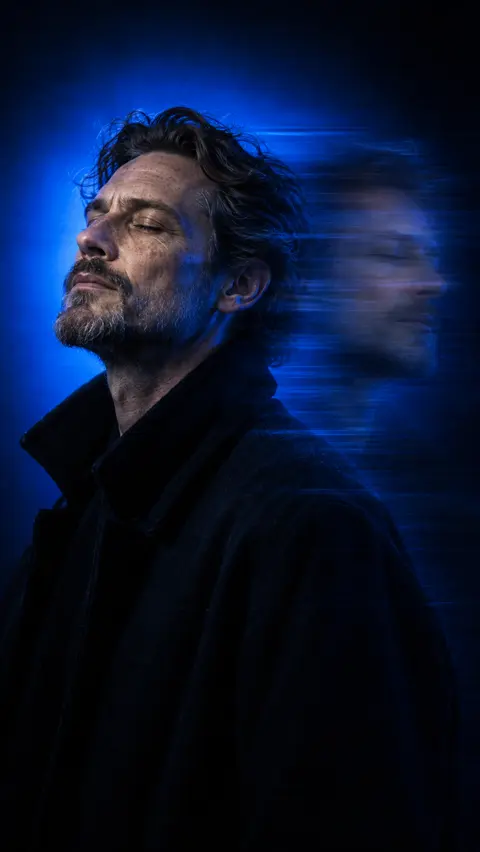
Long exposure is a visual reference for the effect. Ask for one sharp main face and a soft echo. Avoid asking for several people or separate heads.

Davi prepares the final option for the musician. He asks for a continuous turn and makes the second silhouette very faint.

Digital drag

Long fragments make the effect feel more broken up.

Continuous turn

A soft echo suggests a previous position of the head.

Compare the instructions by their labels. This chart does not measure results.
Example of a blue portrait with a sharp face and a controlled trail.
Illustration generated with a fictional person. It demonstrates the style; it does not test whether a real person’s appearance is preserved.

2The template is ready when you choose the options

The request below already uses electric blue and a dark jacket. You can change the outfit to a sweatshirt. Keep one dominant color and avoid changing other details in the same attempt.

Lia wears a dark jacket for the final portrait. She keeps the same original photo that guided the other styles.

Example requests · illustrative screen

YouBlue or orange, jacket or sweatshirt, several trails.

There aren’t enough criteria to review the result.

YouElectric blue, a dark jacket, and a soft echo. Keep the person in the photo. The main face stays sharp.

The face, color, and effect position are defined.

Tap both examples. These are teaching requests, with no made-up response from the tool.

3The series needs four individual approvals

Compare each image with the original photo, not just with the other versions. Check the face, color, and direction of motion. If an image fails, redo only that option.

Davi approves three versions and rejects one with altered eyes. He keeps the three and corrects the remaining version.

Review worksheet
1Violet: recognizable face and soft profile
2Cyan: lines away from the center of the face
3Scarlet: drag at the edges
4Blue: continuous echo connected to the same person
These are selection criteria, not an automatic evaluation.

Stuck here? That's normalHaven't done the earlier lessons? Start with the blue image. Then use the requests from lessons 1, 2, and 3 with the same original reference.

Practice now 0/3

Generate the blue version and select the approved images.

About 10 minutes, on your phone or computer. Finish with one reviewed attempt and one written observation.

Use a photo of yourself or one you’re authorized to use. Check the tool’s terms before generating. Don’t publish the test before reviewing it. If you can’t generate an image now, save the request in Notes. Return later; don’t mark the generation steps as complete. Without the original reference, the illustration lets you assess only the color, sharpness, and position of the trail.

Use the attached photo as the only reference for the person. Preserve their features, apparent age, and hairstyle. Keep the eyes, nose, and mouth of the main face sharp. Create a vertical 9:16 portrait, with simple dark clothing and a dark background. Use electric blue as the dominant color and a dark jacket. Show the person at a three-quarter angle, with their chin slightly raised. Create a single soft, translucent echo of the head and shoulders, like the trace of a turn. The trail is continuous, without pixel blocks. A blue glow behind the head fades into the dark edges. Do not add text, logos, accessories, or other neon colors. Keep the trail separate from the eyes, nose, and mouth. Preserve the natural skin texture.

You reviewed the blue attempt and noted which versions you approved or need to redo.

Lesson cheat sheet

Three points to remember

  1. A soft echo suggests the turn.
  2. Review every image.
  3. A consistent series starts with the reference.

Your next step

You already know the criteria for reviewing the blue portrait.

If you generated an image, save your revised attempt. If you only saved the request, return to the practice when you have a compatible tool.

Your next project: choose an authorized person and repeat the series, keeping the same criteria.

Supplementary materialOptional reference, outside the practice time.

Original requests and reference

The requests in this lesson are educational adaptations in Portuguese. The guide preserves the four original requests in English, provided from the AVCC · AI Video Creators material.

Open the four original requests

The professions and situations described are educational examples. Generation time depends on the tool. If the wait exceeds ten minutes, finish the review when the image is ready.

Lesson 4 · Motion Echo v6 · INEMA.CLUB PRO