You can plan a short sound sequence with a beginning, build, highlight, and ending.
Beautiful music can compete with the message. Before editing, decide what listeners need to notice at each moment.
In 1 minute
Opening: introduce the bookstore
Highlight: invite the viewer to pause
Ending: let the message breathe
1Sound is a choice about attention
Sound guides attention, space, and expectation.
In the Entrelinhas case, a bookstore with a café invites people to pause.
Duda, a producer, and Sérgio, the owner, want a welcoming piece.
A harsh impact can grab attention and still work against that intention.
Divide a twenty-second piece into four moments: opening, development, highlight, and ending.
These are story functions, not a required formula.
The opening introduces the place; the development shows an action.
The highlight delivers the message; the ending leaves time to understand it.
Duda, a 31-year-old producer, writes the intention before opening the editor.
Prompts to compare · teaching example
PromptAdd upbeat music because it sounds professional.
There are no observable limits to check the work against.
PromptDefine a welcoming pause and choose sounds that support it.
You have clear criteria for checking the decision.
Compare the two instructions. They are examples written for this lesson, with no simulated tool response.
2Contrast needs a reason
A short pause can highlight the next sound.
Continuous ambience helps connect cuts.
An effect marks an action while the voice carries the message.
Do not keep every sound loud all the time.
Attention needs variation and room.
Music genres carry associations, but these vary by audience and context.
Test the same image with two moods before deciding.
A sonic signature is a short, recognizable motif; repeating a random noise does not create an identity on its own.
Sérgio, a 56-year-old bookseller, wants the speech to be clear on a phone.
Completed brief · lesson example
1Opening: introduce the bookstore
2Highlight: invite the viewer to pause
3Ending: let the message breathe
Use this sheet as a reference. Replace the example with your own project.
3Check the decision against its use
Sound should help people notice the message without relying on loudness to seem important.
Sérgio uses the checklist to confirm: ending: let the message breathe.
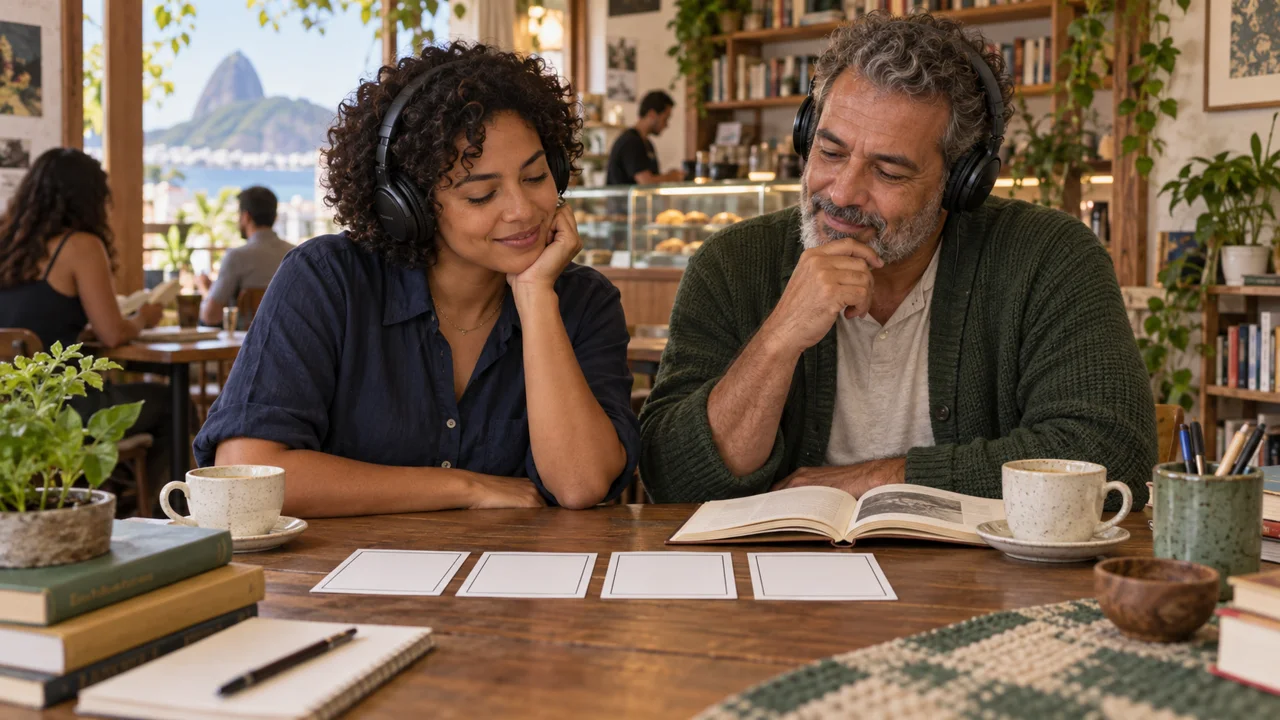
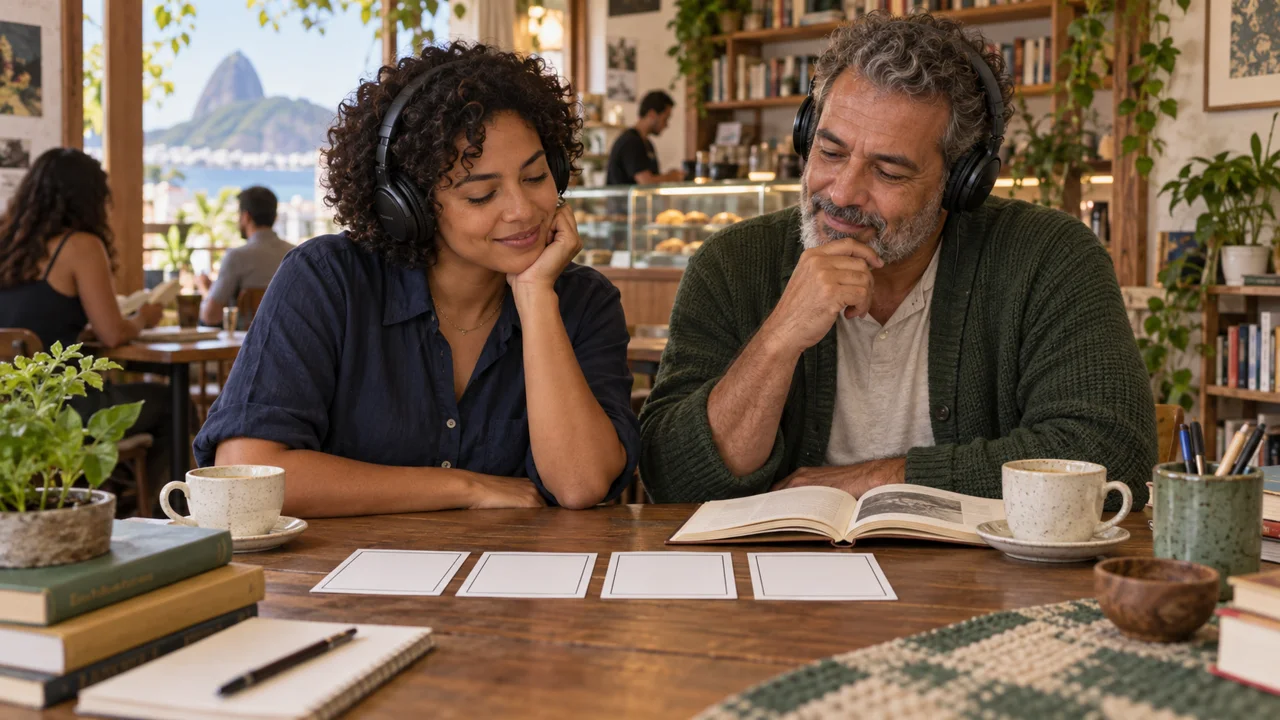
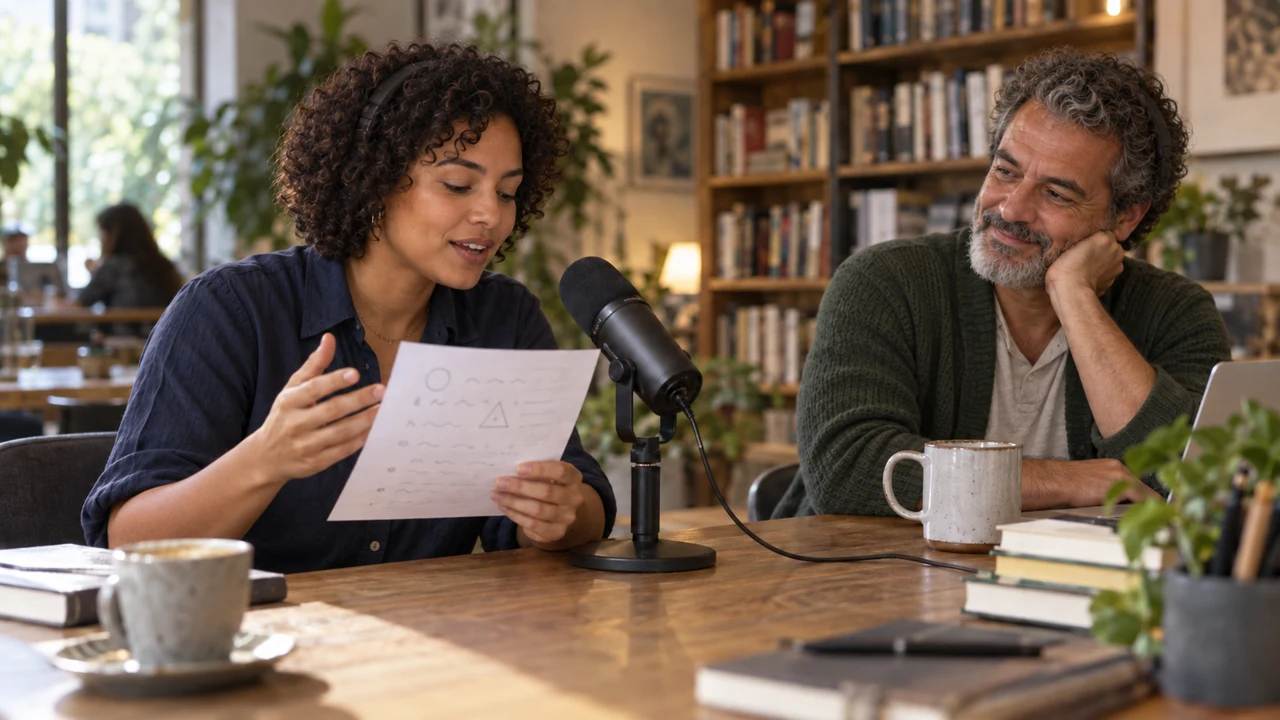
Educational illustration created in Codex: Duda and Sérgio listen to references beside four cards. The image depicts planning, not a real audience test.
Test yourself
The piece invites people to read calmly. Which choice should you test first?
It’s normal to get stuck hereIf you do not have a video, use three of your own photos to plan. You will edit later.
Practice now 0/3
Map the emotion in four moments
About 10 minutes of active work. Generation queues are not included. Done when a map links each moment in the piece to a sound intention.
Use files you own or have permission to use. Generation may require an account and credits. Leave uncompleted activities pending and keep the originals.
Piece: <name>
Audience: <who>
Intention: <feeling and message>
0–4 s: opening
4–10 s: development
10–16 s: highlight
16–20 s: ending
Sounds to use / avoid: <list>
After these steps, you can plan a short sound sequence with a beginning, build, highlight, and ending.
Lesson cheat sheet
Map the emotion in four moments
Opening: introduce the bookstore
Highlight: invite the viewer to pause
Ending: let the message breathe
Your next step
You now have criteria to plan a short sound sequence with a beginning, build, highlight, and ending.
Save this lesson’s work in the project folder. You will use it in the next step.
Next: Separate voice, music, effects, and ambience
Supplemental material · Module 1Production notes and safeguards for continuing after the short practice.
Sound is a choice about attention
Experiment at your own pace
Write an intention for each moment before choosing the music.
What to observe
The course title refers to persuasive communication; it does not guarantee sales or a universal reaction.
Contrast needs a reason
Experiment at your own pace
Compare the demo audio when you reach the mixing lessons.
What to observe
Do not confuse an intended emotion with a proven audience reaction.
The kit has six sources: voice, music, three effects, and ambience. A and B are demo mixes; keep them separate. Preserve credits when reusing them.
2Set the hierarchy before adjusting levels
Start by listening to the voice alone.
Then add music, ambience, and effects, one at a time.
If a word is hard to hear, identify which layer is covering it.
Turning everything up keeps the competition and may cause distortion.
Temporarily muting a layer is a diagnostic test.
If the piece improves without it, lower it, shorten it, or remove it.
The goal is purpose, not quantity.
In the final mix, the voice should remain clear at a normal listening volume.
Sérgio realizes the room noise should stay in the background, not compete with the line.
Completed brief · lesson example
1Voice: spoken invitation
2Music: welcoming mood
3Effects and ambience: action and space
Use this sheet as a reference. Replace the example with your own project.
3Check the decision against its use
A layer should earn its place through its contribution to the piece.
Sérgio uses the checklist to confirm: effects and ambience: action and space.
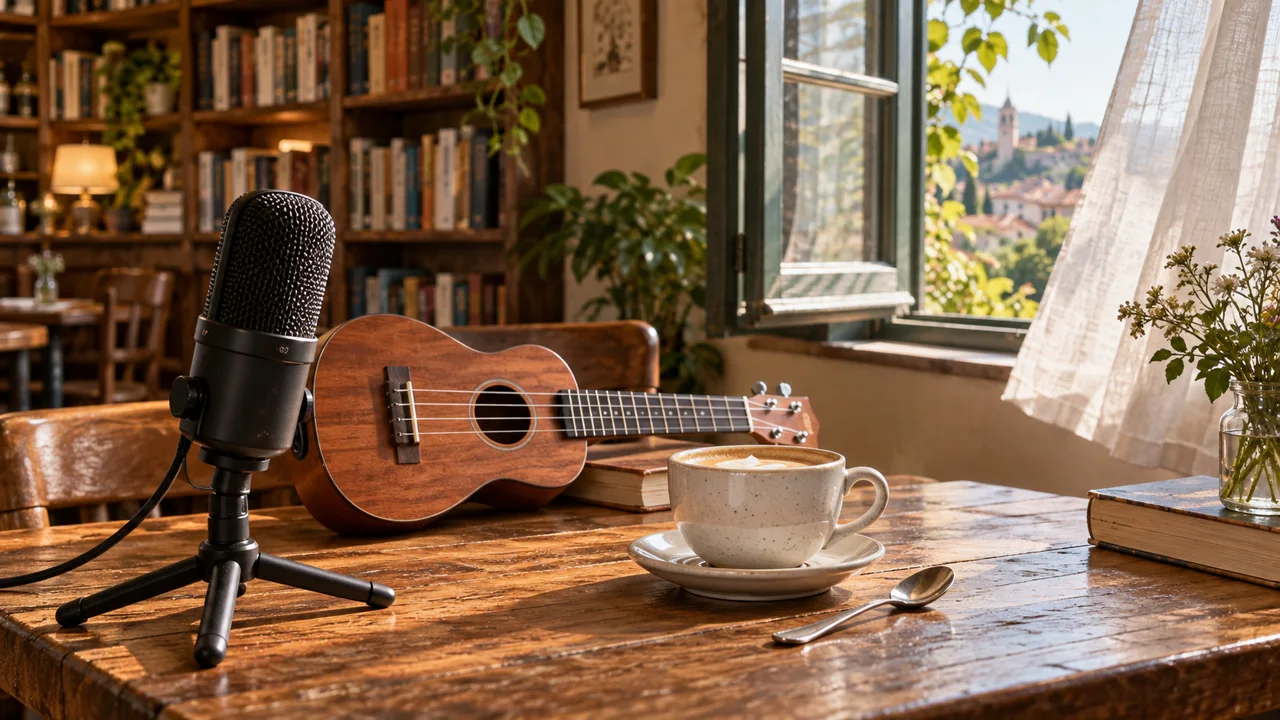
Educational illustration created in Codex: A microphone, instrument, cup, and window represent four roles. They are teaching metaphors, not required equipment.
Test yourself
The speech disappears when the music starts. What should you check first?
It’s normal to get stuck hereComparisons A and B are finished mixes, not isolated layers. Use the six source files for this exercise.
Practice now 0/3
Separate voice, music, effects, and ambience
About 10 minutes of active work. Generation queues are not included. Done when the selected files are separated by role and each has a stated use.
Use files you own or have permission to use. Generation may require an account and credits. Leave uncompleted activities pending and keep the originals.
Voice: <file and message>
Music: <file and mood>
Effects: <three files and actions>
Ambience: <file and space>
Not in the first edit: <file and reason>
After these steps, you can distribute sounds across four layers with different roles.
Lesson cheat sheet
Separate voice, music, effects, and ambience
Voice: spoken invitation
Music: welcoming mood
Effects and ambience: action and space
Your next step
You now have criteria to distribute sounds across four layers with different roles.
Save this lesson’s work in the project folder. You will use it in the next step.
Next: Build a kit with sources and licenses recorded
Supplemental material · Module 1Production notes and safeguards for continuing after the short practice.
Four layers, four questions
Experiment at your own pace
Make a file list by role and keep the voice clearly identified.
What to observe
Continuous ambience does not replace a punctual effect synced to an action.
Set the hierarchy before adjusting levels
Experiment at your own pace
In the editor, name or identify the tracks and test the mute button.
What to observe
A large-looking waveform does not prove that speech is clear.
The kit has six sources: voice, music, three effects, and ambience. A and B are demo mixes; keep them separate. Preserve credits when reusing them.
2Use the available path without losing the source
In the community, INEMAVOX can download files from a link and generate voice.
You need access to the instance provided by its administrator.
Do not assume there is one universal public account.
If you do not have access, use this lesson’s ready-made kit or download directly from an authorized source.
The kit was obtained using INEMAVOX’s file-download feature.
The effects are MP3 previews provided by their sources, suitable for the exercises.
The four private audio files from the reference collection were not used.
For client delivery, check the quality and license of the file you choose.
Sérgio can find the source when someone asks about the music.
Completed brief · lesson example
1Music: Carefree, Kevin MacLeod, CC BY 4.0
2Effects: CC0 sources identified in the kit
3Record: sources and edits preserved
Use this sheet as a reference. Replace the example with your own project.
3Check the decision against its use
Being able to download a file does not replace checking its terms of use.
Sérgio uses the checklist to confirm: record: sources and edits preserved.
Educational illustration created in Codex: Forms and receipts represent source records. The illustrated screen is not the interface of a file-download service.
Test yourself
A library lets you use music in a video. Does that prove you can redistribute the MP3?
It’s normal to get stuck hereUse the kit files and their credits as your first example. You do not need a library account to start.
Practice now 0/3
Build a kit with sources and licenses recorded
About 10 minutes of active work. Generation queues are not included. Done when every selected file has its source, terms of use, and credit recorded.
Use files you own or have permission to use. Generation may require an account and credits. Leave uncompleted activities pending and keep the originals.
File: <name>
Author: <name>
Source: <address>
License: <name and address>
Intended use: <piece or separate source>
Edits: <cut, volume, mix>
Credit to publish: <text>
After these steps, you can organize audio files with sources and reuse terms.
Lesson cheat sheet
Build a kit with sources and licenses recorded
Music: Carefree, Kevin MacLeod, CC BY 4.0
Effects: CC0 sources identified in the kit
Record: sources and edits preserved
Your next step
You now have criteria to organize audio files with sources and reuse terms.
Save this lesson’s work in the project folder. You will use it in the next step.
Next: Produce a short spoken line in Portuguese
Supplemental material · Module 1Production notes and safeguards for continuing after the short practice.
Keep permission details with the file
Experiment at your own pace
Keep a copy or link to the license with the filename.
What to observe
The course is free; each source’s terms still apply.
Use the available path without losing the source
Experiment at your own pace
Rename a copy with object, action, and version, while keeping the credits.
What to observe
Do not paste links to private content into external services without permission.
Translated transcript (original audio in Portuguese): Between one page and the next, take a pause. Here, you’ll find coffee and good stories. Choose your next chapter.
2Generate and check the actual file
In authorized INEMAVOX, open text-to-speech, choose an available engine and voice, and submit the text.
Wait for the task to finish, download the file, and listen.
If you do not have access, record it yourself.
The kit sample was synthesized in INEMAVOX with Chatterbox.
ElevenLabs is another option: open Text to Speech, choose a voice and a suitable model.
In Eleven v3, bracketed delivery cues can guide speech.
They are not universal commands for other models.
Check the result, name pronunciation, and any omitted words.
Sérgio records his own voice and notices a rushed word before adding music.
Completed brief · lesson example
1Text: three sentences with one message
2Review: words, names, and pauses
3Evidence: audio saved and listened to
Use this sheet as a reference. Replace the example with your own project.
3Check the decision against its use
The generated file can exist and still contain a wrong word. Listen before approving it.
Sérgio uses the checklist to confirm: evidence: audio saved and listened to.
Educational illustration created in Codex: The image depicts a recording. For a clean voice recording, find a place quieter than a working café.
Test yourself
The file exists, but the brand name came out wrong. What is its status?
It’s normal to get stuck hereWithout a voice service, use your phone’s recorder. The kit helps you study, but does not replace your own review.
Practice now 0/3
Produce a short spoken line in Portuguese
About 10 minutes of active work. Generation queues are not included. Done when a voice file is saved, heard in full, and checked against the script.
Use files you own or have permission to use. Generation may require an account and credits. Leave uncompleted activities pending and keep the originals.
Text: <three sentences>
Method: <recording or synthesis>
Voice and settings: <used>
File: <real name>
Duration: <measurement>
Review: <words, pauses, noise>
Redo: <segment or none>
After these steps, you can save and review a short narration that you recorded or synthesized.
Lesson cheat sheet
Produce a short spoken line in Portuguese
Text: three sentences with one message
Review: words, names, and pauses
Evidence: audio saved and listened to
Your next step
You now have criteria to save and review a short narration that you recorded or synthesized.
Save this lesson’s work in the project folder. You will use it in the next step.
Next: Revise a sentence without losing the voice of the piece
Supplemental material · Module 2Production notes and safeguards for continuing after the short practice.
Write for the mouth and the time limit
Experiment at your own pace
Record two readings of one sentence and compare clarity, pacing, and noise.
What to observe
Do not fix an overlong script by speeding up the voice until it becomes hard to understand.
Generate and check the actual file
Experiment at your own pace
Additional production: make another version only if there is a specific difference you want to test.
What to observe
Check the account, features, limits, and costs before generating.
Check features and costs in your current account. Guides may show different paths depending on the model and mode.
Lesson 4 · Audio and Sound Design v6.2 · INEMA.CLUB PRO
Module 2 · Lesson 5 of 12
Fix one line without changing the voice across the piece
You can edit or replace a section of speech and check the transition.
Redoing everything for one word can change the whole delivery. Find the problem and compare a small replacement.
In 1 minute
Section: sentence located by time
Correction: same voice and intent
Test: listen before, through, and after the edit
1Find the problem by listening
Open CapCut and create a project.
Import your video or images and the voice file.
Drag them to the timeline, where tracks show the sequence.
Zoom in on the sentence and place the playhead before and after it.
Use Split to separate the section while keeping the original copy.
Do not cut in the middle of a word or an important breath.
If the words are wrong, record or generate the corrected sentence in the same voice.
If only the pause is too long, shorten it carefully.
Duda keeps the original in case an edit sounds unnatural.
Prompts to compare · teaching example
PromptRegenerate the whole narration until one word happens to improve.
There are no observable limits to check the work against.
PromptSeparate the sentence, correct it, and listen to the joins with the lines around it.
You have clear criteria for checking the decision.
Compare the two instructions. They are examples written for this lesson, with no simulated tool response.
2Listen to the edit in context
Put the corrected sentence in place of the old one and adjust the gap between them.
Compare volume, tone, and pacing.
A fade, a gradual change in sound level, softens the edge but does not fix a cut-off word.
Listen to the previous sentence, the replacement, and the next one together.
If the voice sounds like a different person, try another take with consistent settings.
Do not accidentally stack two versions on top of each other.
Export a short preview and check it outside the editor.
If no correction is needed, test on a copy and keep the original version.
Sérgio listens to all three sentences together before deciding the edit worked.
Completed brief · lesson example
1Section: sentence located by time
2Correction: same voice and intent
3Test: listen before, through, and after the edit
Use this sheet as a reference. Replace the example with your own project.
3Check the decision against its use
A local correction only helps if it still fits the sentences around it.
Sérgio uses the worksheet to check: test: listen before, through, and after the edit.
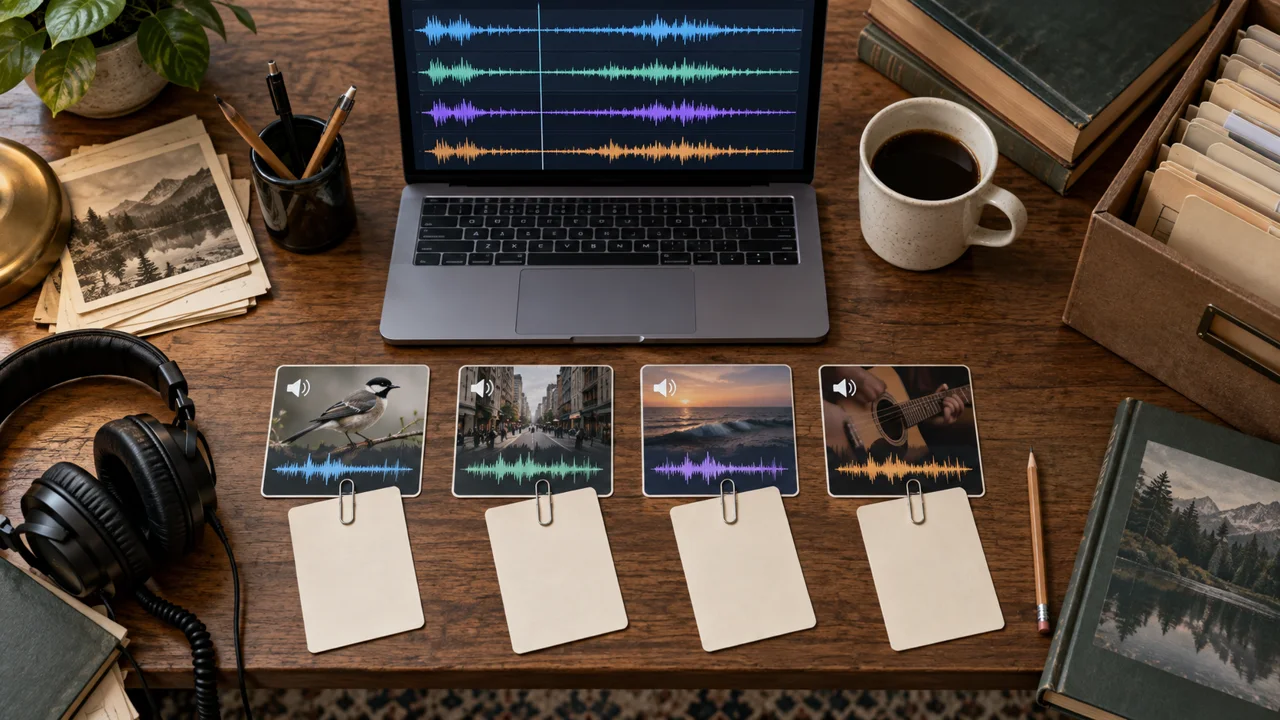
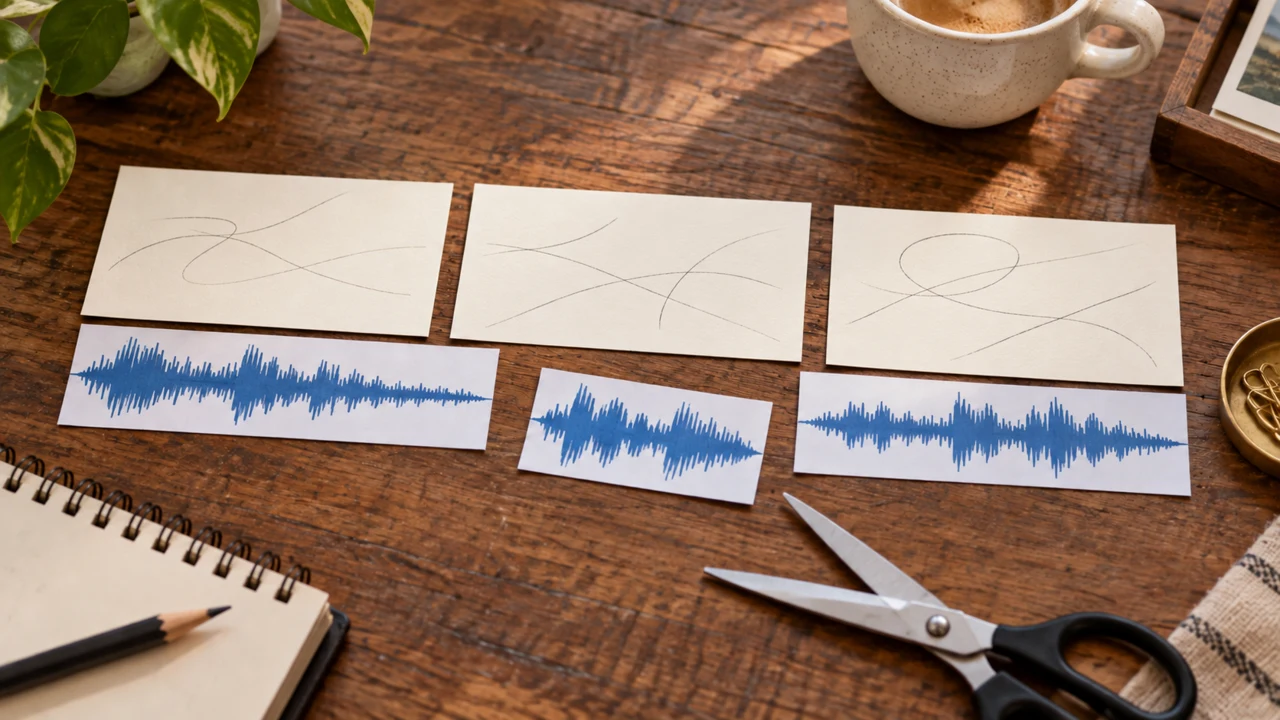
Teaching illustration created in Codex: Three cards and tracks represent separate sections. This is an editing metaphor, not a real audio measurement.
Test yourself
The word is better, but the new sentence sounds like a different person. What should you do?
It’s normal to get stuck hereIf the voice already sounds good, test a pause on a copy. Do not invent a problem just to complete the lesson.
Practice now 0/3
Fix one line without changing the voice across the piece
About 10 minutes of active work. Generation queues do not count. You are done when you have exported a voice-edit preview and checked the join.
Use files you own or have permission to use. Generation may require an account and credits. Leave uncompleted activities pending and keep the originals.
Original file: <name>
Section: <start and end>
Problem or test: <which one>
Change: <crop or new take>
Preview file: <name>
Join: <natural or adjust + reason>
After these steps, you can edit or replace a section of speech and check the transition.
Lesson cheat sheet
Fix one line without changing the voice across the piece
Section: sentence located by time
Correction: same voice and intent
Test: listen before, through, and after the edit
Your next step
You now have criteria for editing or replacing a section of speech and checking the transition.
Save this lesson’s work in the project folder. You will use it in the next step.
Next: Choose music that leaves room for the voice
Supplemental material · Module 2Production notes and safeguards for continuing after the short practice.
Find the problem by listening
Experiment at your own pace
Mark the start and end of the problem sentence before editing.
What to observe
A small waveform may be a quiet syllable; do not delete it just because it looks small.
Listen to the edit in context
Experiment at your own pace
Next: Recheck every edit after adding music.
What to observe
The editor preview is not a substitute for checking the exported file.
Kevin MacLeod · CC BY 4.0 · 20-second excerpt. Full credits.
2Music generation is an optional production method
If you want to create an option in Suno, open Create and choose an available mode.
Describe the mood, instruments, desired tempo, and no vocals for this piece.
Example: warm instrumental, light strings, subtle percussion, room for narration, and a soft ending.
Check the rights and download terms in your account before using the track outside the service.
Rules can change across plans and over time.
For a sung version, write your own lyrics or ask a chat tool for an original draft, then review it.
Do not copy someone else’s lyrics.
Sérgio would rather understand the invitation than impress people with loud music.
Completed brief · lesson example
1Purpose: create a welcoming feel without covering the speech
2Choice: excerpt with a usable opening and ending
3Record: source, license, and changes
Use this sheet as a reference. Replace the example with your own project.
3Check the decision against its use
The music choice needs to preserve both the message and the terms of use.
Sérgio uses the worksheet to check: record: source, license, and changes.
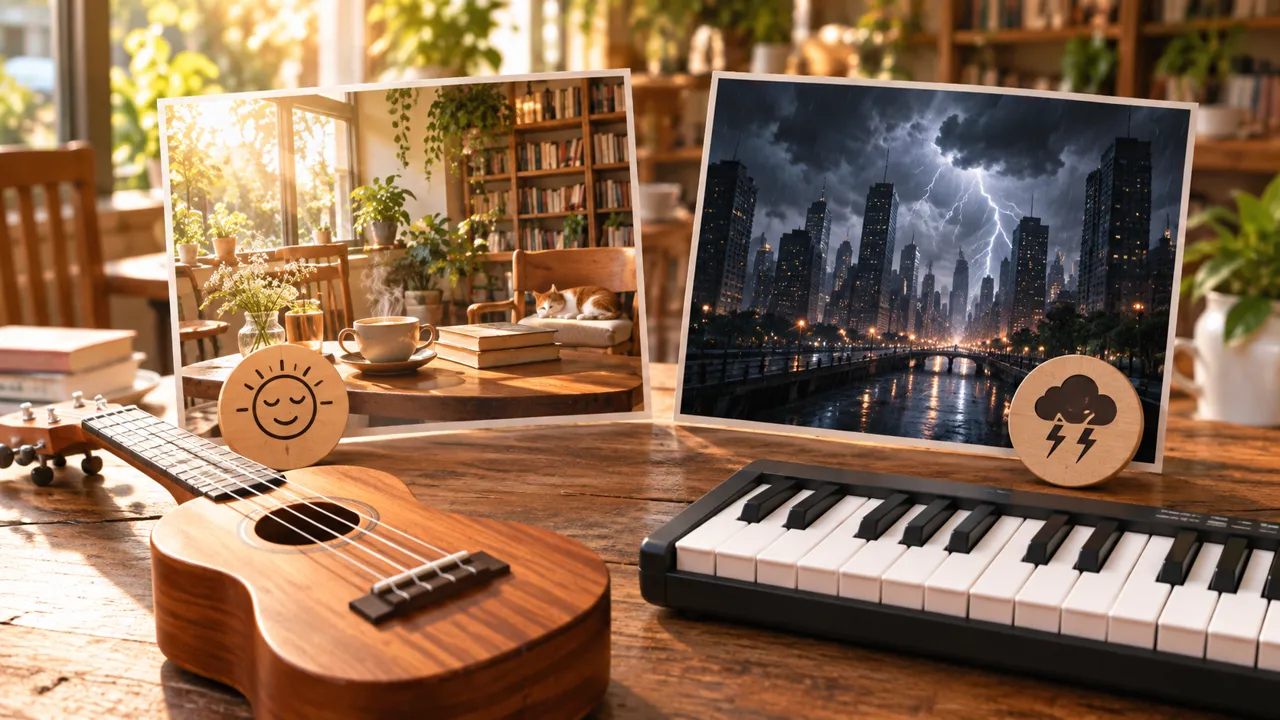
Teaching illustration created in Codex: The two illustrated moods show contrasting possibilities. The image does not claim a universal reaction or show Suno output.
Test yourself
The instrumental works on its own but covers the sentence. Which criterion comes first?
It’s normal to get stuck hereStart with a track from the kit. You can finish this practice without generating music or paying for another service.
Practice now 0/3
Choose music that leaves room for the voice
About 10 minutes of active work. Generation queues do not count. You are done when an excerpt has been selected, heard with the voice, and recorded with its source.
Use files you own or have permission to use. Generation may require an account and credits. Leave uncompleted activities pending and keep the originals.
Music and creator: <names>
Excerpt: <start and duration>
Purpose: <mood and pace>
Speech clear: <yes or adjust>
Source and license: <links>
Credit: <text>
Generated alternative: <optional, actual status>
Excerpt edits: <crop, level, and fades>
After these steps, you can select a musical excerpt and record its purpose and terms of use.
Lesson cheat sheet
Choose music that leaves room for the voice
Purpose: create a welcoming feel without covering the speech
Choice: excerpt with a usable opening and ending
Record: source, license, and changes
Your next step
You now have criteria for selecting a musical excerpt and recording its purpose and terms of use.
Save this lesson’s work in the project folder. You will use it in the next step.
Next: Give each sound effect a purpose
Supplemental material · Module 2Production notes and safeguards for continuing after the short practice.
Mood, pulse, and density
Experiment at your own pace
Listen to the voice with music, then mute the music to notice the difference.
What to observe
A famous song can take over the listener’s attention and may require rights you do not have.
Music generation is an optional production method
Experiment at your own pace
Optional next step: Generate and review an alternative, recording the settings, cost, and terms of use.
What to observe
Having a subscription today does not prove you have rights to every file created or downloaded in another situation.
2Describe the action if you need to find or generate a sound
A useful prompt names the object, action, space, and approximate duration.
Example: a ceramic mug set down on a wooden table, one short contact sound, indoors, no speech or music.
A generic description like “cinematic sound” does not identify the event.
The kit’s effects are enough for this practice.
If you use a generator, check the feature and cost, then review the actual duration.
A tool may add reverb or unwanted sounds.
Keep the clean version in your own sound library with a note about its source.
Sérgio removes an effect that was getting in the way of the bookstore’s name.
Completed brief · lesson example
1Mug: contact with a surface
2Spoon: movement inside the mug
3Page: page turn or shot change
Use this sheet as a reference. Replace the example with your own project.
3Check the decision against its use
The effect should help people notice the action without competing with the important word.
Sérgio uses the worksheet to check: page: page turn or shot change.
Teaching illustration created in Codex: The three frames show a mug, spoon, and page. The first shows a mug on a saucer; choose a sound that matches the surface in your video.
Test yourself
The sound starts late because the file begins with silence. What should you adjust?
It’s normal to get stuck hereIf you use photos, do not claim you synced motion. Record the sound as emphasis for the image change.
Practice now 0/3
Give each sound effect a purpose
About 10 minutes of active work. Generation queues do not count. You are done when three effects are placed, heard, and linked to an action or image change.
Use files you own or have permission to use. Generation may require an account and credits. Leave uncompleted activities pending and keep the originals.
Effect 1: <file, time, action>
Effect 2: <file, time, action>
Effect 3: <file, time, action>
Sync: <real action or photo swap>
Volume adjustments: <which ones>
After these steps, you can place three effects on actions or image changes.
Lesson cheat sheet
Give each sound effect a purpose
Mug: contact with a surface
Spoon: movement inside the mug
Page: page turn or shot change
Your next step
You now have criteria for placing three effects on actions or image changes.
Save this lesson’s work in the project folder. You will use it in the next step.
Next: Use five editing moves with intention
Supplementary material · module 3Production notes and care tips for returning after the short practice.
Ambience, action, and impact are different
Experiment at your own pace
Watch an action repeatedly and move the effect until you can hear how they relate.
What to observe
One effect per cut is a teaching starting point, not a rule for every edit.
Describe the action if you need to find or generate a sound
Experiment at your own pace
Optional next step: Record an object of your own and compare it with the chosen effect.
What to observe
Do not turn up a faint noise so much that the background becomes louder than the event.
Check features and costs in your current account. Guides may show different paths depending on the model and mode.
Lesson 7 · Audio and Sound Design v6.2 · INEMA.CLUB PRO
Module 3 · Lesson 8 of 12
Use five editing moves with intention
You can test a transition where the sound and image change at different times.
Cutting audio and image at the same point every time can make an edit feel stiff. Sound can also prepare or extend a scene.
In 1 minute
J-cut: the next sound comes in first
L-cut: the previous sound continues
Choice: a transition with a reason
1Five tools, five purposes
Cutting before the action builds anticipation.
Cutting during movement helps connect two shots.
In a J-cut, the next scene’s sound comes in before its image.
In an L-cut, the previous scene’s sound continues after the image changes.
The fifth tool is an intentional pause before the highlight.
You do not need to use all these tools in the same piece.
Choose one problem you want to solve.
A page turn can begin before the book appears.
A line of speech can continue over the image of the mug.
Before moving tracks, describe which sound belongs to which scene.
Duda tests the transition without changing the music and color at the same time.
Prompts to compare · teaching example
PromptDrag any audio and call the result a J-cut.
There are no observable limits to check the work against.
PromptIdentify the next scene’s sound and bring it in before the image.
You have clear criteria for checking the decision.
Compare the two instructions. They are examples written for this lesson, with no simulated tool response.
2Test on a copy of the sequence
Duplicate or save a project version before changing the transition.
In CapCut, keep the audio and video separate when you need to move only the sound.
Choose two shots and let the next sound start a little before the image changes.
Then try extending the previous sound instead.
Listen to and watch each version.
Check whether the transition is easier to follow and the event still feels intentional.
A large offset can make an action seem out of sync.
Go back to a simple cut if the change does not help.
Sérgio first describes what he heard, then learns the name of the technique.
Completed brief · lesson example
1J-cut: the next sound comes in first
2L-cut: the previous sound continues
3Choice: a transition with a reason
Use this sheet as a reference. Replace the example with your own project.
3Check the decision against its use
The letter in the name matters less than knowing which sound comes in early or continues into another scene.
Sérgio uses the worksheet to check: choice: a transition with a reason.
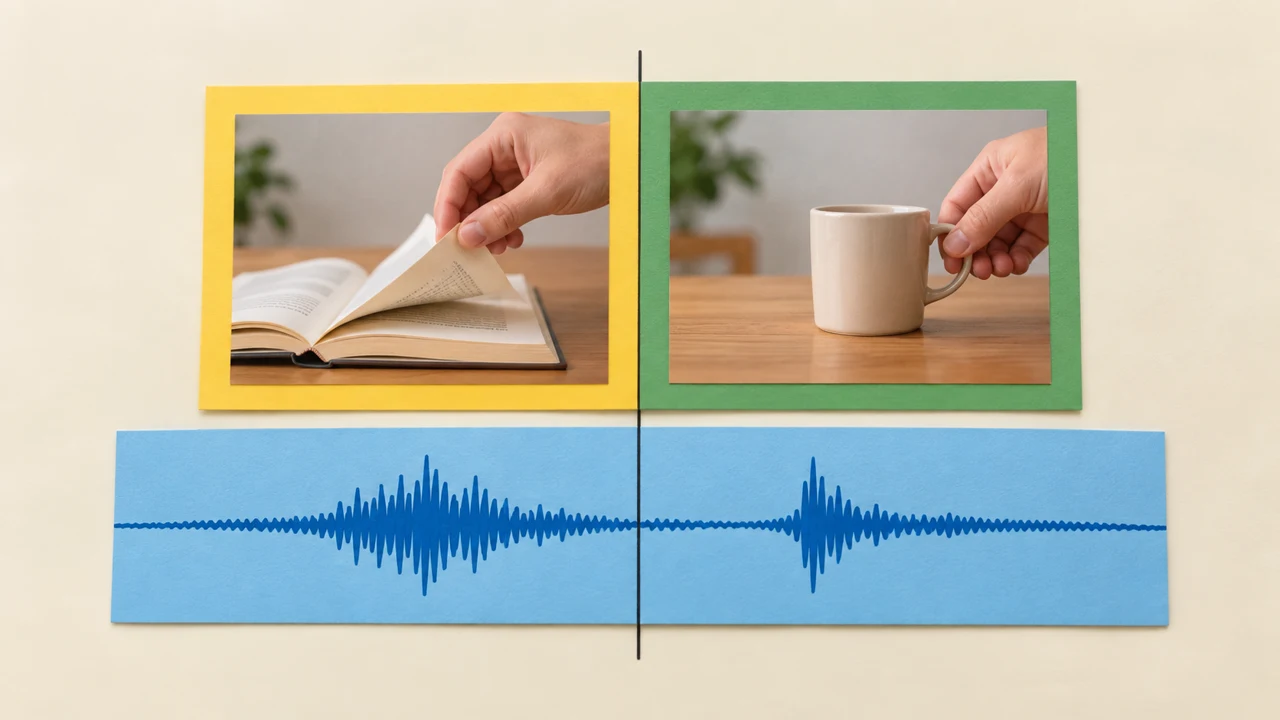
Teaching illustration created in Codex: The sound track crosses the visual change. The drawing does not identify where each section came from; use the worksheet to tell a J-cut from an L-cut.
Test yourself
The first scene’s dialogue continues while the second image appears. What is this?
It’s normal to get stuck hereMake one simple change. Keep the original cut if the alternative does not improve the transition.
Practice now 0/3
Use five editing moves with intention
About 10 minutes of active work. Generation queues do not count. You are done when you have tested a transition and recorded the timing between sound and image.
Use files you own or have permission to use. Generation may require an account and credits. Leave uncompleted activities pending and keep the originals.
Type tested: <J or L>
Scene the sound comes from: <which one>
Image change: <time>
Sound in or out: <time>
Effect you noticed: <description>
Decision: <keep or undo>
After these steps, you can test a transition where sound and image change at different times.
Lesson cheat sheet
Use five editing moves with intention
J-cut: the next sound comes in first
L-cut: the previous sound continues
Choice: a transition with a reason
Your next step
You now have criteria for testing a transition where sound and image change at different times.
Save this lesson’s work in the project folder. You will use it in the next step.
Next: Lower the music during speech
Supplementary material · module 3Production notes and care tips for returning after the short practice.
Five tools, five purposes
Experiment at your own pace
Draw two tracks, image and sound, to visualize the timing shift.
What to observe
Continuous sound under two shots does not, by itself, prove that you made a J-cut or L-cut.
Test on a copy of the sequence
Experiment at your own pace
Next: Test the other tools in suitable scenes, one at a time.
What to observe
Do not shift all the narration without checking how it relates to the rest of the images.
Check features and costs in your current account. Guides may show different paths depending on the model and mode.
Lesson 8 · Audio and Sound Design v6.2 · INEMA.CLUB PRO
Module 3 · Lesson 9 of 12
Lower the music during speech
You can make and review a gradual drop in music under the narration.
The voice does not need to win a volume contest. You can make room for it at the right moments.
In 1 minute
Before: music at the chosen level
During: words are understandable
After: music gradually returns
1Ducking is a change in level over time
Ducking means lowering one layer when another needs to come through.
Here, the music goes down during speech and comes back afterward.
This can happen automatically if the editor has the feature, or you can do it manually.
The goal is to keep the words clear without making the music jump in volume at every syllable.
Start with one sentence.
Listen to the voice and music together and find where the first word needs room.
The music should lower in time to keep that word clear.
It can return gradually during the pause, in a way that fits the piece.
Duda checks the first syllable, not just the middle of the sentence.
Weak decision
Turn up the voice whenever the music covers a word.
Verifiable decision
Lower the music during speech and check when it starts and returns.
Notice which characteristics make the second decision easy to check.
2Four points make the adjustment visible
Select the music in CapCut and find Volume.
Place the playhead before the speech and choose Add point, usually marked with a diamond.
The first point keeps the original level.
At the start of the speech, add a second point at a lower volume.
At the end, add a third point and keep the volume low.
After the speech, add a fourth point at the original level.
These points are called keyframes: they save values at specific moments in the edit.
If the feature is unavailable, use Split to separate sections of the music.
Adjust Volume on each section and add Fade at the joins.
A fade is a gradual start or end of a sound.
Listen to the transition and export a preview to check it.
Sérgio listens to the music coming back to avoid a distracting jump.
Completed brief · lesson example
1Before: music at the chosen level
2During: words are understandable
3After: music gradually returns
Use this sheet as a reference. Replace the example with your own project.
3Check the decision against its use
Assess clarity and smoothness by listening; numbers are not guarantees.
Sérgio uses the worksheet to check: after: music gradually returns.
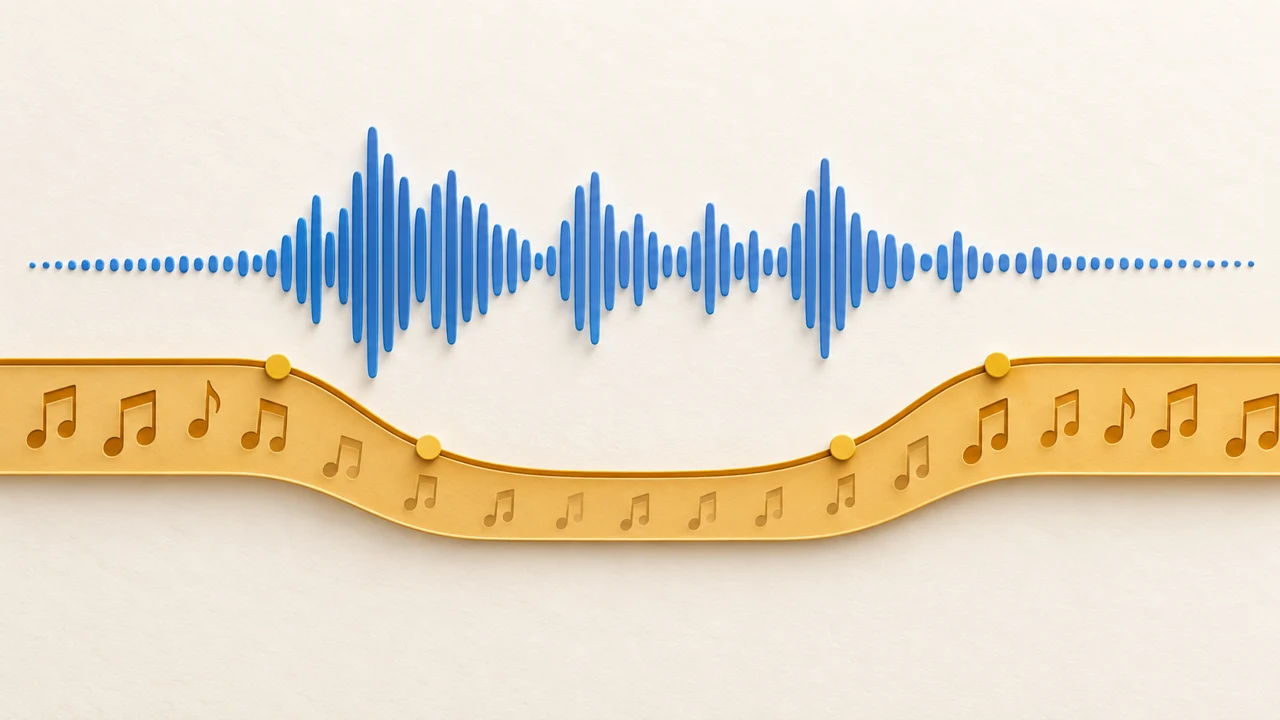
Teaching illustration created in Codex: The curve represents music lowering under speech. It is not a CapCut screenshot or a measurement of the kit files.
Test yourself
The first word disappears before the music comes down. What should you try?
It’s normal to get stuck hereIf you cannot find volume points, split the track into sections and use fades. Test on a copy so you can compare.
Practice now 0/3
Lower the music during speech
About 10 minutes of active work. Generation queues do not count. You are done when a preview has been exported and you have checked the music reduction during speech.
Use files you own or have permission to use. Generation may require an account and credits. Leave uncompleted activities pending and keep the originals.
Sentence: <which one>
Start / end: <times>
Method: <points or segments>
Level before / during / after: <values used>
Preview: <file>
Result: <clear or fix + reason>
After these steps, you can make and review a gradual drop in music under the narration.
Lesson cheat sheet
Lower the music during speech
Before: music at the chosen level
During: words are understandable
After: music gradually returns
Your next step
You now have criteria for making and reviewing a gradual drop in music under the narration.
Save this lesson’s work in the project folder. You will use it in the next step.
Next: Review the mix based on the message that comes through
Supplementary material · module 3Production notes and care tips for returning after the short practice.
Ducking is a change in level over time
Experiment at your own pace
Compare a smooth reduction with an abrupt one to hear the difference.
What to observe
There is no single volume level that works for files with such different levels.
Four points make the adjustment visible
Experiment at your own pace
Additional production: repeat the adjustment on the other lines without blindly copying values.
What to observe
A fade that lasts too long may lower the music too early or cover the first word.
Stop one player before starting the other. Same voice, music, and ambience; only the effects change. Sources and credits.
2Silence also needs to be checked
A pause can give the final invitation more weight.
Absolute digital silence and subtle ambience create different impressions.
Test removing one layer and listen for whether the transition still sounds natural.
Fades soften edges, but should not erase important attacks or cut off words.
Export a preview and listen on headphones and a phone speaker.
If you only have one device, record that limitation and do the second test later.
Check the message without looking at the script.
When possible, ask someone else what they understood.
Sérgio checks whether he understands the invitation without following the on-screen text.
Completed brief · lesson example
1Diagnosis: listen to one layer at a time
2Adjustment: fix the cause you observed
3Review: exported file on available devices
Use this sheet as a reference. Replace the example with your own project.
3Check the decision against its use
The message needs to remain clear outside the editor.
Sérgio uses the worksheet to check: review: exported file on available devices.
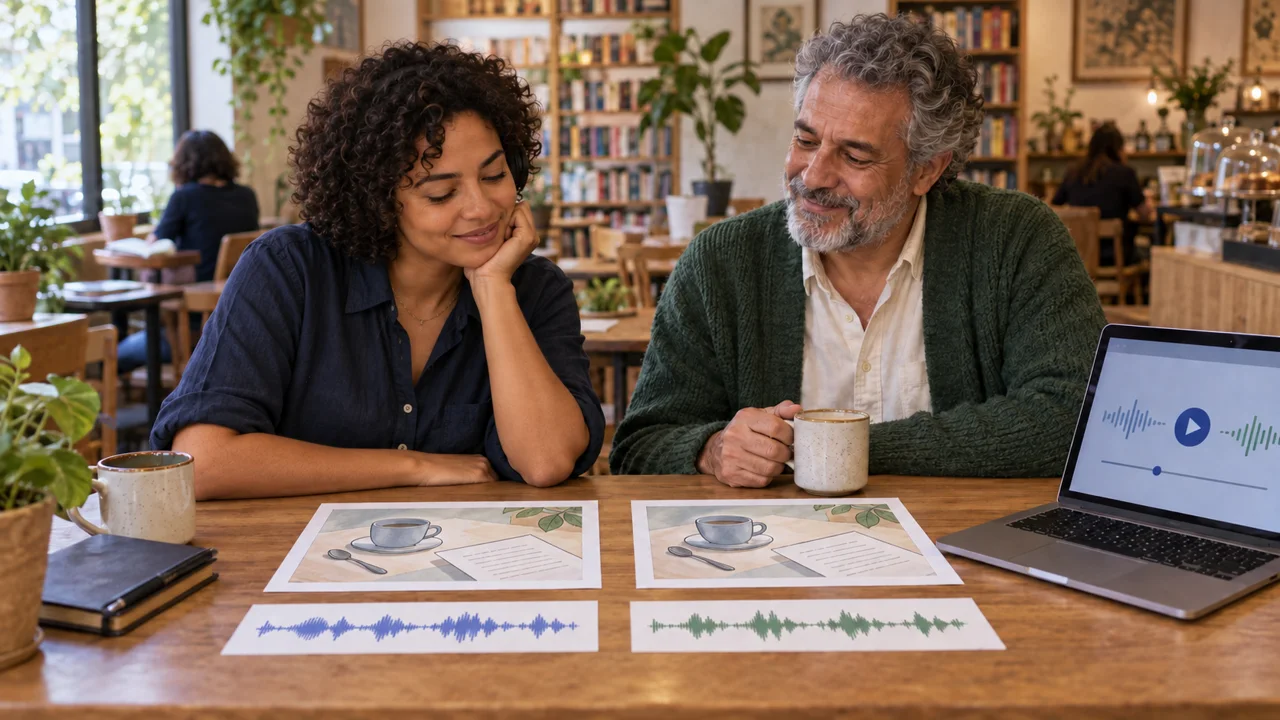
Teaching illustration created in Codex: The characters compare listening on a phone and headphones. The waveforms on the screen are illustrative and do not prove measured levels.
Test yourself
The speech is clear on its own but loses words when an impact plays. What should you try?
It’s normal to get stuck hereYou do not have to find a defect. Record what you checked and keep the version that communicates better.
Practice now 0/3
Review the mix based on the message that comes through
About 10 minutes of active work. Generation queues do not count. You are done when you have listened to a preview and recorded a mix decision with supporting evidence.
Use files you own or have permission to use. Generation may require an account and credits. Leave uncompleted activities pending and keep the originals.
Section: <time>
Conflict: <which one or none observed>
Layer tested: <name>
Adjustment: <which one>
Preview: <file>
Headphones / phone: <observation or pending>
Decision: <keep or undo>
After these steps, you can identify and fix a conflict between audio layers.
Lesson cheat sheet
Review the mix based on the message that comes through
Diagnosis: listen to one layer at a time
Adjustment: fix the cause you observed
Review: exported file on available devices
Your next step
You now have criteria for identifying and fixing a conflict between audio layers.
Save this lesson’s work in the project folder. You will use it in the next step.
Next: Create a sound library you can reuse
Supplementary material · module 4Production notes and care tips for returning after the short practice.
Listen to one layer, then the whole mix
Experiment at your own pace
Use a comfortable, consistent listening volume to compare adjustments.
What to observe
Turning up the device can hide a weak mix without fixing the file.
Silence also needs to be checked
Experiment at your own pace
Next: Repeat the review after any voice or music change.
What to observe
An informal second listen is not audience research or proof of commercial results.
Check features and costs in your current account. Guides may show different paths depending on the model and mode.
Lesson 10 · Audio and Sound Design v6.2 · INEMA.CLUB PRO
Module 4 · Lesson 11 of 12
Create a sound library you can reuse
You can store sources, versions, and credits in an audio library that is easy to search.
A folder full of final2 and new3 files can make you lose the right sound. Simple names and records save time on your next project.
In 1 minute
Folders: originals, edits, exports
Names: object, action, and version
Record: actual use, source, and credit
1Name files for the event and version
Use names that identify the object, action, and version.
Examples: xicara_mesa_curto_01 and pagina_virada_suave_01.
Keep original files, edited clips, and exported mixes separate.
Do not overwrite the source when you trim a clip or change its volume.
A small, familiar library is more useful than hundreds of files no one has listened to.
Record the duration, perceived quality, and typical use on a tracking sheet.
The filename does not need to hold every detail; the sheet can keep the details and license readable.
Duda keeps the project version that matches the approved export.
Prompts to compare · teaching example
RequestSave audio_final_novo and forget which sounds were used.
There are no observable limits to check the work against.
RequestSeparate originals, edits, and exports, and keep a source sheet.
You have clear criteria for checking the decision.
Compare the two instructions. They are examples written for this lesson, with no simulated tool response.
2Record what was actually used
The delivery should list the sounds included, their credits, and any changes made.
A rejected option can stay in the library, but it should not appear as part of the final mix.
Also save the project version that matches the exported file.
For a signature sound, keep the approved motif and its usage limits.
Do not call every downloaded effect a brand-exclusive sound.
If you want exclusivity, it requires a custom creation and its own terms.
In this course, the kit is for learning and assembling examples.
Sérgio finds the cup by its event name without opening dozens of files.
Completed brief · lesson example
1Folders: originals, edits, exports
2Names: object, action, and variation
3Sheet: actual use, source, and credit
Use this sheet as a reference. Replace the example with your own project.
3Check the decision against its use
You should be able to rebuild the mix from the project and the saved source files.
Sérgio uses the sheet to check: actual use, source, and credit.
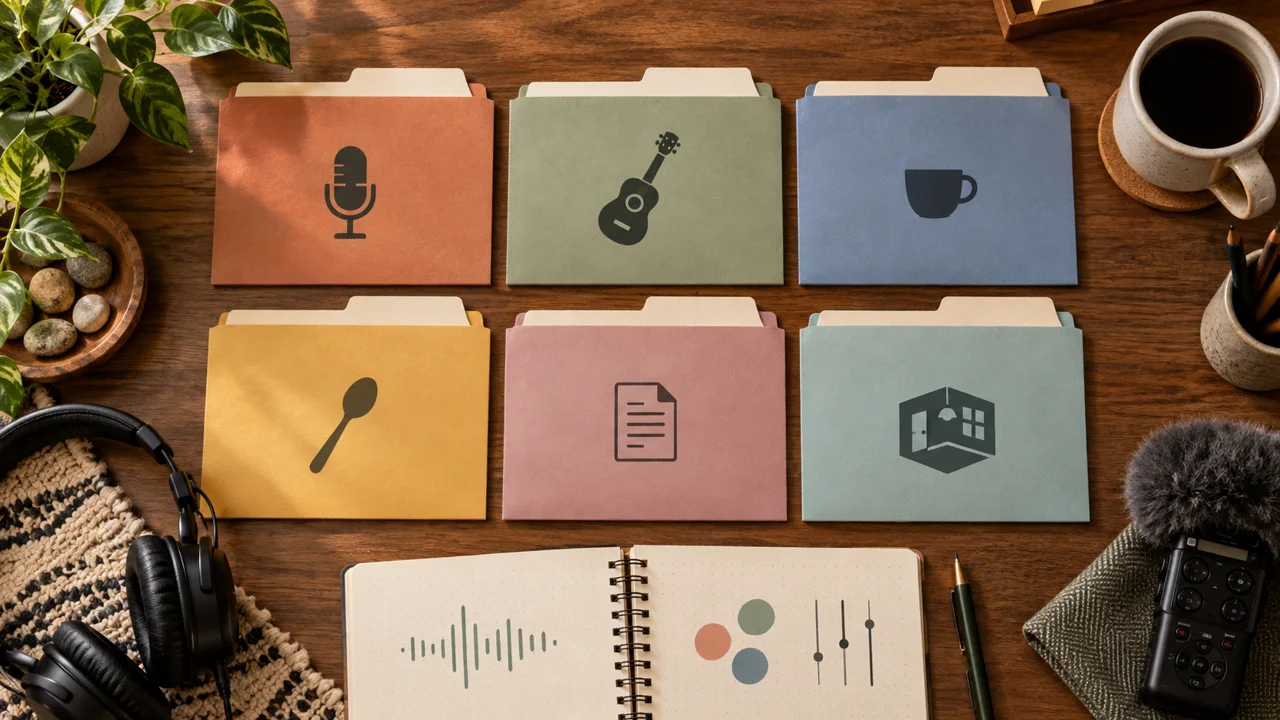
Teaching illustration created in Codex: The folders represent sound categories. The icons are not required names or a real file-management screen. Within each category, separate originals, edits, and exports.
Test yourself
An effect was tested and rejected. How should you record it?
It is normal to get stuck hereIf a file disappears from the editor after you move the folder, use the option to relink the media and choose the correct file.
Practice now 0/3
Create a sound library you can reuse
About 10 minutes of active work. Generation queues are not included. You are done when the library is organized and the reopened project can find the files it needs.
Use files you own or have permission to use. Generation may require an account and credits. Leave uncompleted activities pending and keep the originals.
Original: <name and source>
Edited copy: <name>
Changes: <which ones>
Used in the piece: <yes or no>
Credit: <text>
Matching project: <name>
Links checked: <yes or pending>
After completing these steps, you can store sources, versions, and credits in a recoverable audio setup.
Lesson cheat sheet
Create a sound library you can reuse
Folders: originals, edits, exports
Names: object, action, and variation
Checklist: actual use, source, and credit
Your next step
You now have criteria to keep sources, versions, and credits in a recoverable audio folder structure.
Save this lesson’s work in the project folder. You will use it in the next step.
Next: Export two versions and compare the effect of the sounds
Supplementary material · module 4Production notes and care tips for returning after the short practice.
Name files by event and variation
Experiment at your own pace
Rename copies of the kit and check that the editor still finds the files in use.
What to observe
Moving files after editing can break project links; keep them in a stable folder.
Record what was actually used
Experiment at your own pace
Follow-up: use the same organization for the next piece and review any confusing names.
What to observe
Organization does not replace checking rights for each new use.
Stop one player before starting the other. Same voice, music, and ambience; only the effects change. Sources and credits.
2Check the files outside the project
In CapCut, choose Export and select a format and resolution suited to your piece.
For the exercise, keep the settings the same in both versions.
Give them different names, wait for export to finish, and open both in a player.
Check the beginning, ending, speech, and three sound events.
Include the source sheet and music credit in the delivery.
If you publish, check each file’s terms on the chosen platform.
Publishing is optional; completing the task requires the actual files and their review.
Steps not yet done remain pending until you complete them.
Sérgio opens the exported file on his phone before sharing the piece.
Completed brief · lesson example
1A: voice, music, and ambience
2B: same layers plus three effects
3Delivery: two reviewed files and credits
Use this sheet as a reference. Replace the example with your own project.
3Check the decision against its use
A useful comparison keeps conditions the same and records what you actually heard.
Sérgio uses the checklist to confirm: delivery: two reviewed files and credits.
Educational illustration created in Codex: The illustration depicts a comparison session. Use the lesson’s players to listen to the actual A and B files.
Test yourself
Version B seems better, but it also has different music. What can you conclude?
It’s normal to get stuck hereIf the edit is still missing, return to the relevant lesson. Do not invent filenames to fill in the checklist.
Practice now 0/3
Export two versions and compare the effect of the sounds
About 10 minutes of active work. Generation queues are not included. Done when two pieces are exported, reviewed outside the editor, and accompanied by credits.
Use files you own or have permission to use. Generation may require an account and credits. Leave uncompleted activities pending and keep the originals.
File A: <example A_sem_efeitos.mp4>
File B: <example B_com_efeitos.mp4>
Duration and settings: <same>
Difference: <three effects only>
Voice clarity: <observation>
Effects: <contribution or excess>
Credits: <file>
Pending work: <none or list>
After these steps, you can deliver a piece with four layers and a comparison with and without the three effects.
Lesson cheat sheet
Export two versions and compare the effect of the sounds
A: voice, music, and ambience
B: same layers plus three effects
Delivery: two reviewed files and credits
Your next step
You now have criteria to deliver a piece with four layers and a comparison with and without the three effects.
Save this lesson’s work in the project folder. You will use it in the next step.
Next: Apply the method to a new video with a different goal.
Supplementary material · module 4Production notes and care tips for returning after the short practice.
Change one thing in the comparison
Experiment at your own pace
First compare voice clarity, then the effects’ contribution.
What to observe
Do not compare versions with different music, duration, and voice, then attribute everything to the effects.
Check the files outside the project
Experiment at your own pace
More production is needed: resume any step without a file before presenting the project as complete.
What to observe
Listening to the finished course example does not replace exporting and checking your own edit.