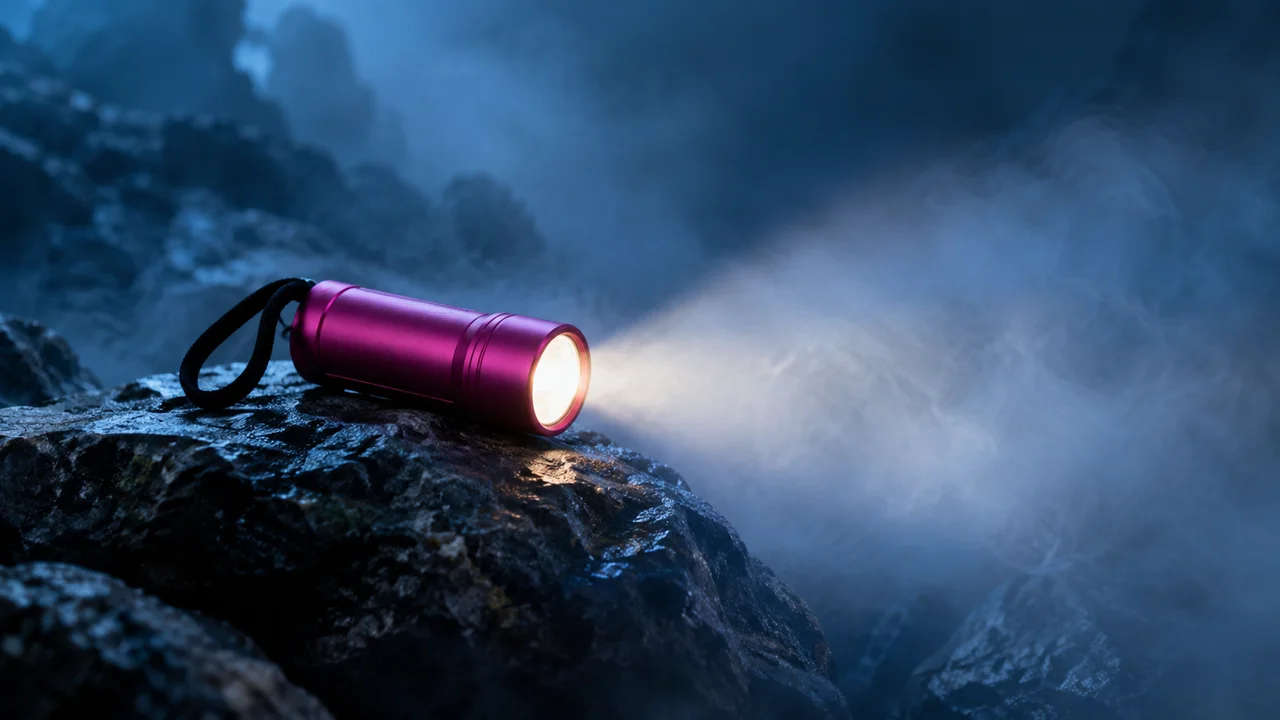
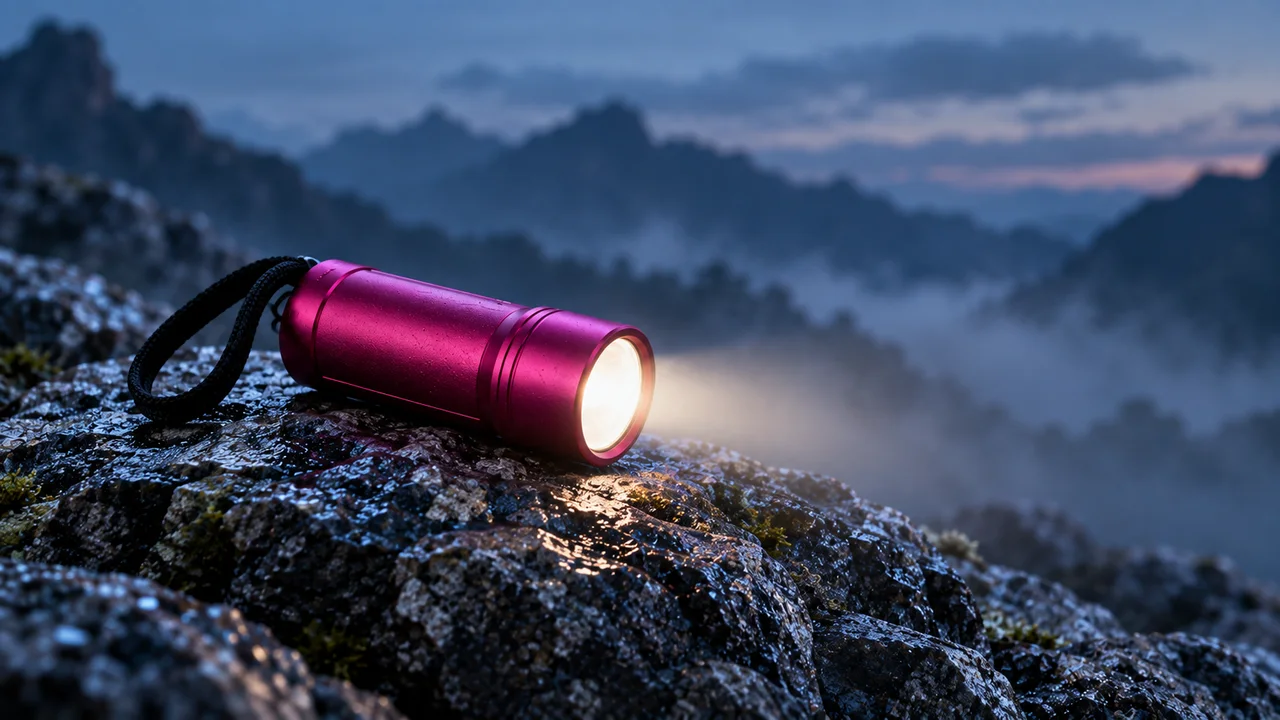
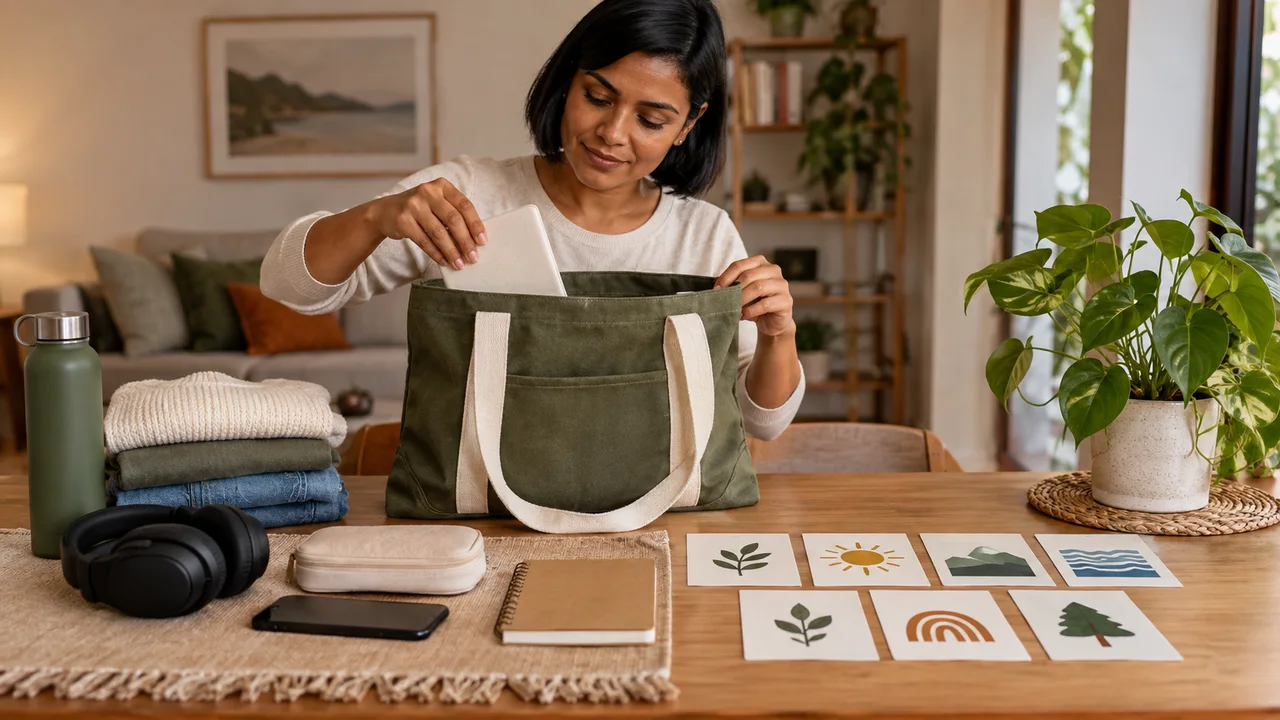
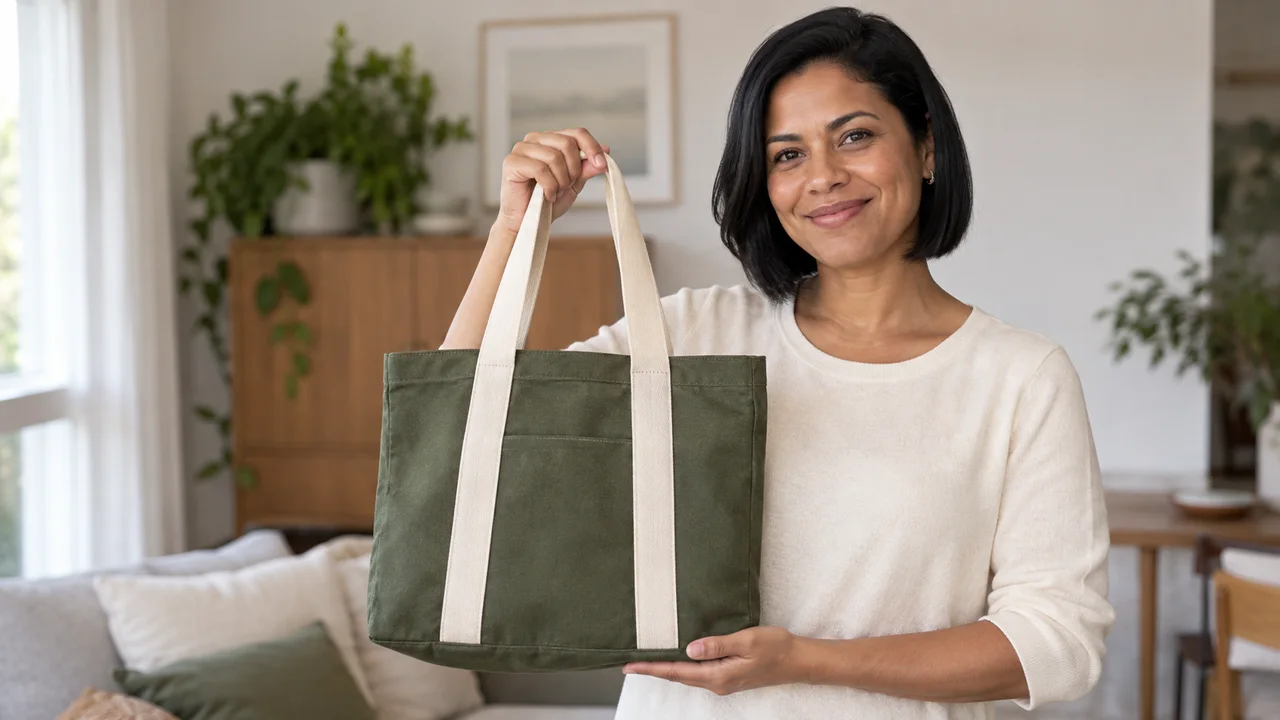
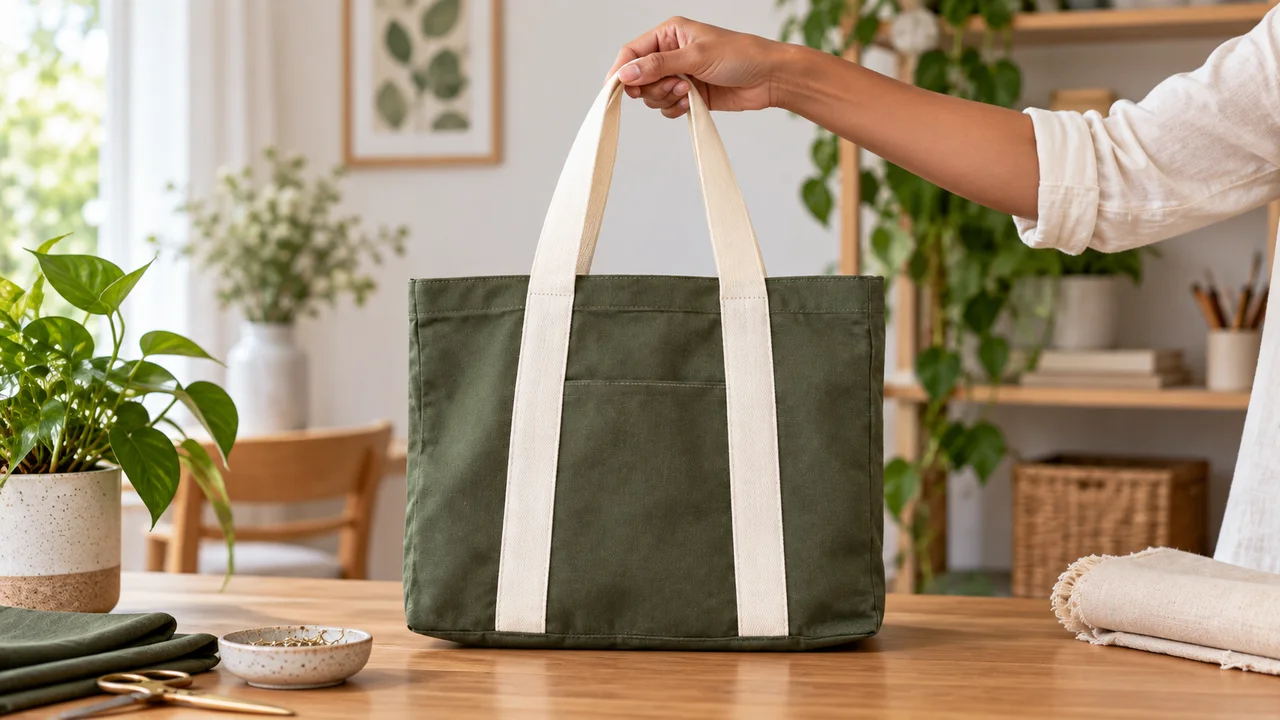
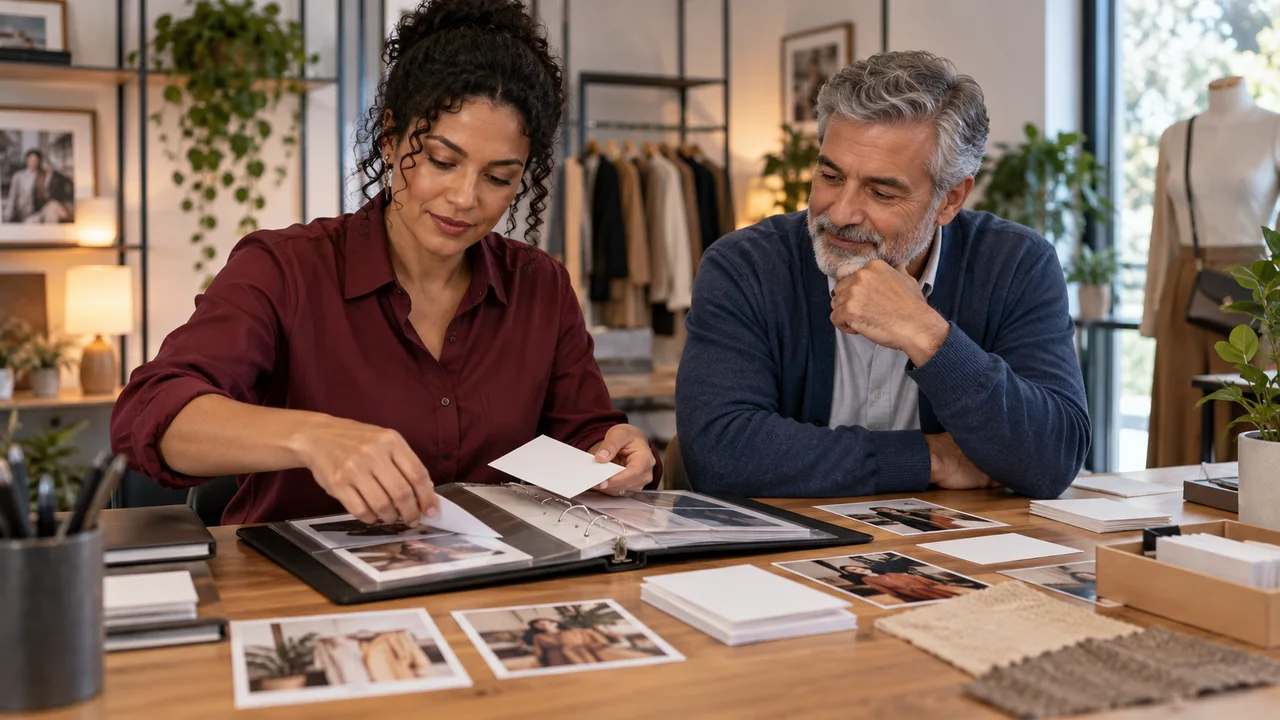
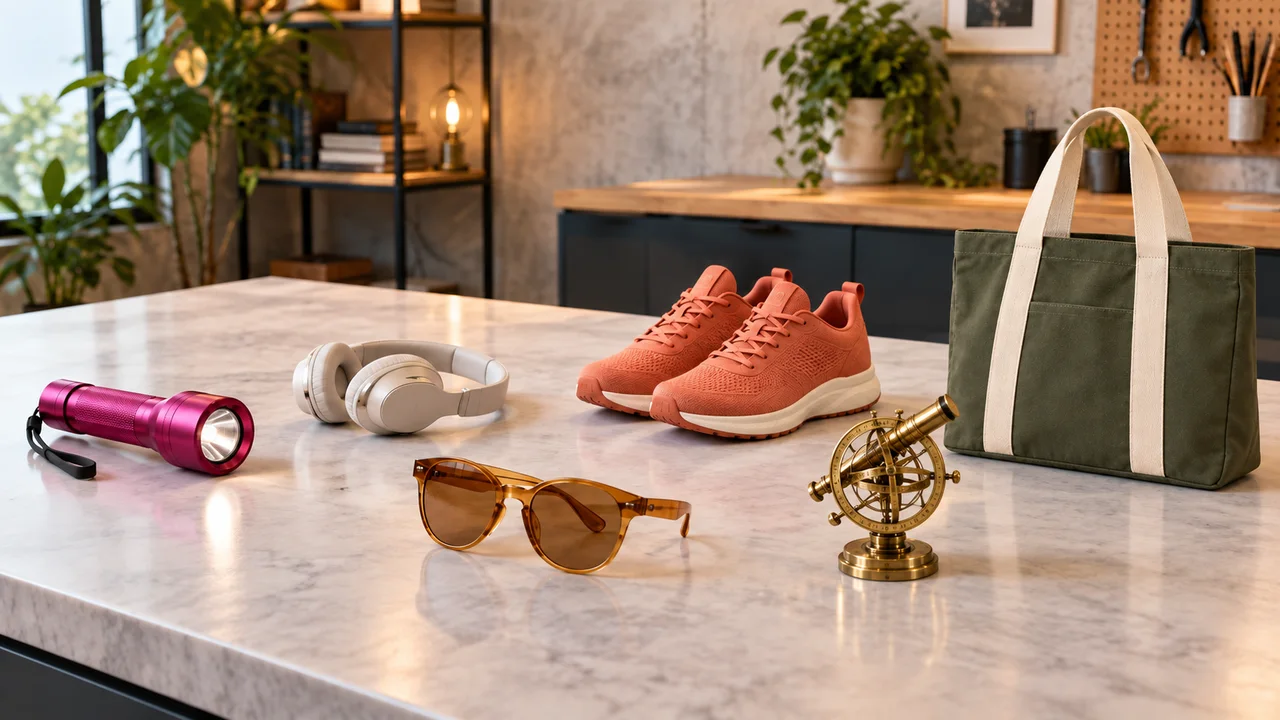
The first three seconds introduce darkness, a beam, and the product.
Then the sequence explores texture and scale before returning to the flashlight.
The suggested narration is: When everything looks the same, a pause changes how you see it.
Lume: imagine another path.
It is a concept line, not a technical promise.
Use an image generator, a video generator, and an editor you already know how to use.
The Prompting, Kling, and CapCut courses provide that foundation.
Check your credits before starting.
This lesson’s practice ends with the script; you will make the files in later steps.
Paulo checks whether he can explain the ad in one sentence.
Completed script · Lume · narrated ad
1
Product in low light · 0–2 s You can recognize the product by its outline.
2
Beam appears · 2–4 s One lens, one handle, shape preserved.
3
Full product view · 4–6 s No part disappears.
4
Body texture · 6–8 s Texture does not turn into letters or a brand.
5
Handle · 8–10 s Handle stays attached and does not multiply.
6
Scale in the setting · 10–12 s Scale stays consistent throughout the clip.
7
Light and material · 12–14 s Shine does not erase the product’s shape.
8
Return to the full view · 14–16 s Handle, lens, and body stay consistent.
9
Ending · 16–18 s Name and label fit without covering the object.
Original 18-second plan. The workbook details the image, motion, and sound for each scene.
3Check the decision against its use
Define one message and give each scene a purpose tied to the flashlight.
Paulo uses the sheet to check the final action: learn about the fictional concept.
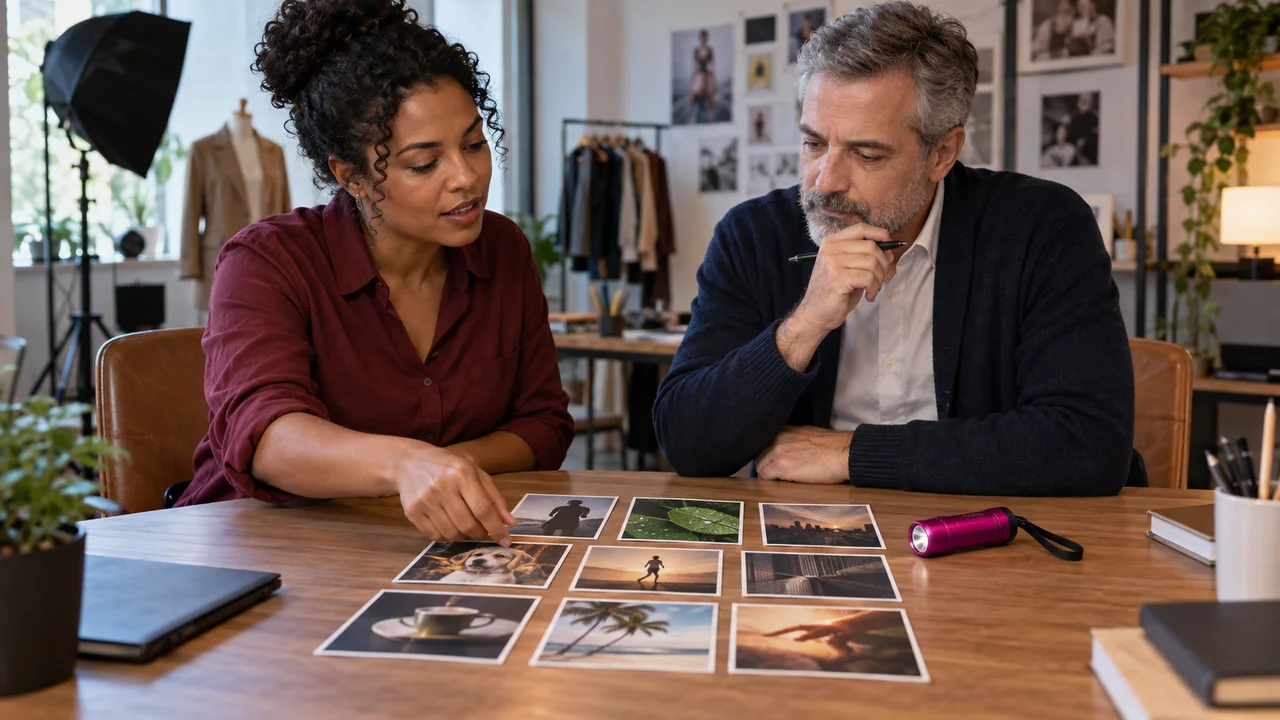
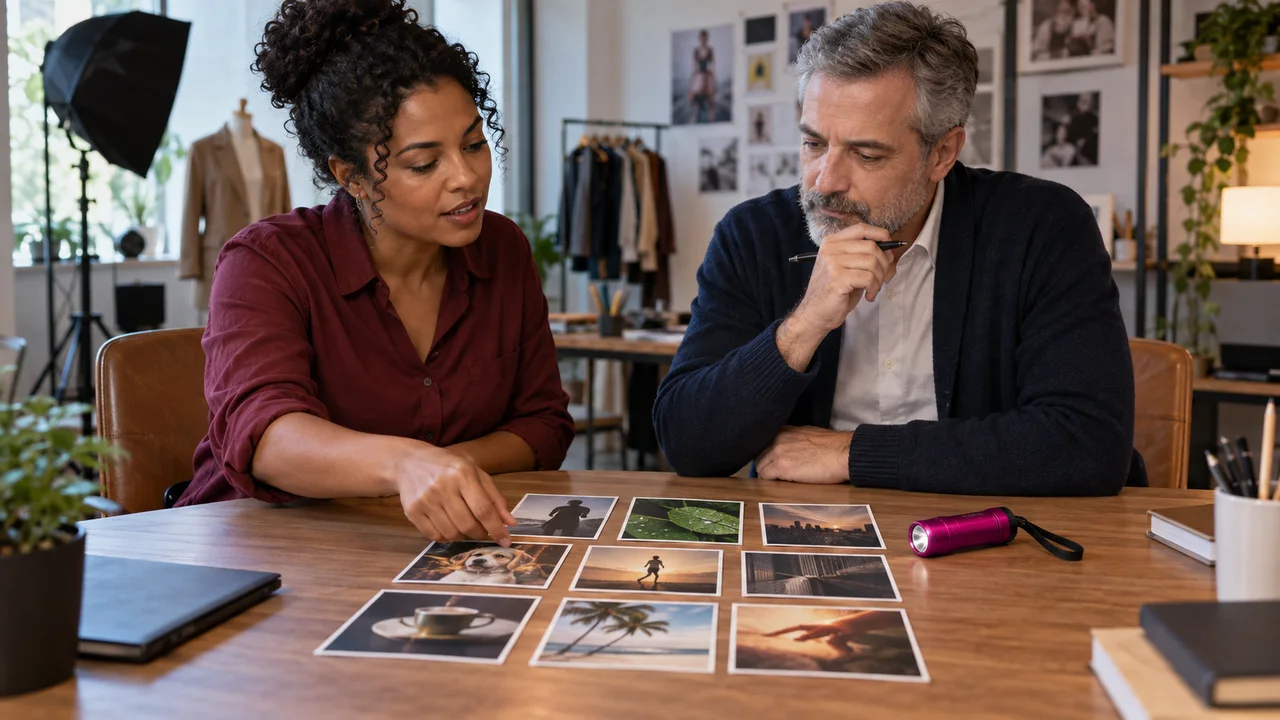
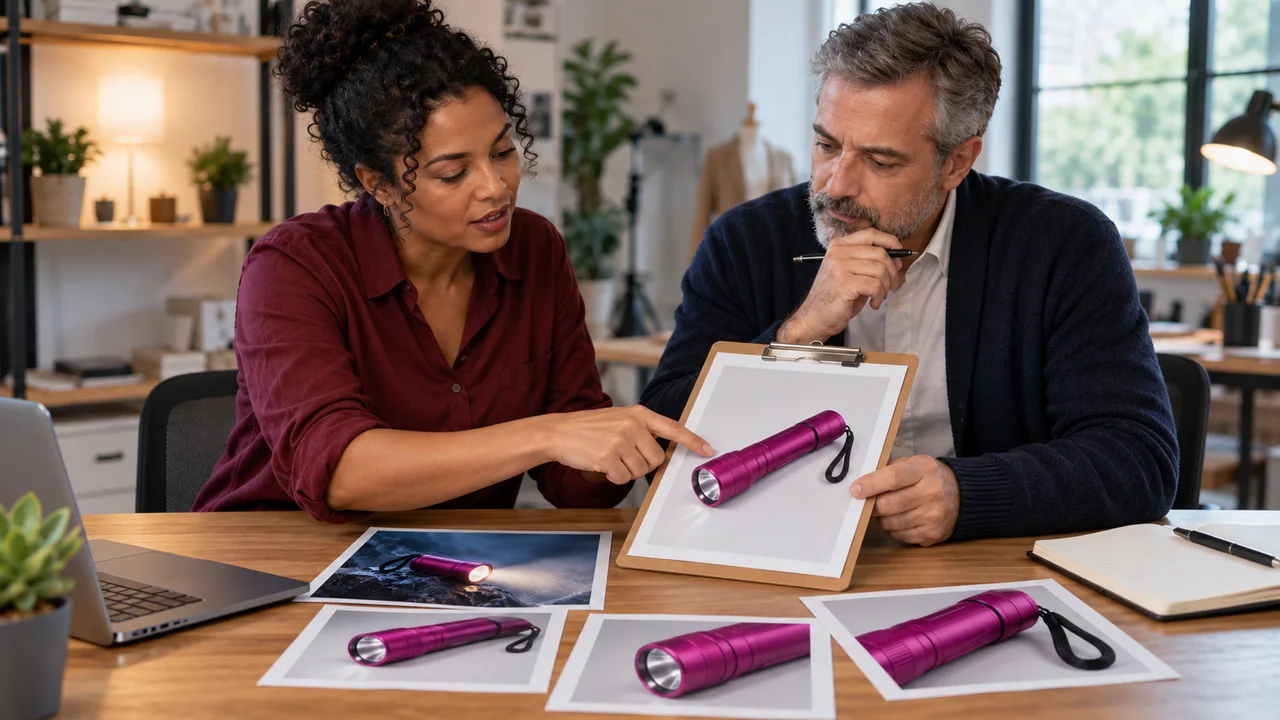
Teaching illustration created in Codex: Mila and Paulo plan alongside a magenta flashlight. The cards illustrate a reference table, not the final nine-scene script.
Test yourself
The ad has beautiful scenes, but no one can tell what the product is. What should you review first?
If you got stuck here, that’s normalIf you do not know how to generate or edit yet, start with the foundation courses listed. This lab brings those steps together.
Practice now 0/3
Plan Lume’s narrated ad
Set aside 10 minutes of active work for this segment. Full production and queues take more time; this segment is not a finished ad. You are done when your note has the audience, message, final action, and nine scenes with their purposes.
Use your own or authorized references. Label illustrative images and keep the originals. AI features may require an account or plan; check before generating.
CASE: Lume
AUDIENCE:
MESSAGE:
FINAL ACTION:
SCRIPT — scene, timing, and purpose:
1.
2.
3.
4.
5.
6.
7.
8.
9.
OPENING AND ENDING CHECKED:
REAL PENDING ITEM:
After these steps, you can write a visual promise and a nine-scene script.
Lesson cheat sheet
Plan Lume’s narrated ad
Message: a pause of light in a dark setting
Structure: nine scenes in 18 seconds
Final action: learn about the fictional concept
Your next step
You now have criteria for writing a visual promise and a nine-scene script.
Save this lesson’s deliverable in the project folder. You will use it in the next step.
Next: Fix the flashlight before the surreal scenes
Supplemental material · Module 1Production notes and safeguards for continuing after the short practice.
Production plan starts with the message
Experiment at your own pace
Repeat with one change at a time. Save the prompt, reference, and result so you can compare them.
What to observe
Check which features are available in your account before generating. Queues, credits, and plans are not included in the course.
An opening must still make sense later
Experiment at your own pace
Keep the previous version and note what changed in how it reads. Undo any change that does not help.
What to observe
All six cases are original and fictional. Codex images illustrate decisions; they are not real campaigns or finished videos.
Attach the approved image as a reference when that feature is available.
Request just one change, such as moving the camera closer.
Compare side by side.
A similar color does not prove identity: check the shape, proportions, and handle position.
The tool may change details even when given the reference.
The nine images for the full script require additional production.
The short practice asks for one generated and checked reference.
Record the file name and your decision.
If the queue does not finish, leave it pending.
The course illustration is for analysis; it does not replace generating your own image.
Paulo saves the reference with the prompt so he can compare them later.
Completed brief · lesson example
1Reference: magenta body, black handle, single lens
2Check: shape, proportions, handle, and support
3Record: file, prompt, and decision
Use this sheet as a reference. Replace the example with your own project.
3Check the decision against its use
Approve one reference and check four features in each variation.
Paulo uses the sheet to check the record: file, prompt, and decision.
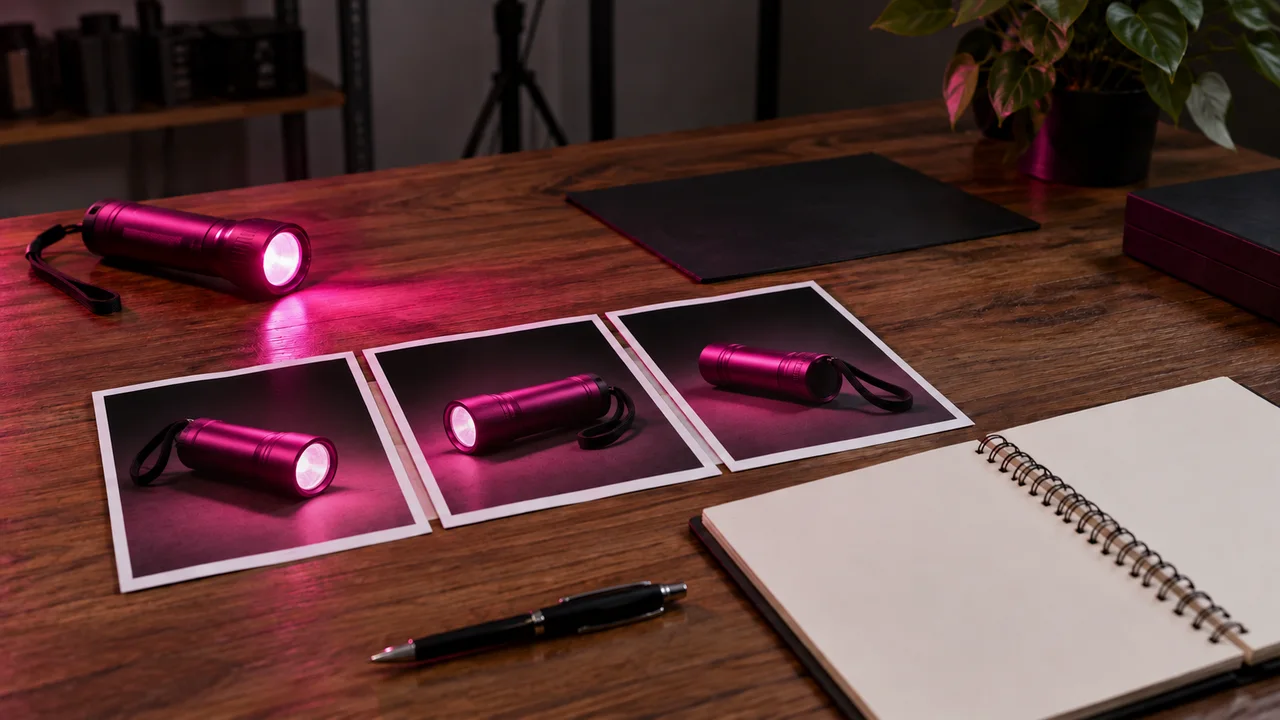
Teaching illustration created in Codex: The whole magenta flashlight lets you inspect the body, handle, and lens. The lighting is an artistic choice, not proof of performance.
Test yourself
The new image keeps the color but now has two lenses. Which choice follows the sheet?
If you got stuck here, that’s normalIf the service does not create the file, leave the practice pending. Preparing the prompt does not mean you received an image.
Practice now 0/3
Fix the flashlight before the surreal scenes
Set aside 10 minutes of active work for this segment. Full production and queues take more time; this segment is not a finished ad. You are done when a generated file is saved and you have made a decision based on the sheet.
Use your own or authorized references. Label illustrative images and keep the originals. AI features may require an account or plan; check before generating.
Project: Ad Lab
Lesson: Fix the flashlight before the surreal scenes
Reference: magenta body, black handle, single lens — <your decision>
Check: shape, proportions, handle, and support — <your decision>
Record: file, prompt, and decision — <your decision>
Checked file or frame:
Decision: keep or adjust
Real pending item:
After these steps, you can generate and check a reference image for Lume.
Lesson cheat sheet
Fix the flashlight before the surreal scenes
Reference: magenta body, black handle, single lens
Check: shape, proportions, handle, and support
Record: file, prompt, and decision
Your next step
You now have criteria for generating and checking a reference image for Lume.
Save this lesson’s deliverable in the project folder. You will use it in the next step.
Next: Build nine scenes with a clear voice
Supplemental material · Module 1Production notes and safeguards for continuing after the short practice.
Write down what must stay the same
Experiment at your own pace
Repeat with one change at a time. Save the prompt, reference, and result so you can compare them.
What to observe
Check which features are available in your account before generating. Queues, credits, and plans are not included in the course.
Start each variation from the approved reference
Experiment at your own pace
Keep the previous version and note what changed in how it reads. Undo any change that does not help.
What to observe
All six cases are original and fictional. Codex images illustrate decisions; they are not real campaigns or finished videos.
Record the line in your own voice or use an authorized synthetic voice.
You do not need to clone anyone.
In CapCut, create a vertical project, place the clips in workbook order, and adjust them to 18 seconds.
Add the voice and keep the music below it.
Export as MP4 and open the file outside the editor.
Check all nine scenes, the clear line, and the ending with a recognizable product.
The short practice is this review of an already created version.
Creating nine scenes, recording, and editing takes extra time; record anything missing as pending.
Paulo listens to the full line before approving the version.
Completed brief · lesson example
1Edit: nine scenes, 18 seconds
2Sound: line is easy to understand
3File: MP4 opens and product stays consistent
Use this sheet as a reference. Replace the example with your own project.
3Check the decision against its use
Review the full MP4, checking sequence, speech, and continuity.
Paulo uses the sheet to check: file: MP4 opens and product stays consistent.
Teaching illustration created in Codex: The illustrated ending keeps the flashlight recognizable. The photo cannot prove clip continuity; you must watch the generated video.
Test yourself
The music covers the last word of the line. Which change solves the problem?
If you got stuck here, that’s normalIf you have not made all nine clips yet, return to the script and finish the edit. A completed checklist is not an MP4.
Practice now 0/3
Build nine scenes with a clear voice
Set aside 10 minutes of active work for this segment. Full production and queues take more time; this segment is not a finished ad. You are done when the nine-scene MP4 exists and has been reviewed for image, sound, and length.
Use your own or authorized references. Label illustrative images and keep the originals. AI features may require an account or plan; check before generating.
Project: Ad Lab
Lesson: Build nine scenes with a clear voice
Edit: nine scenes, 18 seconds — <your decision>
Sound: line is easy to understand — <your decision>
File: MP4 opens and product stays consistent — <your decision>
Checked file or frame:
Decision: keep or adjust
Real pending item:
After these steps, you can review a first 18-second version of the Lume ad.
Lesson cheat sheet
Build nine scenes with a clear voice
Edit: nine scenes, 18 seconds
Sound: line is easy to understand
File: MP4 opens and product stays consistent
Your next step
You now have criteria for reviewing a first 18-second version of the Lume ad.
Save this lesson’s deliverable in the project folder. You will use it in the next step.
Next: Let music guide the route
Supplemental material · Module 1Production notes and safeguards for continuing after the short practice.
Animate one action per clip
Experiment at your own pace
Repeat with one change at a time. Save the prompt, reference, and result so you can compare them.
What to observe
Check which features are available in your account before generating. Queues, credits, and plans are not included in the course.
Let the voice guide the pace
Experiment at your own pace
Keep the previous version and note what changed in how it reads. Undo any change that does not help.
What to observe
All six cases are original and fictional. Codex images illustrate decisions; they are not real campaigns or finished videos.
Write one simple action per segment: start walking, move forward, cross the strip of light, and stop.
Keep the outfit, person, corridor, and movement direction consistent.
The script uses four connected clips.
It is not one real uncut recording, even when the transition looks continuous.
You can create another song with a tool such as Suno if you check the account terms and intended use.
That is optional.
To continue now, use the kit track with its credits.
Save the song name, source, and four chosen timings.
Paulo records the timings using the player’s counter.
Completed script · Vento · music sequence
1
Start · 0–5 s Body, outfit, and pillars stay steady.
2
Move forward · 5–10 s Position and scale fit the transition.
3
Strip of light · 10–15 s Light belongs to the space; it does not change the outfit.
4
Stop · 15–20 s Feet do not slide, and the music ends deliberately.
Original 20-second plan. The workbook details the image, motion, and sound for each scene.
3Check the decision against its use
Listen to the track and plan actions that can continue from one segment to the next.
Paulo uses the sheet to check continuity: same person, outfit, place, and direction.
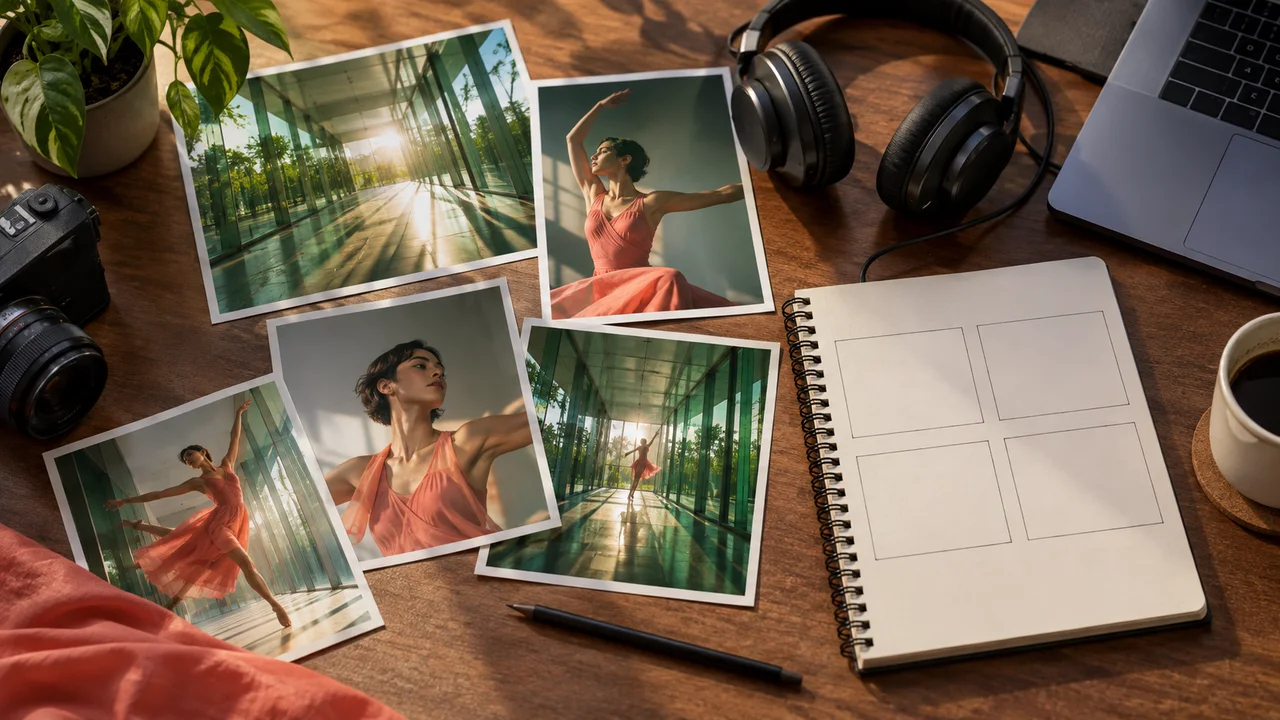
Teaching illustration created in Codex: Headphones and corridor photos suggest planning from sound. The tabletop photos do not prove a continuous sequence.
Test yourself
The second segment starts somewhere else and with different clothes. Which revision preserves the idea?
If you got stuck here, that’s normalIf you cannot identify beats, use the four intervals as a starting point and compare by listening. You do not need music theory.
Practice now 0/3
Let music guide the route
Set aside 10 minutes of active work for this segment. Full production and queues take more time; this segment is not a finished ad. You are done when you have listened to the track and linked four intervals to planned actions.
Use your own or authorized references. Label illustrative images and keep the originals. AI features may require an account or plan; check before generating.
Project: Ad Lab
Lesson: Let music guide the route
Track: 20-second instrumental with credits — <your decision>
Segments: four intervals marked after listening — <your decision>
Continuity: same person, outfit, place, and direction — <your decision>
Checked file or frame:
Decision: keep or adjust
Real pending item:
After these steps, you can mark four segments of a song for the Vento case.
Lesson cheat sheet
Let music guide the route
Track: 20-second instrumental with credits
Segments: four intervals marked after listening
Continuity: same person, outfit, place, and direction
Your next step
You now have criteria for marking four segments of a song for the Vento case.
Save this lesson’s deliverable in the project folder. You will use it in the next step.
Next: Plan Vento’s transition points
Supplemental material · Module 2Production notes and safeguards for continuing after the short practice.
Choose the track before the scenes
Experiment at your own pace
Repeat with one change at a time. Save the prompt, reference, and result so you can compare them.
What to observe
Check which features are available in your account before generating. Queues, credits, and plans are not included in the course.
Apparent continuity takes planning
Experiment at your own pace
Keep the previous version and note what changed in how it reads. Undo any change that does not help.
What to observe
All six cases are original and fictional. Codex images illustrate decisions; they are not real campaigns or finished videos.
When available, the start and end frame feature uses both images to guide the clip’s endpoints.
They do not guarantee everything that happens between them.
To connect segments, save the last clean frame of the approved video and use it to start the next.
For this segment, create and check only the first pair of images.
You will make the other points after testing motion.
Save both versions and a continuity sheet.
The practice ends with real files; a prepared prompt remains pending until it generates one.
Paulo checks the floor before accepting the arrival position.
Completed brief · lesson example
1Person: coral outfit and appearance preserved
2Place: floor, pillars, and light consistent
3Pair: start and arrival saved and compared
Use this sheet as a reference. Replace the example with your own project.
3Check the decision against its use
Check the pair and reduce differences before asking for motion.
Paulo uses the sheet to check: pair: start and arrival saved and compared.
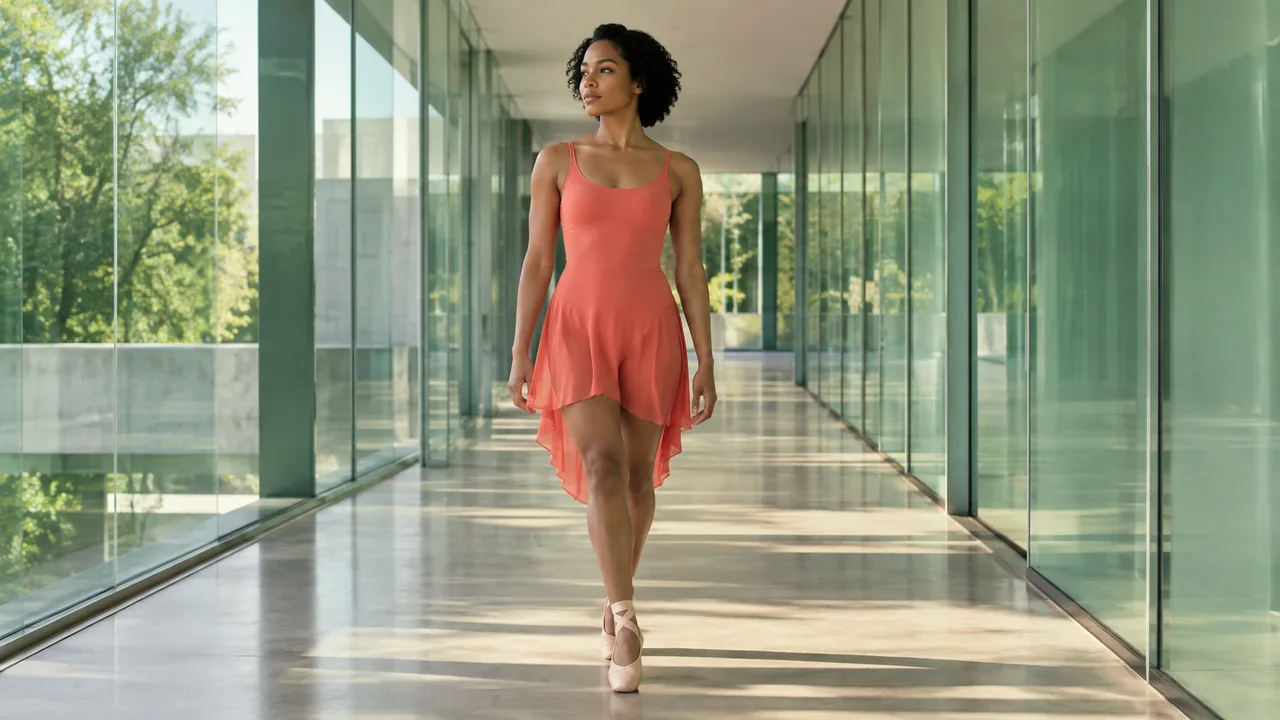
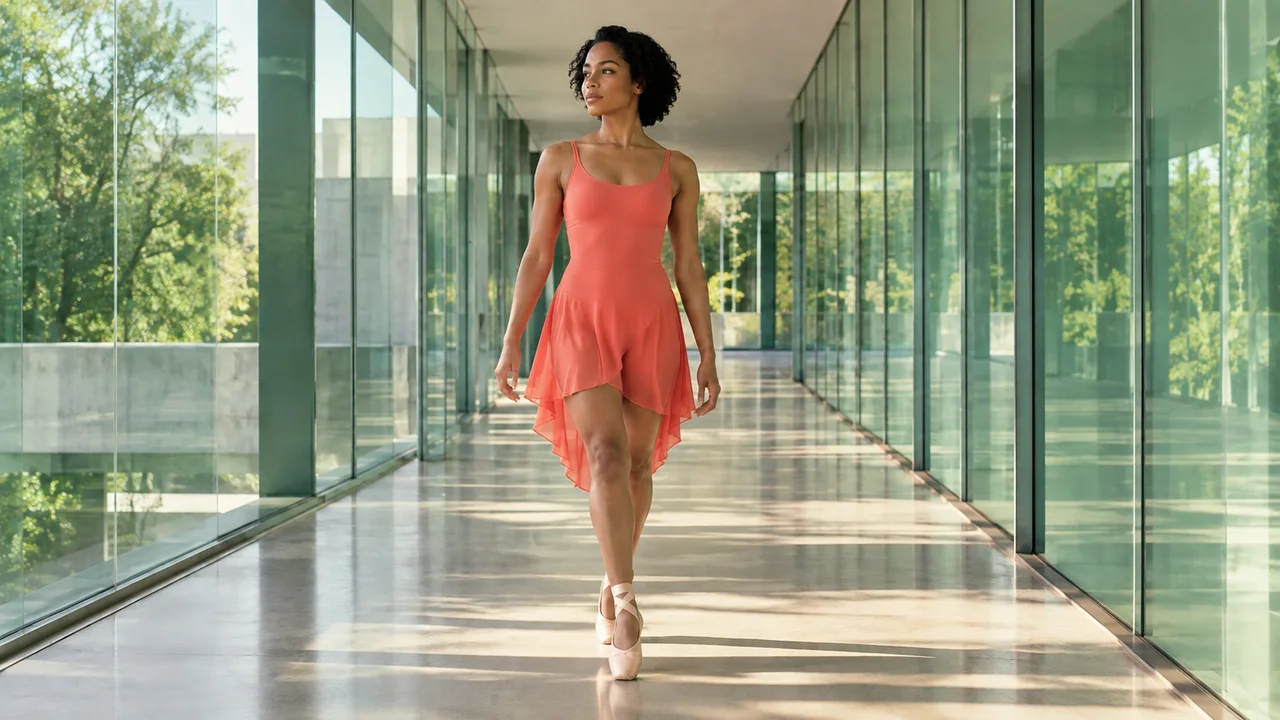
Teaching illustration created in Codex: The person in coral clothing appears in full in the corridor. Use appearance, outfit, and architecture as visible references.
Test yourself
The final image now has a door where there used to be glass. What should you do before animating?
If you got stuck here, that’s normalIf the second image changes too much, ask for a smaller change with the first image attached. Keep the rejected result so you can learn why it failed.
Practice now 0/3
Plan Vento’s transition points
Set aside 10 minutes of active work for this segment. Full production and queues take more time; this segment is not a finished ad. You are done when both files exist and have been compared against the three criteria.
Use your own or authorized references. Label illustrative images and keep the originals. AI features may require an account or plan; check before generating.
Project: Ad Lab
Lesson: Plan Vento’s transition points
Person: coral outfit and appearance preserved — <your decision>
Place: floor, pillars, and light consistent — <your decision>
Pair: start and arrival saved and compared — <your decision>
Checked file or frame:
Decision: keep or adjust
Real pending item:
After these steps, you can generate a pair of images to test continuity.
Lesson cheat sheet
Plan Vento’s transition points
Person: coral outfit and appearance preserved
Place: floor, pillars, and light consistent
Pair: start and arrival saved and compared
Your next step
You now have criteria for generating a pair of images to test continuity.
Save this lesson’s deliverable in the project folder. You will use it in the next step.
Next: Check the transitions in the music sequence
Supplemental material · Module 2Production notes and safeguards for continuing after the short practice.
A similar pair reduces the jump
Experiment at your own pace
Repeat with one change at a time. Save the prompt, reference, and result so you can compare them.
What to observe
Check which features are available in your account before generating. Queues, credits, and plans are not included in the course.
An approved ending can start the next segment
Experiment at your own pace
Keep the previous version and note what changed in how it reads. Undo any change that does not help.
What to observe
All six cases are original and fictional. Codex images illustrate decisions; they are not real campaigns or finished videos.
In the editor, keep one music track running for all 20 seconds.
Arrange the four clips over it and cut at the chosen transitions.
Compare each transition at normal speed, then frame by frame.
Small timing changes may help; sudden speed changes need another review.
Export the MP4 and watch it from beginning to end.
Record whether the journey feels continuous or has a visible cut.
Do not call four edited clips one real take.
The short practice checks the finished version; generating, connecting, and editing require additional production.
Paulo records the exact second of each jump to find the fix.
Completed brief · lesson example
1Video: four segments in 20 seconds
2Transitions: body and architecture without unintended jumps
3Sound: one continuous track, with credits saved
Use this sheet as a reference. Replace the example with your own project.
3Check the decision against its use
Check position and motion, and fix the transition before finishing.
Paulo uses the sheet to check: sound: one continuous track, with credits saved.
Teaching illustration created in Codex: The person’s next position suggests continuity, but you must compare it with the previous image and the generated clip.
Test yourself
Two people overlap during the dissolve. What is the most useful next test?
If you got stuck here, that’s normalIf a clip is missing, the final review remains pending. You can review existing segments, but the video is not complete.
Practice now 0/3
Check the transitions in the music sequence
Set aside 10 minutes of active work for this segment. Full production and queues take more time; this segment is not a finished ad. You are done when the MP4 exists and you have checked all three transitions.
Use your own or authorized references. Label illustrative images and keep the originals. AI features may require an account or plan; check before generating.
Project: Ad Lab
Lesson: Check the transitions in the music sequence
Video: four segments in 20 seconds — <your decision>
Transitions: body and architecture without unintended jumps — <your decision>
Sound: one continuous track, with credits saved — <your decision>
Checked file or frame:
Decision: keep or adjust
Real pending item:
After these steps, you can review four clips joined into a 20-second music video.
Lesson cheat sheet
Check the transitions in the music sequence
Video: four segments in 20 seconds
Transitions: body and architecture without unintended jumps
Sound: one continuous track, with credits saved
Your next step
You now have criteria for reviewing four clips joined into a 20-second music video.
Save this lesson’s deliverable in the project folder. You will use it in the next step.
Next: Draw five scenes before animating Senda
Supplemental material · Module 2Production notes and safeguards for continuing after the short practice.
Generate and check one transition first
Experiment at your own pace
Repeat with one change at a time. Save the prompt, reference, and result so you can compare them.
What to observe
Check which features are available in your account before generating. Queues, credits, and plans are not included in the course.
Music continues even when the image is split
Experiment at your own pace
Keep the previous version and note what changed in how it reads. Undo any change that does not help.
What to observe
All six cases are original and fictional. Codex images illustrate decisions; they are not real campaigns or finished videos.
Draw the product and leave margin so the temples are not cropped.
The line “Senda: notice the details” will be added in the editor, not requested inside the generated image.
Save the ending for this line, with simple text on a clean background.
A transition does not need to transform a person or change their age.
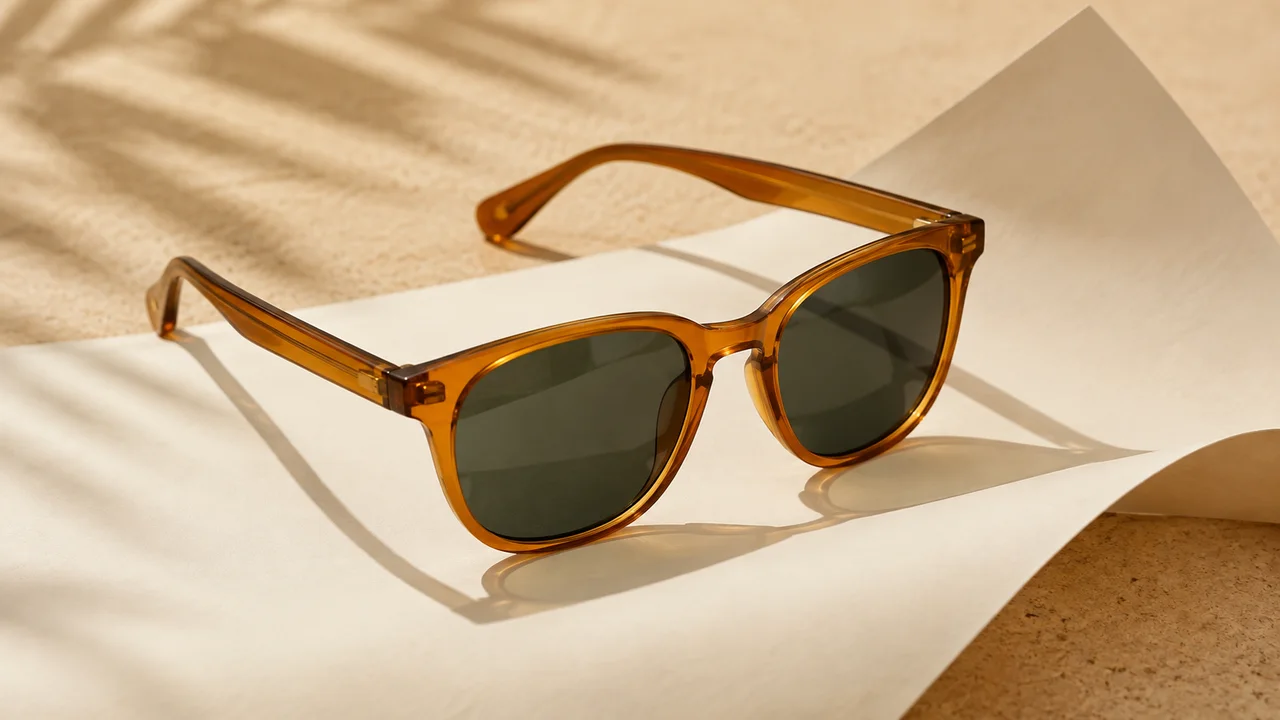
Here, the folded paper brings the shots closer.
The effect should connect two understandable scenes.
If the product disappears during the transition, reduce the motion and return to the full frame.
Paulo checks whether the whole product shape is visible.
Completed script · Senda · product in five shots
1
Full view · 0–3 s Full product is recognizable.
2
Paper · 3–6 s Paper does not transform the product.
3
Material · 6–9 s Material and joints stay consistent.
4
Angle · 9–12 s Two temples do not pass through the lenses.
5
Ending · 12–15 s The line “Senda: notice the details” is readable.
Original 15-second plan. The workbook details the image, motion, and sound for each scene.
3Check the decision against its use
Plan five visual purposes with room for the product and final line.
Paulo uses the sheet to check the limit: preserve frames, lenses, and temples.
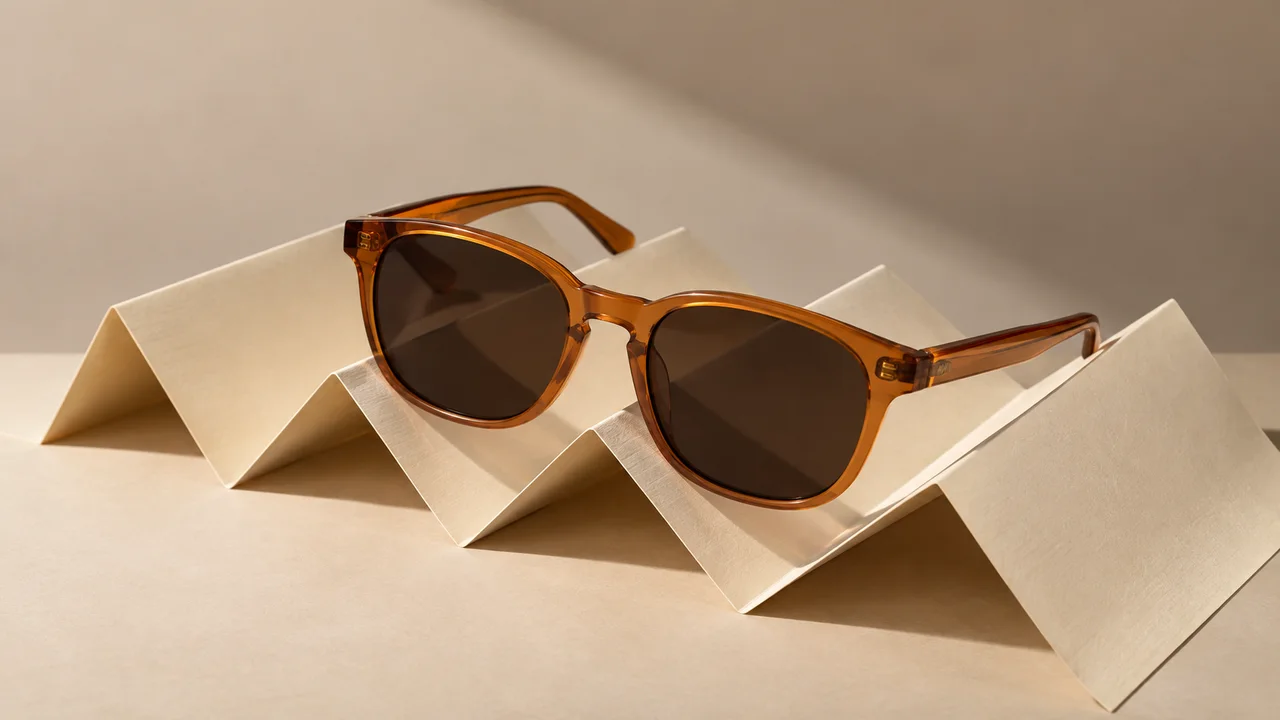
Teaching illustration created in Codex: Glasses on folded paper illustrate product and setting. The folds do not replace the five frames in your script.
Test yourself
The detail looks good, but no scene shows the whole glasses. What is missing?
If you got stuck here, that’s normalThe drawings can be simple. Boxes, arrows, and words are enough to check each scene’s purpose.
Practice now 0/3
Draw five scenes before animating Senda
Set aside 10 minutes of active work for this segment. Full production and queues take more time; this segment is not a finished ad. You are done when the five frames show purpose, timing, and room for the product.
Use your own or authorized references. Label illustrative images and keep the originals. AI features may require an account or plan; check before generating.
Project: Ad Lab
Lesson: Draw five scenes before animating Senda
Sequence: full view, paper, detail, angle, and ending — <your decision>
Timing: five three-second scenes — <your decision>
Limit: preserve frames, lenses, and temples — <your decision>
Checked file or frame:
Decision: keep or adjust
Real pending item:
After these steps, you can plan five frames for a glasses ad.
Lesson cheat sheet
Draw five scenes before animating Senda
Sequence: full view, paper, detail, angle, and ending
Timing: five three-second scenes
Limit: preserve frames, lenses, and temples
Your next step
You now have criteria for planning five frames for a glasses ad.
Save this lesson’s deliverable in the project folder. You will use it in the next step.
Next: Approve the main image of the glasses
Supplementary material · module 3Production notes and care tips for returning after the short practice.
The product needs a reason to appear
Experiment at your own pace
Repeat with one change at a time. Save the prompt, reference, and result so you can compare them.
What to observe
Check which features are available in your account before generating. Queues, credits, and plans are not included in the course.
Plan the space before the detail
Experiment at your own pace
Keep the previous version and note what changed in how it reads. Undo any change that does not help.
What to observe
All six cases are original and fictional. Codex images illustrate decisions; they are not real campaigns or finished videos.
Use the approved image to request a close-up of the material.
Ask it to keep the frame, bridge, and hinges.
Compare it with the source.
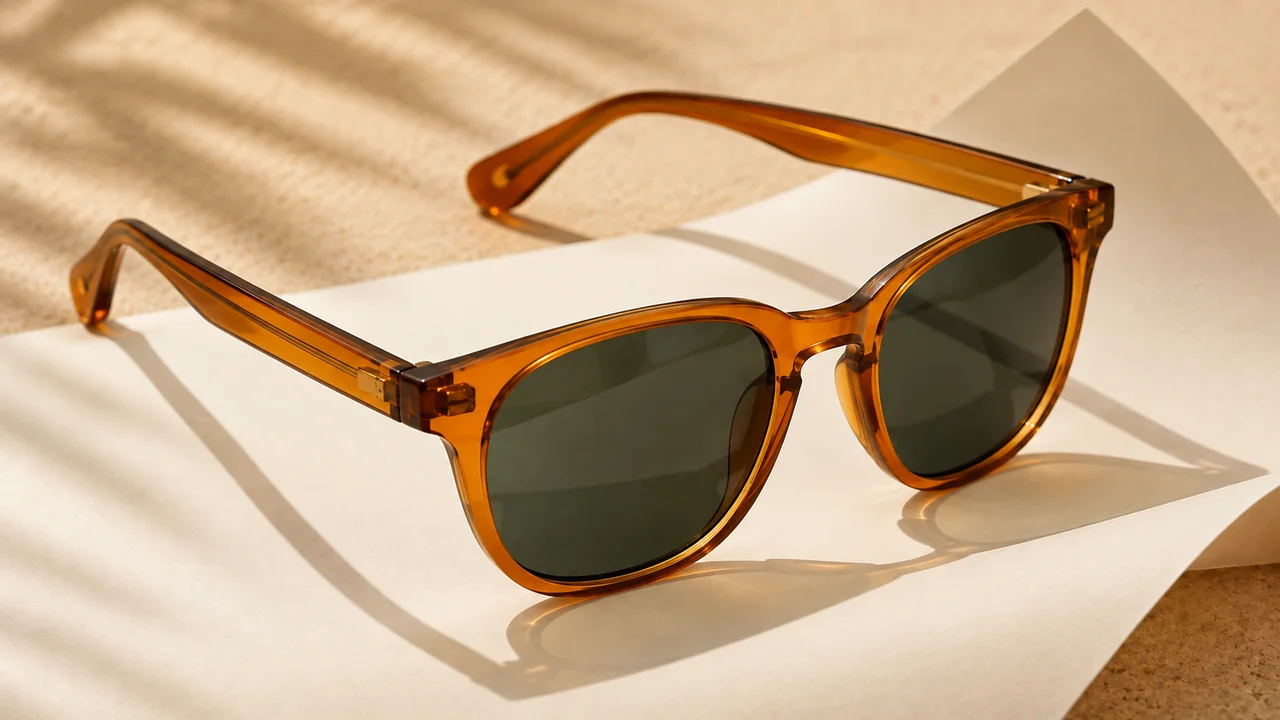
A detail image may intentionally crop part of the object; the main reference should still show the whole object.
The teaching image in this lesson is horizontal for reading in the course.
It shows the material but does not meet the exercise’s vertical format by itself.
Generate your own file and check the framing.
The practice ends when you save a real reference and record a decision.
Paulo checks the center bridge and both arms.
Completed brief · lesson example
1Format: vertical reference with the full object
2Structure: two lenses, bridge, arms, and nose pads
3Decision: approve or revise with evidence
Use this sheet as a reference. Replace the example with your own project.
3Check the decision against its use
Check the lenses, bridge, arms, and nose pads before making variations.
Paulo uses the sheet to check: decision: approve or revise with evidence.
Teaching illustration created in Codex: The horizontal reference shows the amber material and the nose pads. The exercise calls for a new vertical image with margin.
Test yourself
One arm crosses a lens in the reference. Which decision keeps the flaw out of the video?
It is normal to get stuck hereIf the generator keeps deforming the object, simplify the angle. A less dramatic view may be easier to check.
Practice now 0/3
Approve the main image of the glasses
Set aside 10 minutes of active work for this section. The full production and queues take extra time; this section is not a finished ad. You are done when the vertical file exists and its structure has been checked.
Use your own or authorized references. Label illustrative images and keep the originals. AI features may require an account or plan; check before generating.
Project: Ad Lab
Lesson: Approve the main glasses image
Format: vertical reference with the full object — <your decision>
Structure: two lenses, bridge, arms, and nose pads — <your decision>
Decision: approve or revise with evidence — <your decision>
File or frame checked:
Decision: keep or adjust
Actual pending items:
After completing these steps, you can generate a vertical Senda reference with a checked structure.
Lesson cheat sheet
Approve the main image of the glasses
Format: vertical reference with the full object
Structure: two lenses, bridge, arms, and nose pads
Decision: approve or revise with evidence
Your next step
You now have criteria for generating a vertical Senda reference with a checked structure.
Save this lesson’s deliverable in the project folder. You will use it in the next step.
Next: Use paper to connect Senda’s scenes
Supplementary material · module 3Production notes and care tips for returning after the short practice.
The reference must fit the format
Experiment at your own pace
Repeat with one change at a time. Save the prompt, reference, and result so you can compare them.
What to observe
Check which features are available in your account before generating. Queues, credits, and plans are not included in the course.
Variations must preserve the construction
Experiment at your own pace
Keep the previous version and note what changed in how it reads. Undo any change that does not help.
What to observe
All six cases are original and fictional. Codex images illustrate decisions; they are not real campaigns or finished videos.
Add “Senda: notice the details” at the end and check whether it can be read in time.
Use authorized music at a low volume.
Export a vertical MP4 and open it outside the editor.
Review the order, duration, glasses construction, and line of text.
The short practice is an inspection of the assembled video.
If any generation is still missing, list the pending scene and resume production.
A paper storyboard is not a replacement for the exported ad.
Paulo checks whether the closing line can be read without pausing.
Completed brief · lesson example
1Edit: five scenes in 15 seconds
2Continuity: preserve the frame and arms
3Ending: readable line and recognizable product
Use this sheet as a reference. Replace the example with your own project.
3Check the decision against its use
Cut at a compatible fold and check the product throughout the transition.
Paulo uses the sheet to check: ending: readable line and recognizable product.
Teaching illustration created in Codex: The close-up lets you inspect the material and hinge. Compare it with the previous reference; a photo does not prove a moving transition.
Test yourself
The object changes shape during the paper transition. Which correction makes sense?
It is normal to get stuck hereIf the transition keeps failing, use a simple cut between approved shots. Record the change in approach in the storyboard.
Practice now 0/3
Use paper to connect Senda’s scenes
Set aside 10 minutes of active work for this section. The full production and queues take extra time; this section is not a finished ad. You are done when the MP4 exists and all five scenes have been checked.
Use your own or authorized references. Label illustrative images and keep the originals. AI features may require an account or plan; check before generating.
Project: Ad Lab
Lesson: Use paper to connect Senda’s scenes
Edit: five scenes in 15 seconds — <your decision>
Continuity: preserve the frame and arms — <your decision>
Ending: readable line and recognizable product — <your decision>
File or frame checked:
Decision: keep or adjust
Actual pending items:
After completing these steps, you can review the five-scene ad in 15 seconds.
Lesson cheat sheet
Use paper to connect Senda’s scenes
Edit: five scenes in 15 seconds
Continuity: preserve the frame and arms
Ending: readable line and recognizable product
Your next step
You now have criteria for reviewing the five-scene ad in 15 seconds.
Save this lesson’s deliverable in the project folder. You will use it in the next step.
Next: Reduce the sports ad to the essentials
Supplementary material · module 3Production notes and care tips for returning after the short practice.
Small movements protect the product identity
Experiment at your own pace
Repeat with one change at a time. Save the prompt, reference, and result so you can compare them.
What to observe
Check which features are available in your account before generating. Queues, credits, and plans are not included in the course.
End with enough time to recognize it
Experiment at your own pace
Keep the previous version and note what changed in how it reads. Undo any change that does not help.
What to observe
All six cases are original and fictional. Codex images illustrate decisions; they are not real campaigns or finished videos.
You can record three light taps on a table and use them as editing cues.
They represent rhythm, not a heart-rate measurement.
Save the recording and check for unwanted voices or noise.
You can also make the first edit in silence and add sound later.
Do not start with a complex camera flight through the legs.
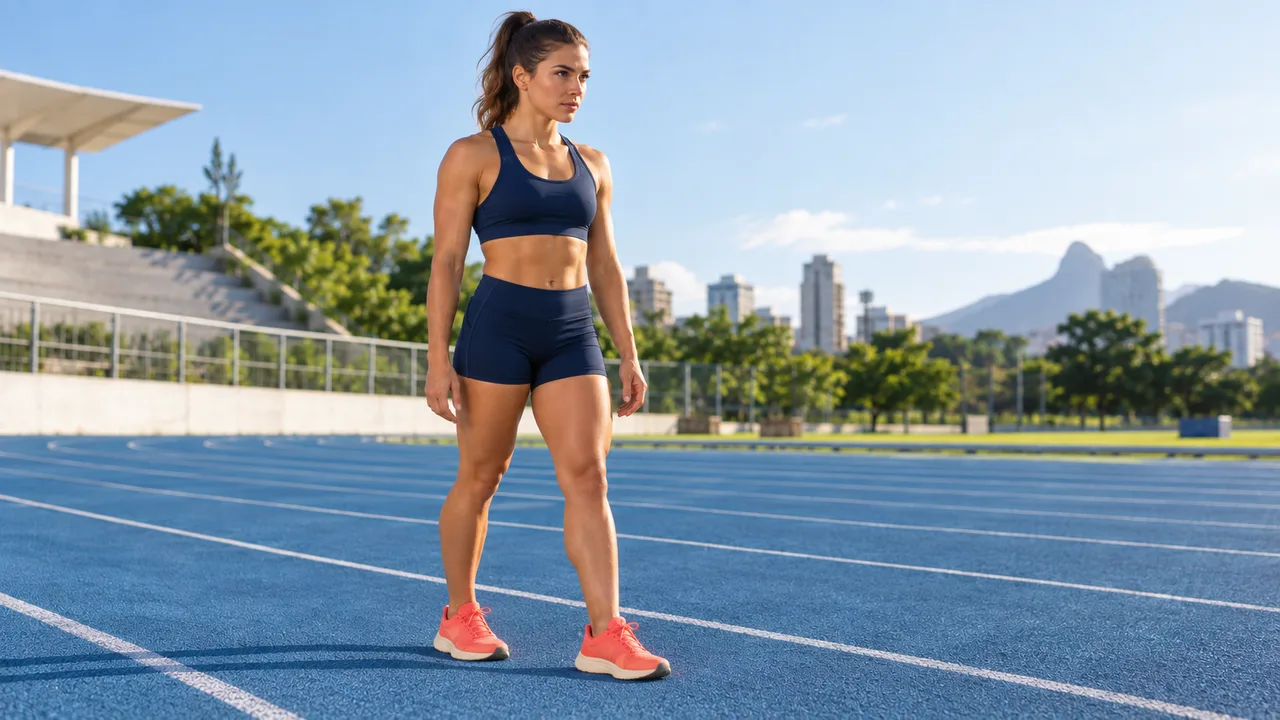
The case uses simple framing to observe foot support and anatomy.
Write down which foot starts the movement and where the person is going.
Check these decisions in the clips.
Paulo separates planning time from generation and editing time.
Completed storyboard · Pulso · simplified sports ad
1
Product · 0–4 s Contact with the track and sole stay consistent.
2
Getting ready · 4–8 s Two legs, two feet, balanced stance.
3
One step · 8–12 s The foot does not pass through the ground; the body does not multiply.
Original 12-second plan. The workbook details each scene’s image, motion, and sound.
3Check the decision against its use
Limit it to three scenes, set the direction, and separate active work from queues.
Paulo uses the sheet to check: rhythm: sound cues without physiological claims.
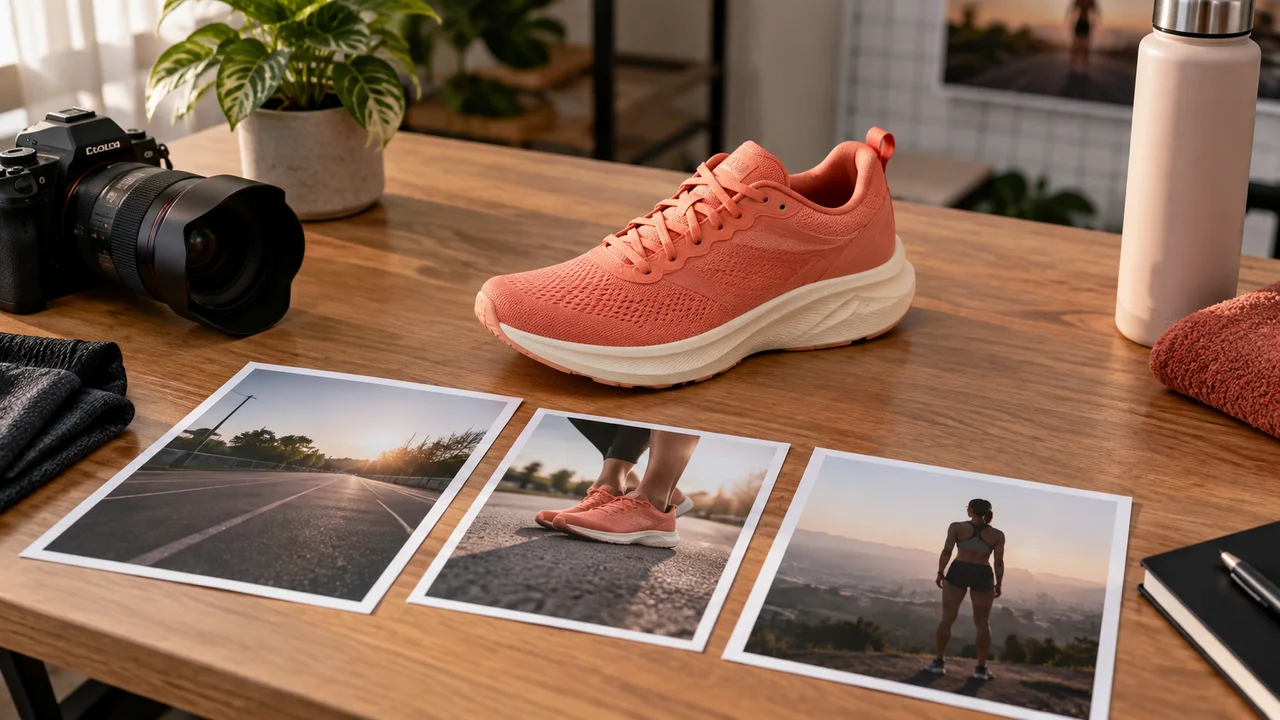
Teaching illustration created in Codex: The coral sneaker and cards suggest athletic preparation. The table does not prove an ad was produced in ten minutes.
Test yourself
The goal is to test one step clearly. Which scope reduces difficulty without changing the idea?
It is normal to get stuck hereIf the sound is not ready, record that the first edit is silent. You can review the image before choosing sound.
Practice now 0/3
Reduce the sports ad to the essentials
Set aside 10 minutes of active work for this section. The full production and queues take extra time; this section is not a finished ad. You are done when the three scenes, movement direction, and sound decision are recorded.
Use your own or authorized references. Label illustrative images and keep the originals. AI features may require an account or plan; check before generating.
Project: Ad Lab
Lesson: Reduce the sports ad to the essentials
Scope: three four-second scenes — <your decision>
Movement: preparation and one simple step — <your decision>
Rhythm: sound cues without physiological claims — <your decision>
File or frame checked:
Decision: keep or adjust
Actual pending items:
After completing these steps, you can plan three scenes for the Pulso case with a simple rhythm.
Lesson cheat sheet
Reduce the sports ad to the essentials
Scope: three four-second scenes
Movement: preparation and one simple step
Rhythm: sound cues without physiological claims
Your next step
You now have criteria for planning three scenes for the Pulso case with a simple rhythm.
Save this lesson’s deliverable in the project folder. You will use it in the next step.
Next: Define the sneaker and starting position
Supplementary material · module 4Production notes and care tips for returning after the short practice.
A short ad needs one clear action
Experiment at your own pace
Repeat with one change at a time. Save the prompt, reference, and result so you can compare them.
What to observe
Check which features are available in your account before generating. Queues, credits, and plans are not included in the course.
Sound builds tension without proving effort
Experiment at your own pace
Keep the previous version and note what changed in how it reads. Undo any change that does not help.
What to observe
All six cases are original and fictional. Codex images illustrate decisions; they are not real campaigns or finished videos.
In the person’s opening image, check for two legs, two feet, and believable support.
Choose one short step in a single direction.
Animation will not automatically fix a floating shoe.
Go back to the image before spending more generations.
For this section, generate the sneaker reference and describe the person’s starting position.
Creating the image with the person is part of the full preparation before video.
Keep the two tasks separate so the short practice is not confused with having all references ready.
Paulo describes only one step to make the review easier.
Completed brief · lesson example
1Sneaker: coral, cream sole, and coral laces
2Foot support: contact with the track makes sense
3Next position: person standing still in navy clothing
Use this sheet as a reference. Replace the example with your own project.
3Check the decision against its use
Check the product and its support before requesting human movement.
Paulo uses the sheet to check: next position: person standing still in navy clothing.
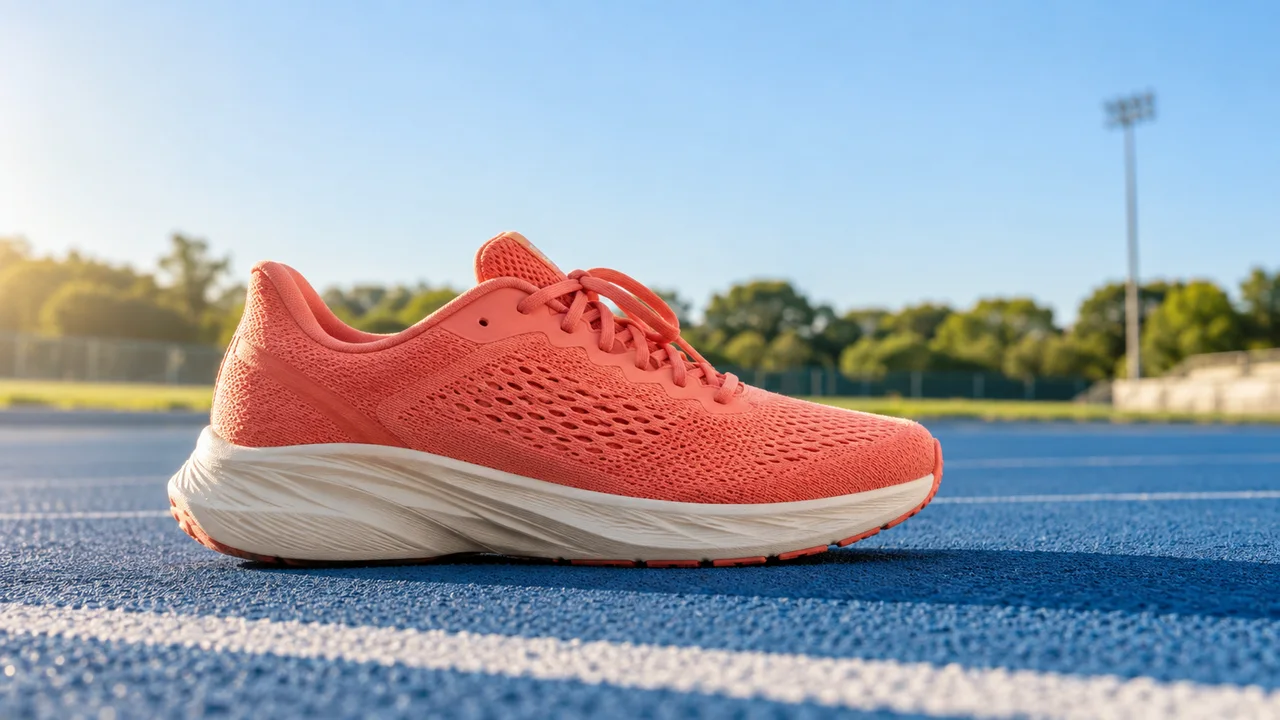
Teaching illustration created in Codex: The side view lets you inspect the sole and its contact with the track. The image shows a fictional product and makes no athletic-benefit claims.
Test yourself
The sneaker appears to float above the track, though the storyboard does not call for that. What should you adjust first?
It is normal to get stuck hereIf the sneaker shape keeps changing, use a simple side angle and remove decorative details from the prompt.
Practice now 0/3
Define the sneaker and starting position
Set aside 10 minutes of active work for this section. The full production and queues take extra time; this section is not a finished ad. You are done when the sneaker file exists and the starting position is described.
Use your own or authorized references. Label illustrative images and keep the originals. AI features may require an account or plan; check before generating.
Project: Ad Lab
Lesson: Define the sneaker and starting position
Sneaker: coral, cream sole, and coral laces — <your decision>
Foot support: contact with the track makes sense — <your decision>
Next position: person standing still in navy clothing — <your decision>
File or frame checked:
Decision: keep or adjust
Actual pending items:
After completing these steps, you can generate a Pulso reference and record the planned foot support.
Lesson cheat sheet
Define the sneaker and starting position
Sneaker: coral, cream sole, and coral laces
Foot support: contact with the track makes sense
Next position: person standing still in navy clothing
Your next step
You now have criteria for generating a Pulso reference and recording the planned foot support.
Save this lesson’s deliverable in the project folder. You will use it in the next step.
Next: Assemble Pulso without hiding motion flaws
Supplementary material · module 4Production notes and care tips for returning after the short practice.
The product needs a short brief
Experiment at your own pace
Repeat with one change at a time. Save the prompt, reference, and result so you can compare them.
What to observe
Check which features are available in your account before generating. Queues, credits, and plans are not included in the course.
Ground contact must remain plausible
Experiment at your own pace
Keep the previous version and note what changed in how it reads. Undo any change that does not help.
What to observe
All six cases are original and fictional. Codex images illustrate decisions; they are not real campaigns or finished videos.
If you change the speed, check the body, audio, and duration again.
An accelerated section may be harder to understand.
The goal is to understand getting ready and taking a step without pausing to figure out what happened.
Export a vertical MP4 that is 12 seconds long.
Open it outside the editor and review all three scenes.
The short practice is this check of a version that has already been produced.
If the movement fails, leave the delivery pending and redo the section that needs it.
Paulo reviews at normal speed after the slow inspection.
Completed brief · lesson example
1Sequence: product, getting ready, and a step
2Duration: three scenes, 12 seconds
3Review: support, body, and product make sense
Use this sheet as a reference. Replace the example with your own project.
3Check the decision against its use
Check support and anatomy, and redo the section that fails.
Paulo uses the sheet to check: review: support, body, and product make sense.
Teaching illustration created in Codex: The ready position lets you inspect balance. The photo does not show that the step was generated correctly.
Test yourself
The foot passes through the ground during the step. Which decision addresses the cause?
It is normal to get stuck hereIf the generator fails repeatedly, reduce the action to the start of a step. The movement still needs to serve the planned scene.
Practice now 0/3
Assemble Pulso without hiding motion flaws
Set aside 10 minutes of active work for this section. The full production and queues take extra time; this section is not a finished ad. You are done when the MP4 exists and the movement, product, and duration have been checked.
Use your own or authorized references. Label illustrative images and keep the originals. AI features may require an account or plan; check before generating.
Project: Ad Lab
Lesson: Assemble Pulso without hiding motion flaws
Sequence: product, getting ready, and a step — <your decision>
Duration: three scenes, 12 seconds — <your decision>
Review: support, body, and product make sense — <your decision>
File or frame checked:
Decision: keep or adjust
Actual pending items:
After completing these steps, you can check three sports scenes in an MP4 that is 12 seconds long.
Lesson cheat sheet
Assemble Pulso without hiding motion flaws
Sequence: product, getting ready, and a step
Duration: three scenes, 12 seconds
Review: support, body, and product make sense
Your next step
You now have criteria for checking three sports scenes in an MP4 that is 12 seconds long.
Save this lesson’s deliverable in the project folder. You will use it in the next step.
Next: Choose four references for Arquivo do Vento
Supplementary material · module 4Production notes and care tips for returning after the short practice.
Check the foot support during the step
Experiment at your own pace
Repeat with one change at a time. Save the prompt, reference, and result so you can compare them.
What to observe
Check which features are available in your account before generating. Queues, credits, and plans are not included in the course.
Speed is a viewing choice
Experiment at your own pace
Keep the previous version and note what changed in how it reads. Undo any change that does not help.
What to observe
All six cases are original and fictional. Codex images illustrate decisions; they are not real campaigns or finished videos.
Draw a simple view of the room: entrance, table, and ceiling opening.
Mark the starting position and the route to the table.
The sequence is enter, approach, observe the instrument, and end.
Show hands only when they make sense from this point of view.
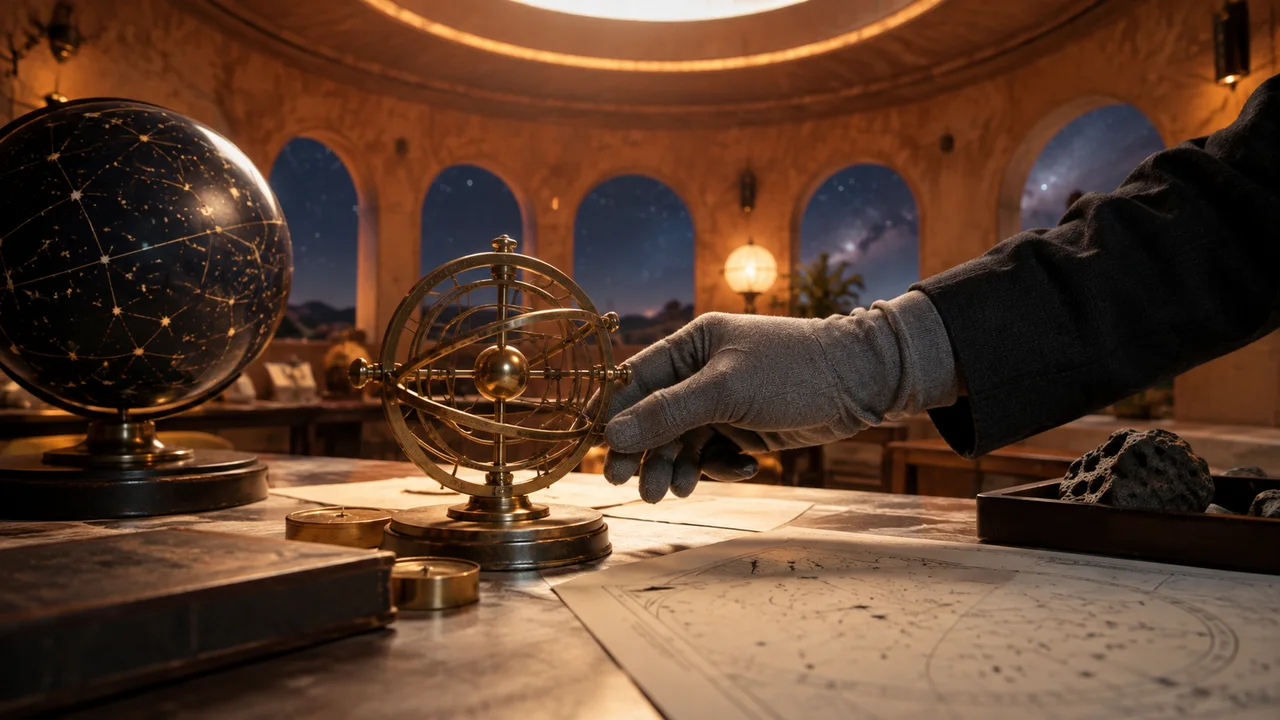
The teaching scene shows an observatory, not a complete set of four reference files.
Your short practice is a sheet with four purposes and a simple map.
Creating visual references is part of the next step, before generating the video.
Paulo draws the table position to check the route.
Completed storyboard · Arquivo do Vento · first person
1
Entry · 0–4 s Table and ceiling match the map.
2
Approach · 4–8 s The approach matches the scale.
3
Observation · 8–12 s Hands and object stay undistorted.
4
Ending · 12–16 s Doors, ceiling, and table stay in place.
Original 16-second plan. The workbook details each scene’s image, motion, and sound.
3Check the decision against its use
Give each reference one job and map a coherent route through the room.
Paulo uses the sheet to check: format: first person, four scenes in 16 seconds.
Teaching illustration created in Codex: The observatory and gloved hand illustrate the original world. The image is not four separate reference files.
Test yourself
You have four references, but they all show clothing. What is missing for this case?
It is normal to get stuck hereThe map can be a rectangle with three marks. It helps keep doors and tables from changing position without a reason.
Practice now 0/3
Choose four references for Arquivo do Vento
Set aside 10 minutes of active work for this section. Full production and queues take extra time; this section is not a finished ad. You are done when the sheet gives four references their roles and the map shows a possible route.
Use your own or authorized references. Label illustrative images and keep the originals. AI features may require an account or plan; check before generating.
Project: Ad Lab
Lesson: Choose four references for Arquivo do Vento
References: room, instrument, gloves, and lighting — <your decision>
Path: entry, approach, observation, and ending — <your decision>
Format: first person, four scenes in 16 seconds — <your decision>
File or frame checked:
Decision: keep or adjust
Actual pending items:
After completing these steps, you can describe the place, object, hands, and lighting in a first-person video.
Lesson cheat sheet
Choose four references for Arquivo do Vento
References: room, instrument, gloves, and lighting
Path: entry, approach, observation, and ending
Format: first person, four scenes in 16 seconds
Your next step
You now have criteria for describing the place, object, hands, and lighting in a first-person video.
Save this lesson’s deliverable in the project folder. You will use it in the next step.
Next: Build the first image from compatible references
Extra material · module 5Production notes and care tips to revisit after the short practice.
The viewpoint belongs to someone inside the scene
Experiment at your own pace
Repeat with one change at a time. Save the prompt, reference, and result so you can compare them.
What to observe
Check which features are available in your account before generating. Queues, credits, and plans are not included in the course.
The observer’s position organizes the space
Experiment at your own pace
Keep the previous version and note what changed in how it reads. Undo any change that does not help.
What to observe
All six cases are original and fictional. Codex images illustrate decisions; they are not real campaigns or finished videos.
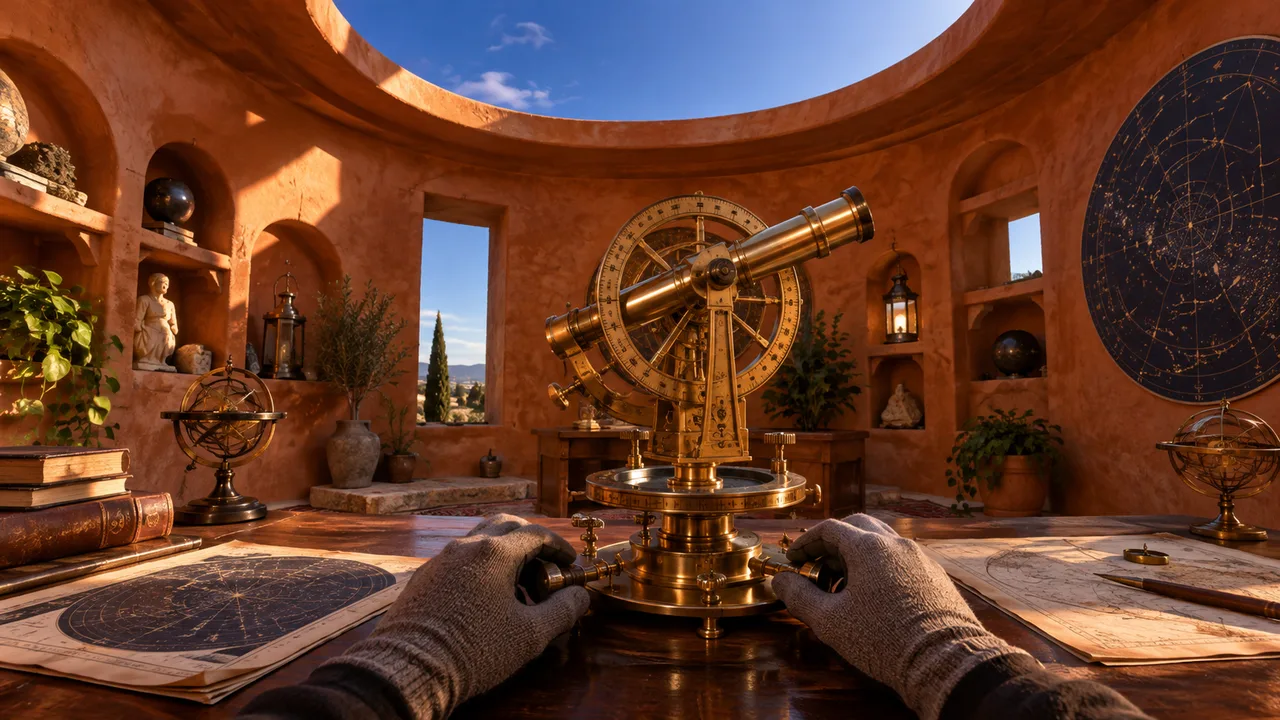
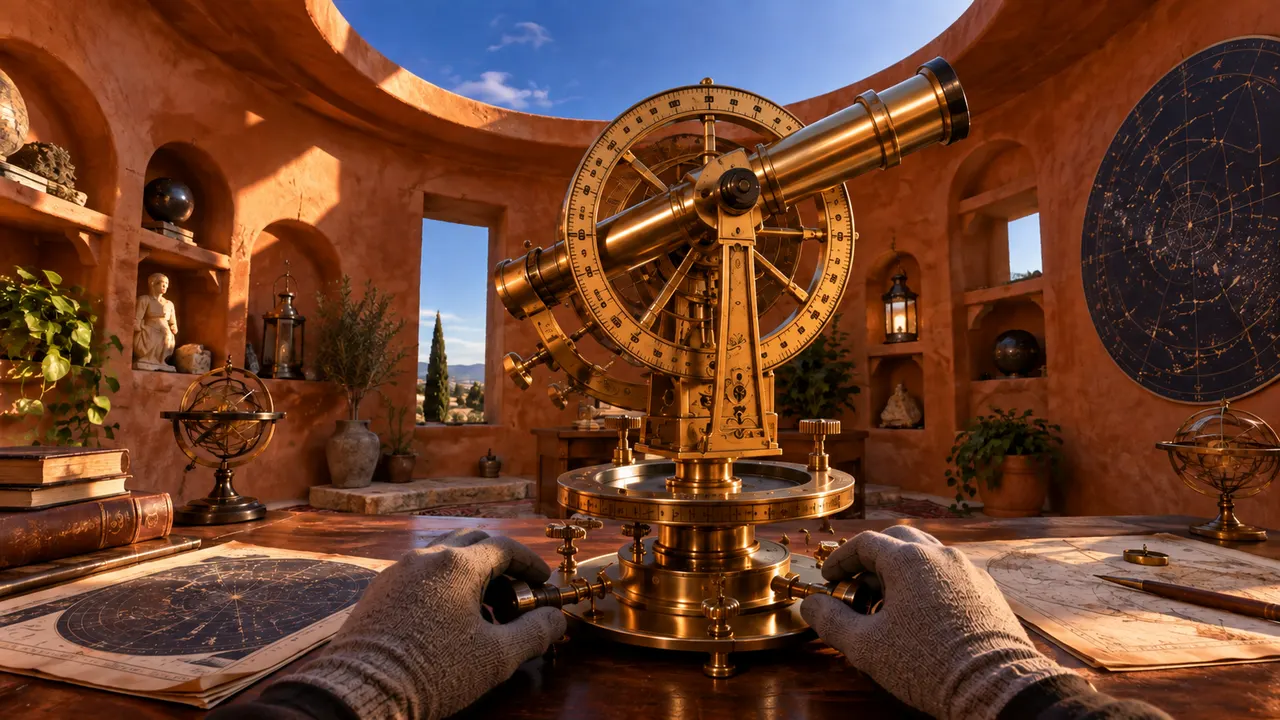
Ask for a first-person view, a table ahead, a brass instrument, and gray gloves near the bottom of the frame.
Check that the hands are the right size for the table.
Compare the entrance, ceiling opening, and direction of light with the map.
Remove elements that do not belong in this setting.
The short practice checks the opening image after the four references are ready.
Record which files were sent and which were used only for review.
If generation is still pending, do not mark the image as ready.
Paulo checks the hands against the size of the table.
Completed brief · lesson example
1Set: four named references
2Result: room, instrument, gloves, and lighting make sense together
3Record: actual inputs and manual review identified
Use this sheet as a reference. Replace the example with your own project.
3Check the decision against its use
Record the actual inputs and check all four functions in the result.
Paulo uses the sheet to check: record: actual inputs and manual review identified.
Teaching illustration created in Codex: The first-person view shows gloved hands, a table, and an instrument. Check scale and architecture before animating.
Test yourself
Your tool accepts one reference at a time. Which approach keeps the process honest?
It is normal to get stuck hereIf the references conflict, simplify. Keep the room as the base and resolve one element at a time.
Practice now 0/3
Build the first image from compatible references
Set aside 10 minutes of active work for this section. Full production and queues take extra time; this section is not a finished ad. You are done when four references and an opening image exist, and you have recorded how each file was used.
Use your own or authorized references. Label illustrative images and keep the originals. AI features may require an account or plan; check before generating.
Project: Ad Lab
Lesson: Build the first image from compatible references
Set: four named references — <your decision>
Result: room, instrument, gloves, and lighting make sense together — <your decision>
Record: actual inputs and manual review identified — <your decision>
File or frame checked:
Decision: keep or adjust
Actual pending items:
After completing these steps, you can generate and check an opening image of the observatory.
Lesson cheat sheet
Build the first image from compatible references
Set: four named references
Result: room, instrument, gloves, and lighting make sense together
Record: actual inputs and manual review identified
Your next step
You now have criteria for generating and checking an opening image of the observatory.
Save this lesson’s deliverable in the project folder. You will use it in the next step.
Next: Move through the room without changing locations
Extra material · module 5Production notes and care tips to revisit after the short practice.
Prepare and name the four files
Experiment at your own pace
Repeat with one change at a time. Save the prompt, reference, and result so you can compare them.
What to observe
Check which features are available in your account before generating. Queues, credits, and plans are not included in the course.
First person requires scale and position
Experiment at your own pace
Keep the previous version and note what changed in how it reads. Undo any change that does not help.
What to observe
All six cases are original and fictional. Codex images illustrate decisions; they are not real campaigns or finished videos.
A quiet ambient sound can support the room if it is original or authorized.
You do not need to add a scare or narration.
The sequence should make it clear where the person is and what they are observing.
Export the MP4 that is 16 seconds long, then check the three transitions.
Record the doors, table, lighting, and hands.
The short practice reviews a file that has already been produced.
Any missing scene or unplanned transformation keeps the delivery pending.
Paulo notes the timestamp of the flaw so only the needed part is redone.
Completed brief · lesson example
1Path: four scenes in 16 seconds
2Space: table, opening, and entrance stay consistent
3Body: hands do not change unexpectedly
Use this sheet as a reference. Replace the example with your own project.
3Check the decision against its use
Check the map and fixed elements in every transition.
Paulo uses the sheet to check: body: hands do not change unexpectedly.
Teaching illustration created in Codex: The closer view keeps several room elements. The comparison helps you look for changes, but motion requires an actual clip.
Test yourself
The table grows even though the camera does not move closer. What should you review?
It is normal to get stuck hereIf the room changes too much, move forward a shorter distance. The goal is to observe the space, not to demonstrate the most difficult motion available.
Practice now 0/3
Move through the room without changing locations
Set aside 10 minutes of active work for this section. Full production and queues take extra time; this section is not a finished ad. You are done when the MP4 exists and all three transitions have been checked against the map.
Use your own or authorized references. Label illustrative images and keep the originals. AI features may require an account or plan; check before generating.
Project: Ad Lab
Lesson: Move through the room without changing locations
Path: four scenes in 16 seconds — <your decision>
Space: table, opening, and entrance stay consistent — <your decision>
Body: hands do not change unexpectedly — <your decision>
File or frame checked:
Decision: keep or adjust
Actual pending items:
After completing these steps, you can check four first-person scenes for spatial continuity.
Lesson cheat sheet
Move through the room without changing locations
Path: four scenes in 16 seconds
Space: table, opening, and entrance stay consistent
Body: hands do not change unexpectedly
Your next step
You now have criteria for checking four first-person scenes for spatial continuity.
Save this lesson’s deliverable in the project folder. You will use it in the next step.
Next: Write seven demonstration scenes for Dobra
Extra material · module 5Production notes and care tips to revisit after the short practice.
Move the viewpoint a little at a time
Experiment at your own pace
Repeat with one change at a time. Save the prompt, reference, and result so you can compare them.
What to observe
Check which features are available in your account before generating. Queues, credits, and plans are not included in the course.
The edit keeps the viewer oriented
Experiment at your own pace
Keep the previous version and note what changed in how it reads. Undo any change that does not help.
What to observe
All six cases are original and fictional. Codex images illustrate decisions; they are not real campaigns or finished videos.
Plan a readable label: Fictional demonstration made with AI.
The label should stay with the piece, not be hidden only in the production folder.
At the end, use “Explore the Dobra concept.”
Do not invent a price, stock, rating, or reason to buy now.
The brand and character were created to teach continuity.
For a real product, photos, measurements, and claims must match the product.
For this exercise, the practice ends with seven scenes and the planned lines.
The voice and clips come later.
Paulo checks that the label stays with the video.
Completed storyboard · Dobra · seven-scene demonstration
1
Introduction · 0–3 s See the shape. Check mouth and voice, or label the narration.
2
Full view · 3–6 s The whole bag. Keep its rectangular shape.
3
Handles · 6–9 s Look at the handles. Keep the hand and fabric distinct.
4
Fabric · 9–12 s Show the fabric detail. Keep its material consistent.
5
Opening · 12–15 s See the opening. Keep the edges and handles consistent.
6
Full view · 15–18 s Compare the whole set. Keep the face, clothing, and product consistent.
7
Ending · 18–21 s Explore the Dobra concept. Keep the full line readable.
Original 21-second plan. The workbook details each scene’s image, motion, and sound.
3Check the decision against its use
Use a labeled demonstration with lines about what appears in the scene.
Paulo uses the sheet to check: label: fictional demonstration made with AI.
Teaching illustration created in Codex: The character and bag illustrate demonstration planning. The cards are not testimonials or sales results.
Test yourself
Which line fits a fictional demonstration of the bag?
It is normal to get stuck hereIf a line requires proof you do not have, replace it with an observable description or remove the claim.
Practice now 0/3
Write seven demonstration scenes for Dobra
Set aside 10 minutes of active work for this section. Full production and queues take extra time; this section is not a finished ad. You are done when all seven scenes and the label are written without claims of real experience.
Use your own or authorized references. Label illustrative images and keep the originals. AI features may require an account or plan; check before generating.
Project: Ad Lab
Lesson: Write seven demonstration scenes for Dobra
Structure: seven scenes in 21 seconds — <your decision>
Lines: observable descriptions, no invented experience — <your decision>
Label: Fictional demonstration made with AI — <your decision>
File or frame checked:
Decision: keep or adjust
Actual pending items:
After completing these steps, you can plan a fictional demonstration without inventing a testimonial.
Lesson cheat sheet
Write seven demonstration scenes for Dobra
Structure: seven scenes in 21 seconds
Lines: observable descriptions, no invented experience
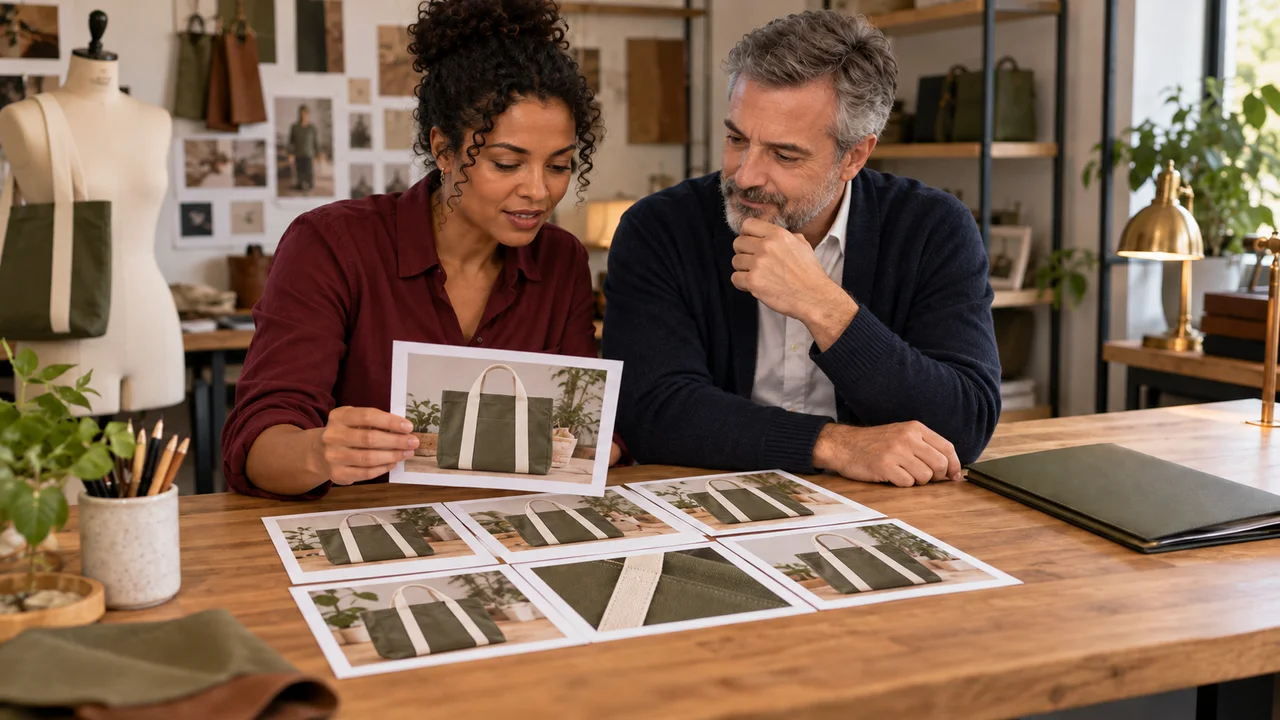
Label: Fictional demonstration made with AI
Your next step
You now have criteria for planning a fictional demonstration without inventing a testimonial.
Save this lesson’s deliverable in the project folder. You will use it in the next step.
Next: Keep Dobra’s character, bag, and voice consistent
Extra material · module 6Production notes and care tips to revisit after the short practice.
The demonstration shows what is in the scene
Experiment at your own pace
Repeat with one change at a time. Save the prompt, reference, and result so you can compare them.
What to observe
Check which features are available in your account before generating. Queues, credits, and plans are not included in the course.
Identify the example on the piece itself
Experiment at your own pace
Keep the previous version and note what changed in how it reads. Undo any change that does not help.
What to observe
All six cases are original and fictional. Codex images illustrate decisions; they are not real campaigns or finished videos.
Choose your own recording or a synthetic voice the tool allows you to use.
Record its source.
Do not use another person’s voice without permission.
Jo’s image does not represent a real person whose identity is being copied.
To sync speech, use an avatar or lip-sync feature available in your account.
Check which image types it accepts and start with one short line.
For this practice, generate the combined reference and record your voice choice.
Testing spoken lines is part of the next production step.
Paulo records the voice source with the storyboard.
Completed brief · lesson example
1Character: short hair, brown skin, and cream blouse
2Product: olive canvas, two cream handles, and rectangular shape
3Voice: source recorded and use permitted
Use this sheet as a reference. Replace the example with your own project.
3Check the decision against its use
Keep the appearance and product consistent, using a voice with a known source and permitted use.
Paulo uses the sheet to check: voice: source recorded and use permitted.
Teaching illustration created in Codex: The fictional character holds the bag to show its shape and handles. The scene does not depict a real customer or prove product use.
Test yourself
The bag gained green handles in a variation. Which decision keeps the case consistent?
It is normal to get stuck hereIf the pose distorts the hands, simplify the action. Holding the bag still is usually easier to control than opening and turning it at the same time.
Practice now 0/3
Keep Dobra’s character, bag, and voice consistent
Set aside 10 minutes of active work for this section. Full production and queues take extra time; this section is not a finished ad. You are done when the reference exists and your voice choice is recorded.
Use your own or authorized references. Label illustrative images and keep the originals. AI features may require an account or plan; check before generating.
Project: Ad Lab
Lesson: Keep Dobra’s character, bag, and voice consistent
Character: short hair, brown skin, and cream blouse — <your decision>
Product: olive canvas, two cream handles, and rectangular shape — <your decision>
Voice: source recorded and use permitted — <your decision>
File or frame checked:
Decision: keep or adjust
Actual pending items:
After completing these steps, you can generate a combined reference and choose an authorized voice.
Lesson cheat sheet
Keep Dobra’s character, bag, and voice consistent
Character: short hair, brown skin, and cream blouse
Product: olive canvas, two cream handles, and rectangular shape
Voice: source recorded and use permitted
Your next step
You now have criteria for generating a combined reference and choosing an authorized voice.
Save this lesson’s deliverable in the project folder. You will use it in the next step.
Next: Connect the seven scenes without changing the bag
Extra material · module 6Production notes and care tips to revisit after the short practice.
The brief records the fixed features
Experiment at your own pace
Repeat with one change at a time. Save the prompt, reference, and result so you can compare them.
What to observe
Check which features are available in your account before generating. Queues, credits, and plans are not included in the course.
You can record the line without cloning anyone
Experiment at your own pace
Keep the previous version and note what changed in how it reads. Undo any change that does not help.
What to observe
All six cases are original and fictional. Codex images illustrate decisions; they are not real campaigns or finished videos.
Place the planned short lines, with silence where needed.
Include “Fictional demonstration made with AI” in readable type and check its contrast.
Keep the product visible and do not cover flaws with text.
Export a vertical MP4 that is 21 seconds long.
Open the file and check all seven scenes, clear speech, identity, product, and label.
The short practice is this final review.
If clips, audio, or the label are missing, leave the delivery pending.
Paulo checks the label in the MP4 itself, outside the editor.
Completed brief · lesson example
1Video: seven scenes in 21 seconds
2Continuity: character, hands, bag, and voice
3Label: visible on the exported piece
Use this sheet as a reference. Replace the example with your own project.
3Check the decision against its use
Check the product and character, and keep the label readable.
Paulo uses the sheet to check: label: visible on the exported piece.
Teaching illustration created in Codex: The handle detail lets you compare the fabric and structure with the combined reference. The photo does not prove an action in motion.
Test yourself
The mouth does not match the speech, and you will narrate over the product. How should you record this?
It is normal to get stuck hereIf sync fails, narration over approved details can keep the demo working. Update the storyboard and record the change.
Practice now 0/3
Connect the seven scenes without changing the bag
Set aside 10 minutes of active work for this section. Full production and queues take extra time; this section is not a finished ad. You are done when the MP4 exists and you have checked the image, voice, and label.
Use your own or authorized references. Label illustrative images and keep the originals. AI features may require an account or plan; check before generating.
Project: Ad Lab
Lesson: Connect the seven scenes without changing the bag
Video: seven scenes in 21 seconds — <your decision>
Continuity: character, hands, bag, and voice — <your decision>
Label: visible on the exported piece — <your decision>
File or frame checked:
Decision: keep or adjust
Actual pending items:
After completing these steps, you can review a 21-second demonstration with a visible label.
Lesson cheat sheet
Connect the seven scenes without changing the bag
Video: seven scenes in 21 seconds
Continuity: character, hands, bag, and voice
Label: visible on the exported piece
Your next step
You now have criteria for reviewing a 21-second demonstration with a visible label.
Save this lesson’s deliverable in the project folder. You will use it in the next step.
Next: Organize files so you can recreate a scene
Extra material · module 6Production notes and care tips to revisit after the short practice.
Produce the short line before the full sequence
Experiment at your own pace
Repeat with one change at a time. Save the prompt, reference, and result so you can compare them.
What to observe
Check which features are available in your account before generating. Queues, credits, and plans are not included in the course.
The label is part of the edit
Experiment at your own pace
Keep the previous version and note what changed in how it reads. Undo any change that does not help.
What to observe
All six cases are original and fictional. Codex images illustrate decisions; they are not real campaigns or finished videos.
A useful row lists the scene, file, reference, prompt, and status.
Fictional example: scene 3; lume-c03-t02.mp4; referencia-c03.png; fixed camera; approved after checking the handle.
The example shows the record format; it does not claim that this file is in the kit.
When you change a prompt, keep the earlier version.
That makes it possible to see which change helped.
You do not need to record every editor click.
Prioritize details that let you recreate the scene and explain why an attempt passed or was rejected.
Paulo uses the scene number to find the section.
Completed brief · lesson example
1Folder: one place for each case and file type
2Name: case, scene, and attempt
3Record: file, reference, prompt, and status
Use this sheet as a reference. Replace the example with your own project.
3Check the decision against its use
Link each scene to its prompt, reference, and review decision.
Paulo uses the sheet to check: record: file, reference, prompt, and status.
Teaching illustration created in Codex: Mila and Paulo organize a reference folder. The scene illustrates filing; the actual files must exist in your setup.
Test yourself
You need to redo only scene 3. Which record helps you find the source?
It is normal to get stuck hereIf your files are already scattered, organize a copy first. Check that the editor still finds the media before moving the originals.
Practice now 0/3
Organize files so you can recreate a scene
Set aside 10 minutes of active work for this section. Full production and queues take extra time; this section is not a finished ad. You are done when the folder structure exists and you can trace one real scene back to its reference and prompt.
Use your own or authorized references. Label illustrative images and keep the originals. AI features may require an account or plan; check before generating.
Project: Ad Lab
Lesson: Organize files so you can recreate a scene
Folder: one place for each case and file type — <your decision>
Name: case, scene, and attempt — <your decision>
Record: file, reference, prompt, and status — <your decision>
File or frame checked:
Decision: keep or adjust
Actual pending items:
After completing these steps, you can create a production folder that tracks one scene.
Lesson cheat sheet
Organize files so you can recreate a scene
Folder: one place for each case and file type
File name: case, scene, and attempt
Record: file, reference, prompt, and status
Your next step
You now have criteria for creating a production folder that tracks one scene.
Save this lesson’s deliverable in the project folder. You will use it in the next step.
Next: Track attempts, time, and resources
Extra material · module 7Production notes and care tips to revisit after the short practice.
Every file needs a place
Experiment at your own pace
Repeat with one change at a time. Save the prompt, reference, and result so you can compare them.
What to observe
Check which features are available in your account before generating. Queues, credits, and plans are not included in the course.
The record must help you find the source
Experiment at your own pace
Keep the previous version and note what changed in how it reads. Undo any change that does not help.
What to observe
All six cases are original and fictional. Codex images illustrate decisions; they are not real campaigns or finished videos.
Teaching example: three attempts lost the bag handle.
Before the fourth attempt, reduce the hand movement and check the reference.
Record the change and compare.
Repeating the exact same prompt without examining the flaw can use resources without teaching you anything.
Set an attempt limit for the next scene and choose an alternative.
Example: after two failed turns, try a fixed camera.
The limit is your work choice, not a universal rule.
The alternative still needs to serve the storyboard.
Paulo records “not measured” when the account does not show usage.
Completed brief · lesson example
1Time: active work tracked separately from waiting
2Resources: attempts and measured or unknown usage
3Next scene: limit and alternative defined
Use this sheet as a reference. Replace the example with your own project.
3Check the decision against its use
Record work, waiting, and attempts, clearly labeled as measured or estimated.
Paulo uses the sheet to check: next scene: limit and alternative defined.
Teaching illustration created in Codex: Objects from the six cases suggest that each production has its own challenges. The image does not show measured cost or results.
Test yourself
You did not record editing time, but you remember it roughly. How should you enter it?
It is normal to get stuck hereYou can start tracking now. You do not need to invent numbers for earlier steps to complete the table.
Practice now 0/3
Track attempts, time, and resources
Set aside 10 minutes of active work for this section. Full production and queues take extra time; this section is not a finished ad. You are done when the record separates measurements from estimates and includes a concrete alternative.
Use your own or authorized references. Label illustrative images and keep the originals. AI features may require an account or plan; check before generating.
Project: Ad Lab
Lesson: Track attempts, time, and resources
Time: active work tracked separately from waiting — <your decision>
Resources: attempts and measured or unknown usage — <your decision>
Next scene: limit and alternative defined — <your decision>
File or frame checked:
Decision: keep or adjust
Actual pending items:
After completing these steps, you can record the actual effort for a case without confusing an estimate with a measurement.
Lesson cheat sheet
Track attempts, time, and resources
Time: active work tracked separately from waiting
Resources: attempts and measured or unknown usage
Next scene: limit and alternative defined
Your next step
You now have criteria for recording the actual effort for a case without confusing an estimate with a measurement.
Save this lesson’s deliverable in the project folder. You will use it in the next step.
Next: Review image, sound, and message in separate passes
Extra material · module 7Production notes and care tips to revisit after the short practice.
Separate active work from waiting
Experiment at your own pace
Repeat with one change at a time. Save the prompt, reference, and result so you can compare them.
What to observe
Check which features are available in your account before generating. Queues, credits, and plans are not included in the course.
A repeated flaw calls for a small change
Experiment at your own pace
Keep the previous version and note what changed in how it reads. Undo any change that does not help.
What to observe
All six cases are original and fictional. Codex images illustrate decisions; they are not real campaigns or finished videos.
Approved means this version passed the case criteria.
Revise requires an observed problem.
Pending means a file or check is still missing.
None of these statuses predicts sales or reach.
After making a correction, watch the section again and then the full video.
A local edit can change the duration and sound.
Save the sheet with the exact name of the version reviewed.
Do not approve an old version after the delivery has been replaced.
Paulo locates the problem by its timestamp before requesting a change.
Completed brief · lesson example
1Passes: image, sound, and message
2Record: time, problem, and action
3Decision: approved, revise, or pending for each version
Use this sheet as a reference. Replace the example with your own project.
3Check the decision against its use
Locate the problem and record a correction that can be checked.
Paulo uses the sheet to check: decision: approved, revise, or pending for each version.
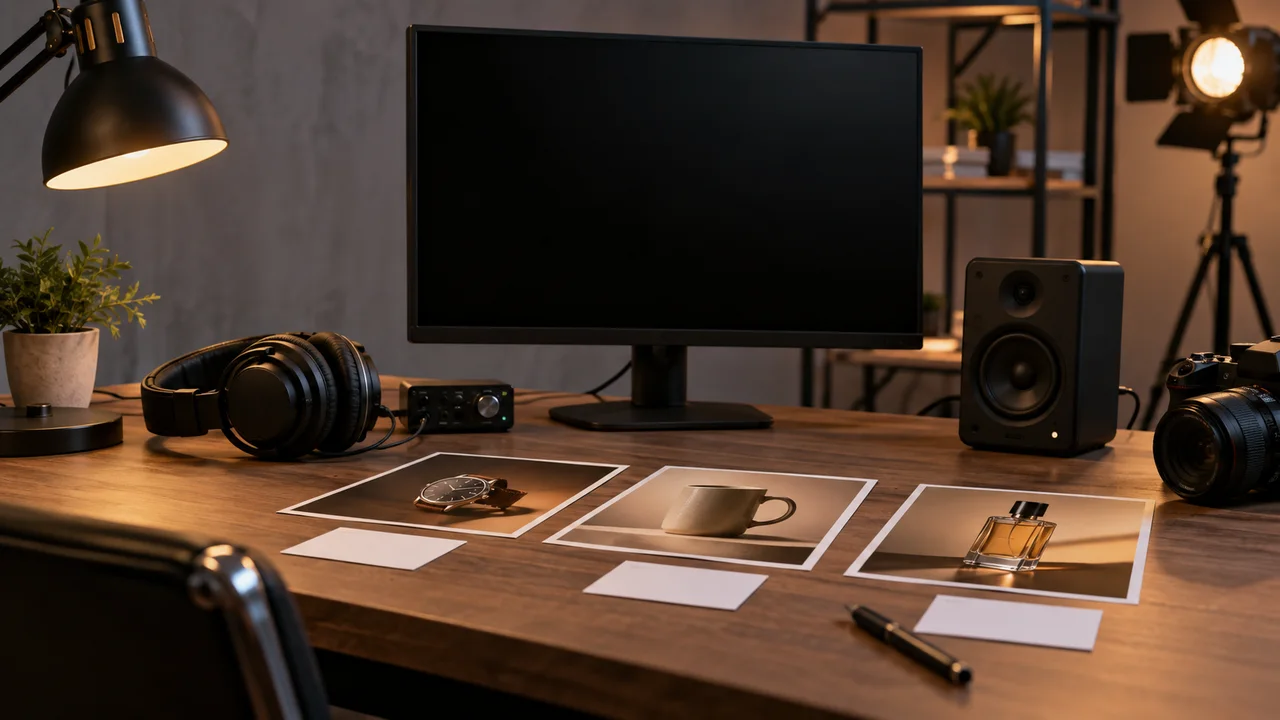
Teaching illustration created in Codex: Headphones and product images represent review passes. The blank screen avoids simulating an edited result.
Test yourself
The review found an error at 00:07. Which note best guides the correction?
It is normal to get stuck hereIf you find no issues, record the criteria you checked. Do not invent a flaw just to fill in the sheet.
Practice now 0/3
Review image, sound, and message in separate passes
Set aside 10 minutes of active work for this section. Full production and queues take extra time; this section is not a finished ad. You are done when one MP4 has been reviewed in all three passes and given a documented status.
Use your own or authorized references. Label illustrative images and keep the originals. AI features may require an account or plan; check before generating.
Project: Ad Lab
Lesson: Review image, sound, and message in separate passes
Passes: image, sound, and message — <your decision>
Record: time, problem, and action — <your decision>
Decision: approved, revise, or pending for each version — <your decision>
File or frame checked:
Decision: keep or adjust
Actual pending items:
After completing these steps, you can fill in a review sheet with timestamps that help locate issues.
Lesson cheat sheet
Review image, sound, and message in separate passes
Passes: image, sound, and message
Record: time, problem, and action
Decision: approved, revise, or pending for each version
Your next step
You now have criteria for filling in a review sheet with timestamps that help locate issues.
Save this lesson’s deliverable in the project folder. You will use it in the next step.
Next: Choose a case for the final finish
Extra material · module 7Production notes and care tips to revisit after the short practice.
Three passes reduce competing attention
Experiment at your own pace
Repeat with one change at a time. Save the prompt, reference, and result so you can compare them.
What to observe
Check which features are available in your account before generating. Queues, credits, and plans are not included in the course.
A review ends with a decision
Experiment at your own pace
Keep the previous version and note what changed in how it reads. Undo any change that does not help.
What to observe
All six cases are original and fictional. Codex images illustrate decisions; they are not real campaigns or finished videos.
Write four criteria: complete sequence, consistent identity, understandable audio, and readable text.
Add the fictional-with-AI label.
If the case has no voice, check the music and effects for distortion.
The sheet should let you make a decision without relying only on taste.
For this section, choose and document the final finish.
If any of the six versions is still missing, record that and complete it before final delivery.
Set aside 28 to 40 hours for the lab’s production work, plus queue time.
This range is a study estimate, not a guaranteed deadline.
Paulo checks the expected files before calling the work complete.
Completed brief · lesson example
1Choice: one of the six cases, with a reason
2Scope: format, duration, scenes, and files
3Acceptance: sequence, identity, sound, and readability
Use this sheet as a reference. Replace the example with your own project.
3Check the decision against its use
Set the case, format, duration, deliverables, and criteria before finishing.
Paulo uses the sheet to check: acceptance: sequence, identity, sound, and readability.
Teaching illustration created in Codex: Mila and Paulo review the lantern references before choosing a final finish. The scene illustrates a decision; it does not show approval from a real customer.
Test yourself
A new idea adds six scenes to the approved finish. What should you do first?
It is normal to get stuck hereIf you are undecided, choose the case with the clearest problem and a possible fix. Save the other ideas for another version.
Practice now 0/3
Choose a case for the final finish
Set aside 10 minutes of active work for this section. Full production and queues take extra time; this section is not a finished ad. You are done when the final sheet defines the deliverable and lists any earlier items still pending.
Use your own or authorized references. Label illustrative images and keep the originals. AI features may require an account or plan; check before generating.
Project: Ad Lab
Lesson: Choose a case for the final finish
Choice: one of the six cases, with a reason — <your decision>
Scope: format, duration, scenes, and files — <your decision>
Acceptance: sequence, identity, sound, and readability — <your decision>
File or frame checked:
Decision: keep or adjust
Actual pending items:
After completing these steps, you can define a final deliverable with a scope and acceptance criteria.
Lesson cheat sheet
Choose a case for the final finish
Choice: one of the six cases, with a reason
Scope: format, duration, scenes, and files
Acceptance: sequence, identity, sound, and readability
Your next step
You now have criteria for defining a final deliverable with a scope and acceptance criteria.
Save this lesson’s deliverable in the project folder. You will use it in the next step.
Next: Fix a flaw and compare the versions
Extra material · module 8Production notes and care tips to revisit after the short practice.
Choose based on what you want to demonstrate
Experiment at your own pace
Repeat with one change at a time. Save the prompt, reference, and result so you can compare them.
What to observe
Check which features are available in your account before generating. Queues, credits, and plans are not included in the course.
Acceptance criteria must be observable
Experiment at your own pace
Keep the previous version and note what changed in how it reads. Undo any change that does not help.
What to observe
All six cases are original and fictional. Codex images illustrate decisions; they are not real campaigns or finished videos.
Watch the earlier and revised versions with the same sound and size settings.
Check the criterion that led to the change.
Then watch the full video, because duration and pacing may have changed.
Record “improved,” “got worse,” or “no observed difference.”
If the first version already passes every criterion, make one controlled alternate ending.
Compare them and keep the one that best serves the message.
There is no need to invent a flaw.
The short practice reviews this comparison after you make the change; queues and editing take extra time.
Paulo compares the same section so he does not judge different parts.
Completed brief · lesson example
1Before: file and identified criterion
2After: version with one main change
3Comparison: observed result and decision
Use this sheet as a reference. Replace the example with your own project.
3Check the decision against its use
Change one point, compare the same section, and review the whole piece.
Paulo uses the sheet to check: comparison: observed result and decision.
Teaching illustration created in Codex: Photos of the same lantern serve as a reminder of controlled comparison. The exercise requires two actual video versions.
Test yourself
You changed five things and the video improved. What can you not yet say with confidence?
It is normal to get stuck hereIf there is no improvement, keep the earlier version and record what you learned. A rejected attempt also informs the next decision.
Practice now 0/3
Fix a flaw and compare the versions
Set aside 10 minutes of active work for this section. Full production and queues take extra time; this section is not a finished ad. You are done when you have compared two actual versions and made a reasoned decision.
Use your own or authorized references. Label illustrative images and keep the originals. AI features may require an account or plan; check before generating.
Project: Ad Lab
Lesson: Fix a flaw and compare the versions
Before: file and identified criterion — <your decision>
After: version with one main change — <your decision>
Comparison: observed result and decision — <your decision>
File or frame checked:
Decision: keep or adjust
Actual pending items:
After completing these steps, you can produce a revised version and explain one specific change.
Lesson cheat sheet
Fix a flaw and compare the versions
Before: file and identified criterion
After: version with one main change
Comparison: observed result and decision
Your next step
You now have criteria for producing a revised version and explaining one specific change.
Save this lesson’s deliverable in the project folder. You will use it in the next step.
Next: Deliver the six studies and one checked final version
Extra material · module 8Production notes and care tips to revisit after the short practice.
Choose a problem from the review sheet
Experiment at your own pace
Repeat with one change at a time. Save the prompt, reference, and result so you can compare them.
What to observe
Check which features are available in your account before generating. Queues, credits, and plans are not included in the course.
Compare the same section in both versions
Experiment at your own pace
Keep the previous version and note what changed in how it reads. Undo any change that does not help.
What to observe
All six cases are original and fictional. Codex images illustrate decisions; they are not real campaigns or finished videos.
Check the opening, ending, image, audio, text, and fictional-with-AI label.
Also review the credits for the music used.
If you use the kit excerpt, keep the attribution listed with the publication or delivery.
The final practice is complete only when all six studies and the final version exist and have passed review.
Keep any pending item visible in the index.
The result is a portfolio of original studies, without claiming clients, published campaigns, or results that did not happen.
Paulo uses the index to distinguish studies, final work, and pending items.
Completed brief · lesson example
1Studies: six MP4s with checked duration and sequence
2Final version: chosen version with a documented comparison
3Files: sources, credits, label, and index
Use this sheet as a reference. Replace the example with your own project.
3Check the decision against its use
Identify the six MP4s, the final version, and their sources, with the review recorded.
Paulo uses the sheet to check: files: sources, credits, label, and index.
Teaching illustration created in Codex: Mila and Paulo review a series of bag images. The photo illustrates an organized delivery; it does not replace the seven required video files.
Test yourself
You have only five exported studies. How should you record the delivery?
It is normal to get stuck hereIf a file is missing, find the matching earlier step. You do not need to restart cases that have already been checked.
Practice now 0/3
Deliver the six studies and one checked final version
Set aside 10 minutes of active work for this section. Full production and queues take extra time; this section is not a finished ad. You are done when all six MP4s and the final version are checked, with an index and organized sources.
Use your own or authorized references. Label illustrative images and keep the originals. AI features may require an account or plan; check before generating.
Project: Ad Lab
Lesson: Deliver the six studies and one checked final version
Studies: six MP4s with checked duration and sequence — <your decision>
Final version: chosen version with a documented comparison — <your decision>
Files: sources, credits, label, and index — <your decision>
File or frame checked:
Decision: keep or adjust
Actual pending items:
After completing these steps, you can organize six first versions and one revised final ad.
Lesson cheat sheet
Deliver the six studies and one checked final version
Studies: six MP4s with checked duration and sequence
Final version: chosen version with a documented comparison
Files: sources, credits, label, and index
Your next step
You now have criteria for organizing six first versions and one revised final ad.
Save this lesson’s deliverable in the project folder. You will use it in the next step.
Next: Apply the system to a new piece and compare it with the documented rules.
Extra material · module 8Production notes and care tips to revisit after the short practice.
The delivery needs a simple index
Experiment at your own pace
Repeat with one change at a time. Save the prompt, reference, and result so you can compare them.
What to observe
Check which features are available in your account before generating. Queues, credits, and plans are not included in the course.
Open the files another person would receive
Experiment at your own pace
Keep the previous version and note what changed in how it reads. Undo any change that does not help.
What to observe
All six cases are original and fictional. Codex images illustrate decisions; they are not real campaigns or finished videos.