💡 New here? Three words before you start
- Workflow — a sequence of automatic steps: it does A, then B, then C, without you having to move it from one to the next.
- Subagent — an AI specialized in just one thing (researching, reviewing, writing) that your main agent calls when needed.
- Template — a ready-made template. You copy it, replace what’s yours, and use it. You don’t build from scratch.
🔄 What Is a Workflow: Linked Steps
A skill is a ask: it does one thing well. A workflow is the recipe: it links several pieces in order, and the result of one step becomes the input for the next. Instead of copying the result from one place to another, the workflow does it automatically.
Think of ordering food through an app: you tap once, and a series of steps happens behind the scenes — confirms the payment, alerts the kitchen, calls the delivery driver, and sends you the status. You don't handle each step yourself. An AI workflow is the same idea, but for work: search → check → summarize, or idea → text → image, chained together.
🔑 The central idea
The difference between a task e a job:
- •Skill (one task): "summarize this text" → the summary comes back. Done.
- •Workflow (a task): "research the topic, check the sources, and give me a report" → multiple steps, one final result.
Key concepts
🧩 Ready-made subagent templates
A subagent is an AI with just one role. Instead of asking one generic AI to do everything, you build a small team: one that just research, one that just reviews, one that just writes. Each one does their part better because they have a narrow, clear instruction.
The good news: you don't have to invent these roles. There are ready-made templates — standard descriptions of “what this agent is, what it does, and what it doesn’t do.” You copy the template, tweak a detail or two, and you’ve got your team member.
✓ A good subagent template
- ✓Has one role (researcher, reviewer...)
- ✓Says what to do and what not to do
- ✓Defines how to deliver the result
- ✓It’s short — it fits in one paragraph
✗ A bad template
- ✗"Do everything" — an unfocused role
- ✗Without limits: it doesn’t know what to avoid
- ✗Doesn’t say what the expected deliverable is
- ✗Huge and confusing
💡 Practical tip
Start with two or three subagents, not ten. A researcher, a writer, and a reviewer already cover most jobs. More agents mean more things can go wrong. Grow the team only when you feel the need.
Key concepts
🔬 A Ready-to-Use Research Workflow
The research workflow is the “Columbus’s egg” of workflows: three simple steps that, together, save you hours. Search the sources, check whether they’re reliable and agree with each other, and summarize in a report with the sources noted. Each step has a clear purpose.
The middle step — checking — is what separates research from rumor. That’s where the workflow discards anything without a source and flags anything uncertain. Without it, all you have is a polished summary of something that may be wrong.
🧪 Workflow ready to copy (research in 3 steps)
Goal: go from a vague topic to a short report with sources—without manually reading ten tabs. Paste it into Claude or ChatGPT, replacing what’s between < >.
Você é meu agente de pesquisa. Faça este workflow em 3 passos,
me mostrando o resultado de cada passo antes de seguir:

TEMA: <o que você quer pesquisar, ex: melhores planos de celular pré-pago>

PASSO 1 — BUSCAR: liste de 4 a 6 fontes recentes sobre o tema,
com o título e o link de cada uma.

PASSO 2 — CONFERIR: para cada fonte, diga se é confiável e se
concorda com as outras. Descarte as duvidosas e me avise quais.

PASSO 3 — RESUMIR: escreva um relatório de 1 página com:
  - 3 a 5 conclusões principais (cada uma com a fonte ao lado),
  - 1 ponto em que as fontes discordam,
  - o que ainda ficou em aberto.
How to verify it worked: the final report should have sources next to each conclusion and cite at least one disagreement. If you get a smooth text with no sources, step 2 was skipped — ask it to redo the check.
💡 Practical tip
Ask to see the result of each step before the next one. That way, you catch problems early: if the sources in step 1 are already bad, there's no point in summarizing. Checking along the way is cheaper than finding the error at the end.
Key concepts
🎨 A ready-to-use content workflow
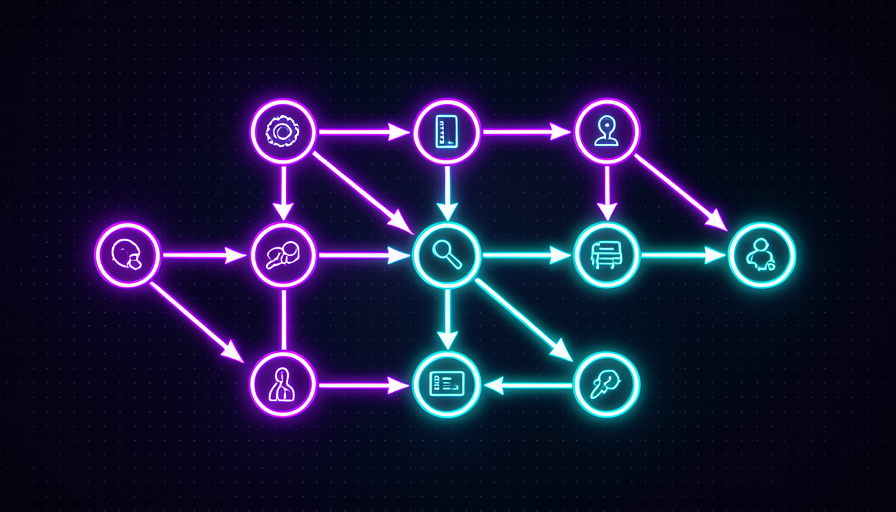
Creating content from scratch is tiring. A workflow turns it into a production line: idea → script → text → image. Each stage delivers something concrete that the next one uses — the outline guides the text, the text suggests the image. You provide the idea and review things at the handoff points.
The image below is the blueprint for this pipeline. Notice that it's not magic: it's the same chaining logic from topic 1, applied to creative work. The value is in not starting from scratch with every post.
🏭 The 4 stages of the line
- 1.Idea: you (or an agent) define the topic and audience.
- 2.Script: the AI builds the structure—title, topics, call to action.
- 3.Text: writes the content following the outline.
- 4.Image: suggests/generates artwork that fits the text.
You review between stages. Did you approve the outline? Move on to the text. Don’t like it? Make adjustments before spending the rest.
Key concepts
🪡 Adapt a template to your workflow
The template is the skeleton; you add the substance. Adapting means changing three things: the tools (where it searches, where it saves), the steps (remove what you don't need, add what's missing) and the delivers (the format you want at the end). There's no need to rewrite the workflow — just adjust these pieces.
Golden rule: change one thing at a time and test. If you change everything at once and it breaks, you won’t know which change caused it. Small adjustments, one at a time, keep control in your hands.
🔧 Swap the Tools
Where the template says “search the web,” point it to your drive, your spreadsheet, your email.
➕ Adjust the steps
Remove a step that doesn’t work for you, add one that’s missing (e.g., “translate into Portuguese”).
📦 Define the Deliverable
Specify the final format: email, post, spreadsheet, audio. Same workflow, different output.
🧪 Test one change at a time
Did it change? Run it. Did it work? Next one. Did it break? You know exactly what happened.
Key concepts
🔒 Chain Safely
The longer the workflow, the more chances a small mistake can snowball. The fix is simple: checkpoints between steps. Before an action that affects the real world—sending an email, deleting a file, spending money—the workflow pauses and asks for your OK.
The practical rule: steps that only read or draft can run on their own; steps that make a real difference require confirmation. This keeps the workflow fast, but nothing irreversible happens without you seeing it.
✓ It can run on its own
- ✓Search for and read information
- ✓Draft a text (without sending it)
- ✓Summarize, organize, compare
- ✓Generate a suggestion for you to review
✗ It asks for your confirmation
- ✗Send an email or message
- ✗Delete or overwrite files
- ✗Spending money / shopping
- ✗Publish something for the public
🎯 The habit that saves you
Whenever you build a new workflow, ask: "which step here is irreversible?". This is the step that adds a checkpoint. Everything else can run on its own.
Key concepts
✋ Before you continue — what sets a workflow apart from a standalone skill?
🎓 Module summary
Next module:
3.5 — ⚡ Automation and triggers: how to get your Jarvis to act on its own, at the right time, without you asking.